Create or import geometry into Blender®.
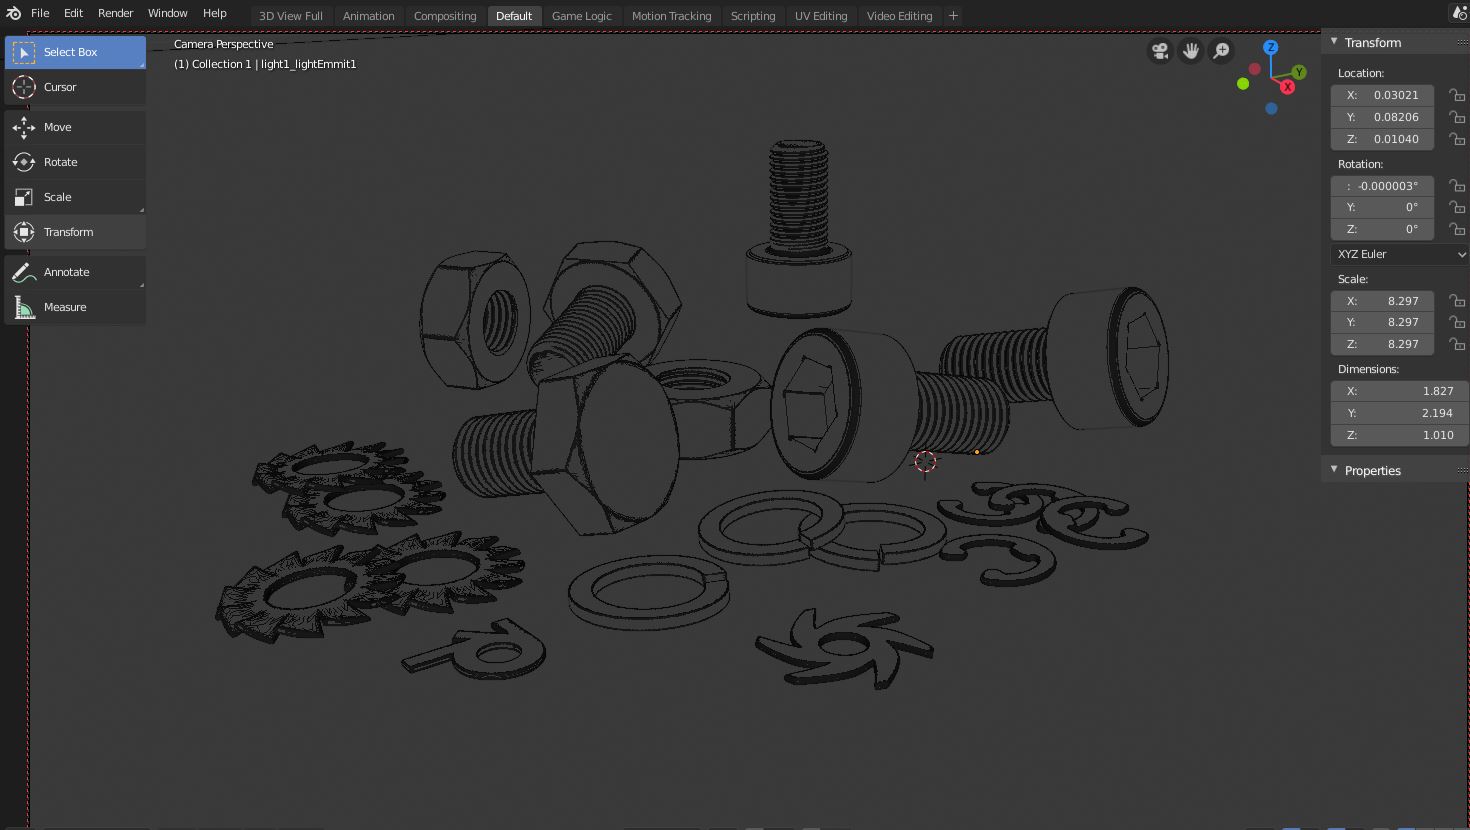
Figure 1: New geometry
For an initial render, use the default geometry type at it's default and leave the other types for later. For more information on geometry types, see the Mesh Geometry Types topic in this manual.
In the Render Engine dropdown, choose Octane. If Octane is not available, please refer to the Initiating OctaneRender® Inside Blender® topic in this manual.

Figure 2: Render Engine options
Make sure to choose an available GPUThe GPU is responsible for displaying graphical elements on a computer display. The GPU plays a key role in the Octane rendering process as the CUDA cores are utilized during the rendering process. for rendering.

Figure 3: Device Preferences button
Apply MaterialsA set of attributes or parameters that describe surface characteristics. to Objects in the scene. Octane DiffuseAmount of diffusion, or the reflection of light photons at different angles from an uneven or granular surface. Used for dull, non-reflecting materials or mesh emitters. Materials is the default.
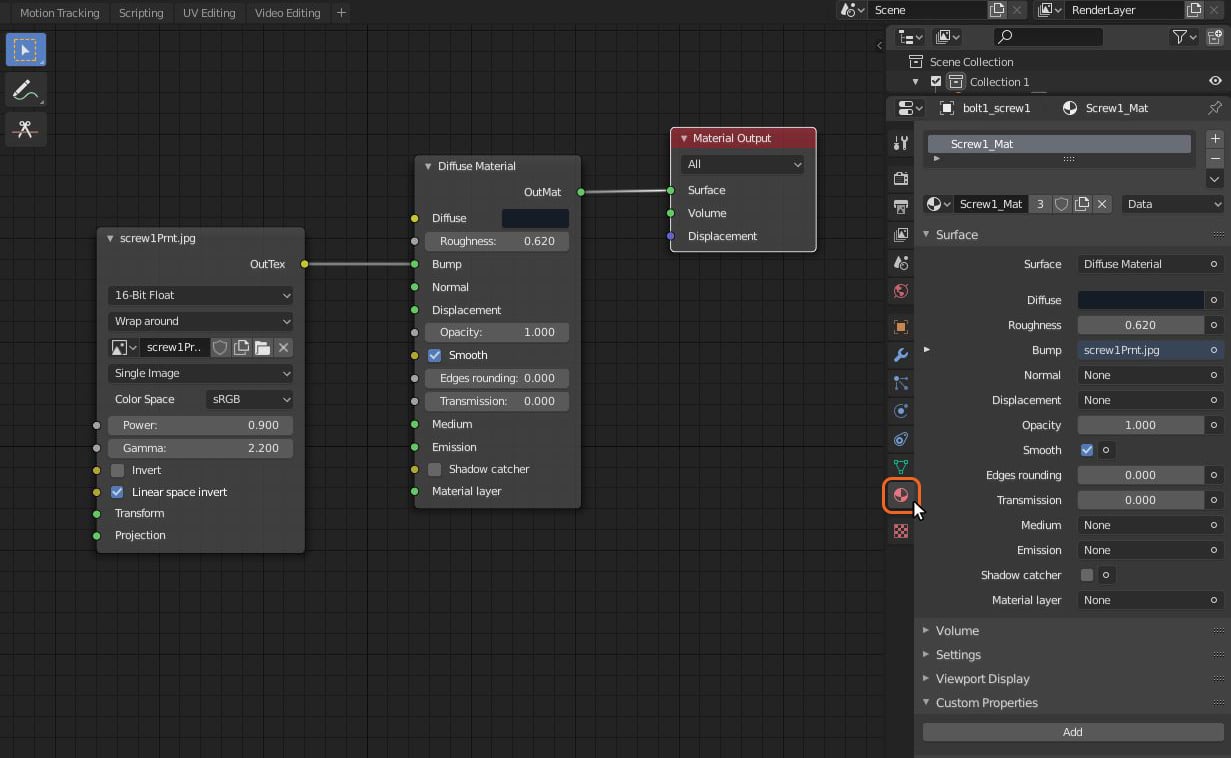
Figure 4: Adding Materials
For more about complex materials, see the Octane Materials topic in this manual.
Light the scene. A Blender® lamp is in the scene by default, but you can also use a custom OctaneRender® Light. Refer to the Octane Lighting section in this manual for more information on OctaneRender®-specific lights.
Select and adjust the Environment settings. Octane Daylight is on by default.
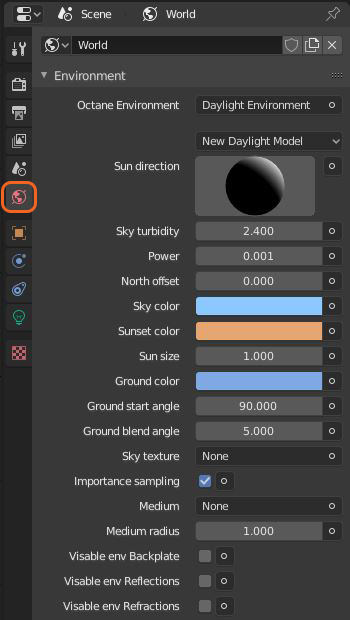
Figure 5: Daylight Environment setting
Customizing the Environment settings is discussed more in the Texture Environment topic in this manual.
Select the default camera in the scene and open the Camera Settings.
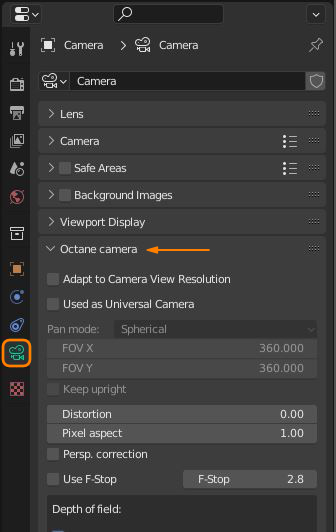
Figure 6: Octane Camera rollout
The default properties should work. See the Octane Cameras topic in this manual for more information about the Cameras and their features.
Choose a Render Kernel type. There are four to choose from - the default is Direct Light.
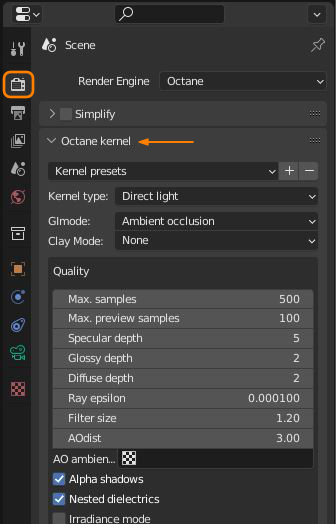
Figure 7: Octane Kernel button and rollout
For more information about each Render Kernel type, see the The Render Kernels topic in this manual.
Adjust the resolution for the rendered image in the Dimensions rollout.
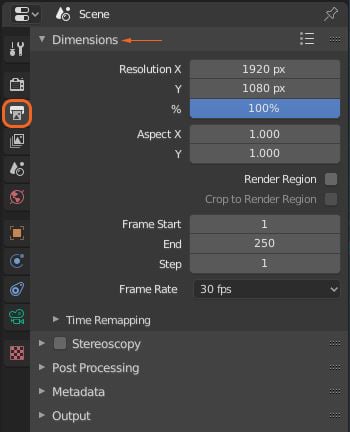
Figure 8: Dimensions button and rollout
Render the scene.
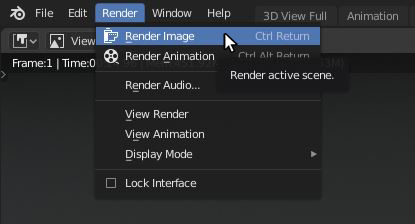
Figure 9: Rendering the image
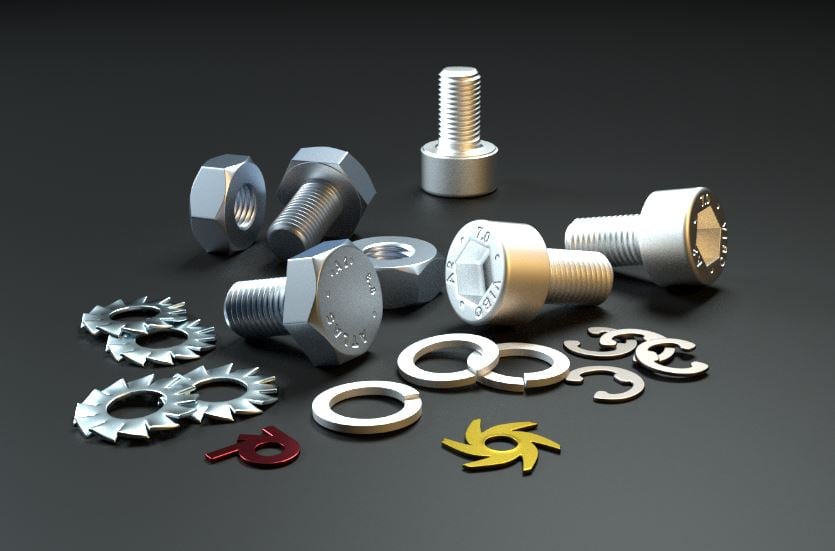
Figure 10: The rendered image