Your First Octane Scene
This topic shows how to build a simple example of an OctaneRender® scene in Houdini®.
Create The OctaneRender Output
Once you install and activate the OctaneRender plugin, a new combination node, the Octane Render Setup has been added to Octane for Houdini which combines the ROP and RenderTarget nodes into one. To create this node, you can click on the Octane button in the Octane shelf (figure 1) or by choosing Create Render Setup from the Octane menu in the Network window (figure 2)
|
|
Octane Render Setup
|


Figure 1: Adding the Octane Render Setup node in the Out network window
|
|
Octane Render Setup
|

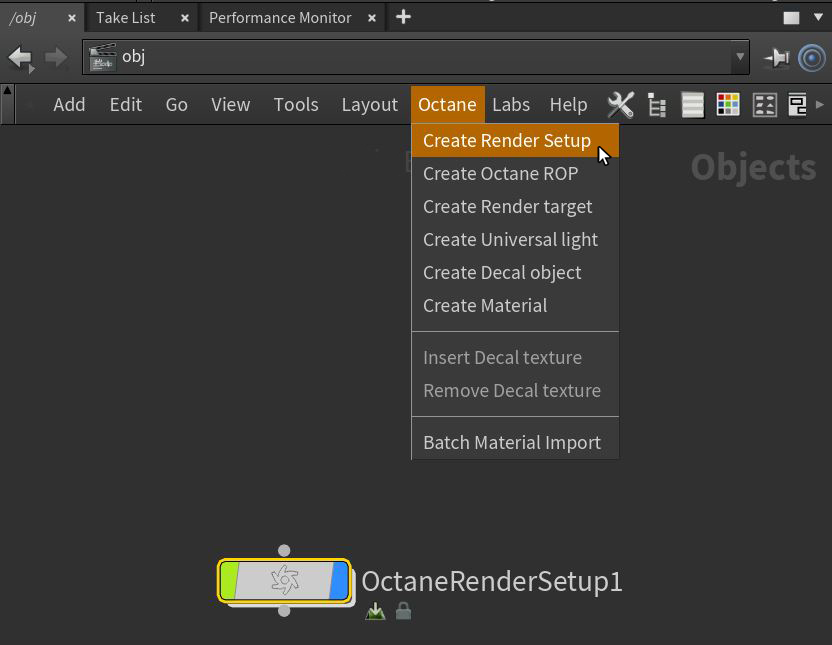
Figure 2: Adding the Octane Render Setup from the Octane menu
The Octane ROP settings are the core of the OctaneRender plugin. In the ROP tab, you need to select a camera to use for rendering as the Render Camera parameter is looking for a cam1 by default (figure 3).
|
|
Octane ROP Parameters
|


Figure 3: The Octane ROP node and its associated parameters
Adding A Camera
To render the scene, you need to create a camera from the Camera menu in the Viewport (Figure 4), and set this Camera node in the Render Camera parameter of the Octane ROP tab (Figure 5).
|
|
Adding a Camera
|

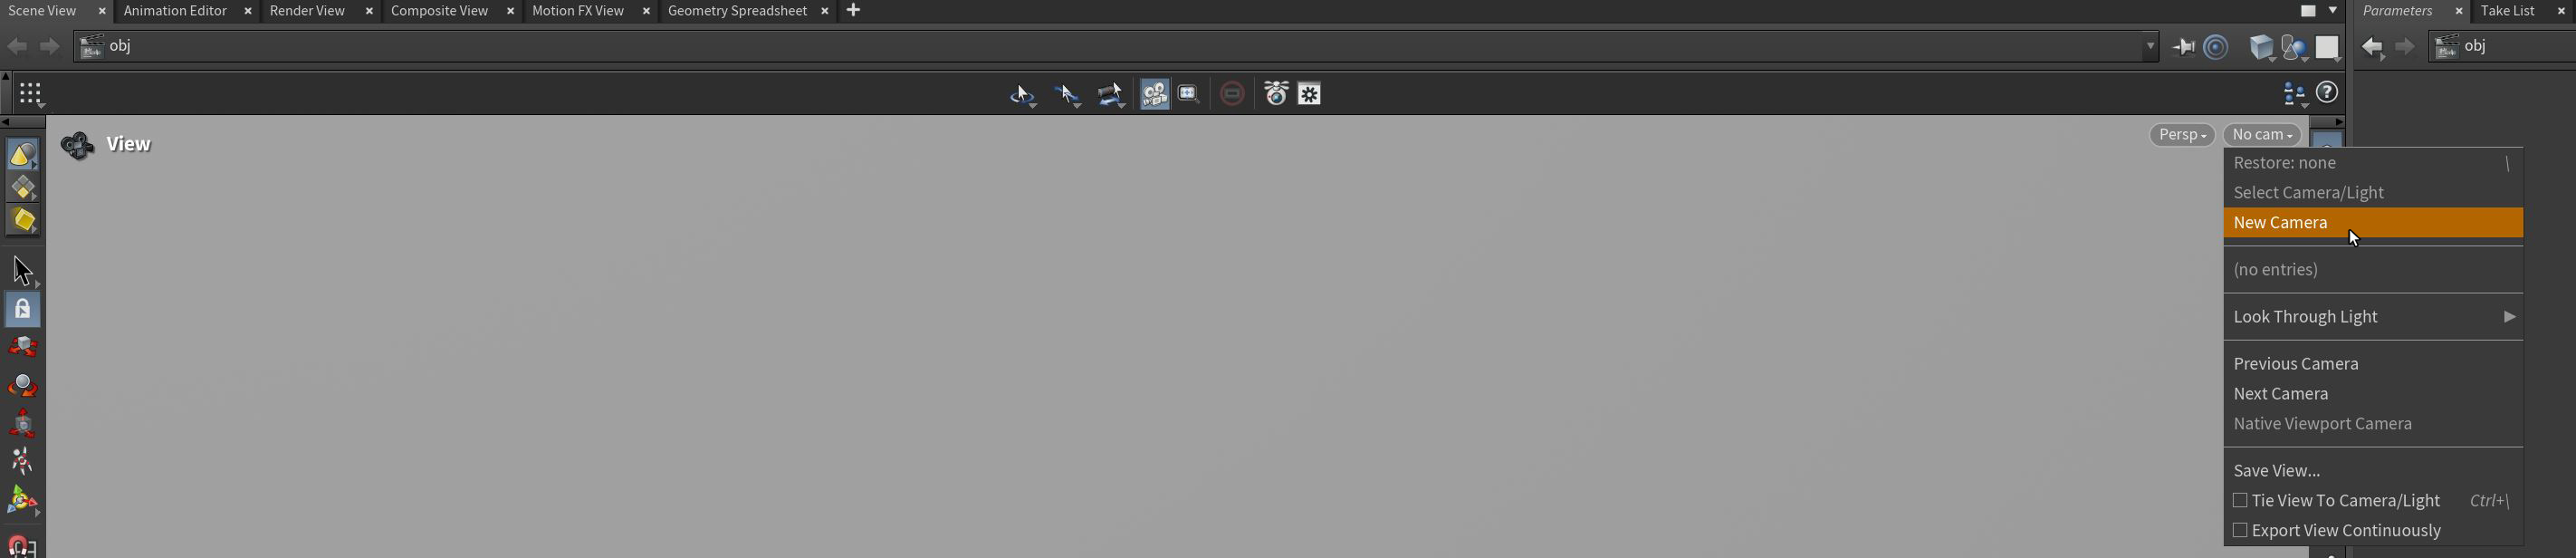
Figure 4: Creating a camera from the Viewport menu
|
|
ROP Camera Path
|

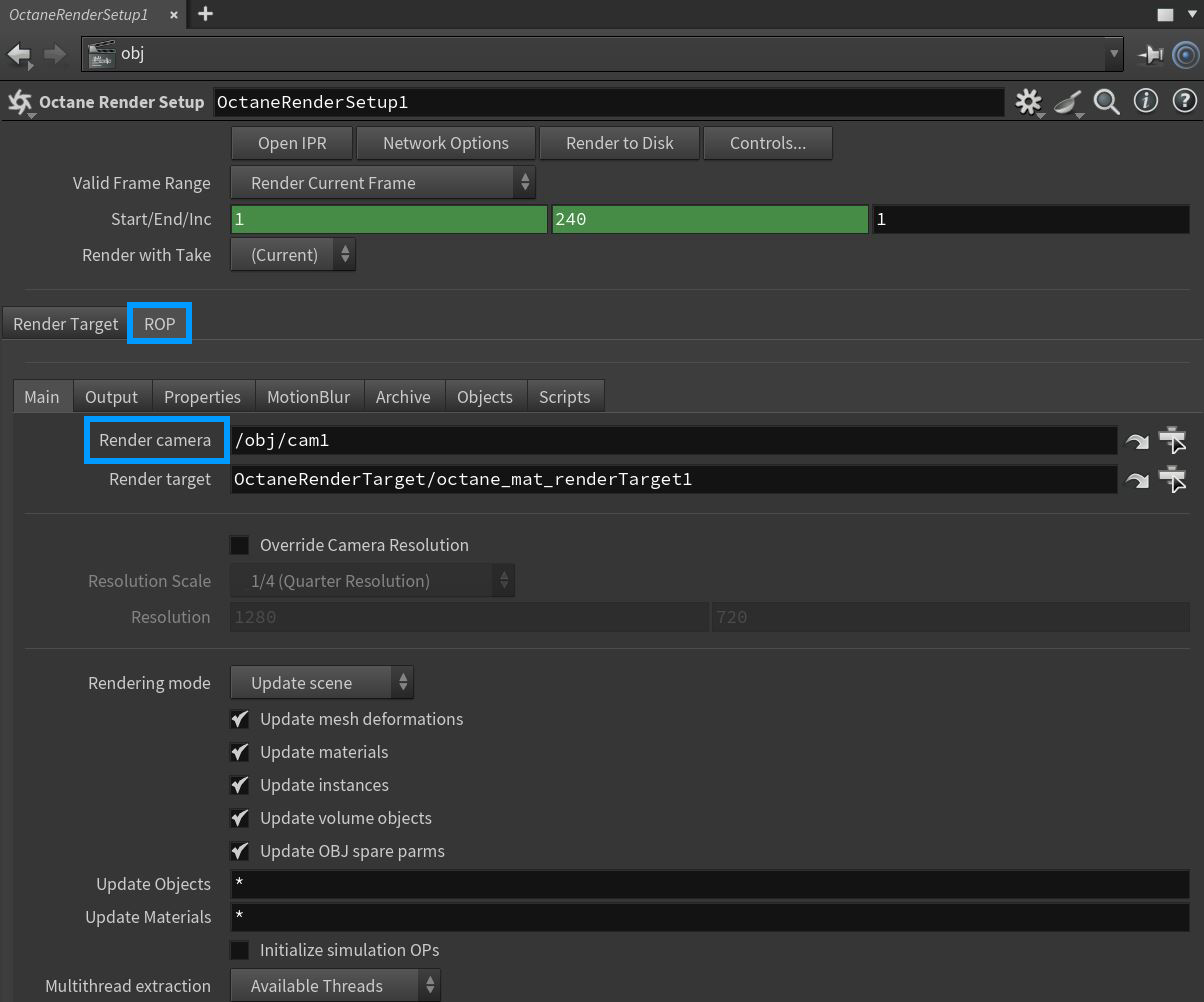
Figure 5: Setting the render camera from the ROP tab
Create Some Geometry
We are going to create some geometry to test OctaneRender. First, add a grid to act as a floor, then add a cube and a sphere to the scene (Figure 6).
|
|
Adding Geometry
|

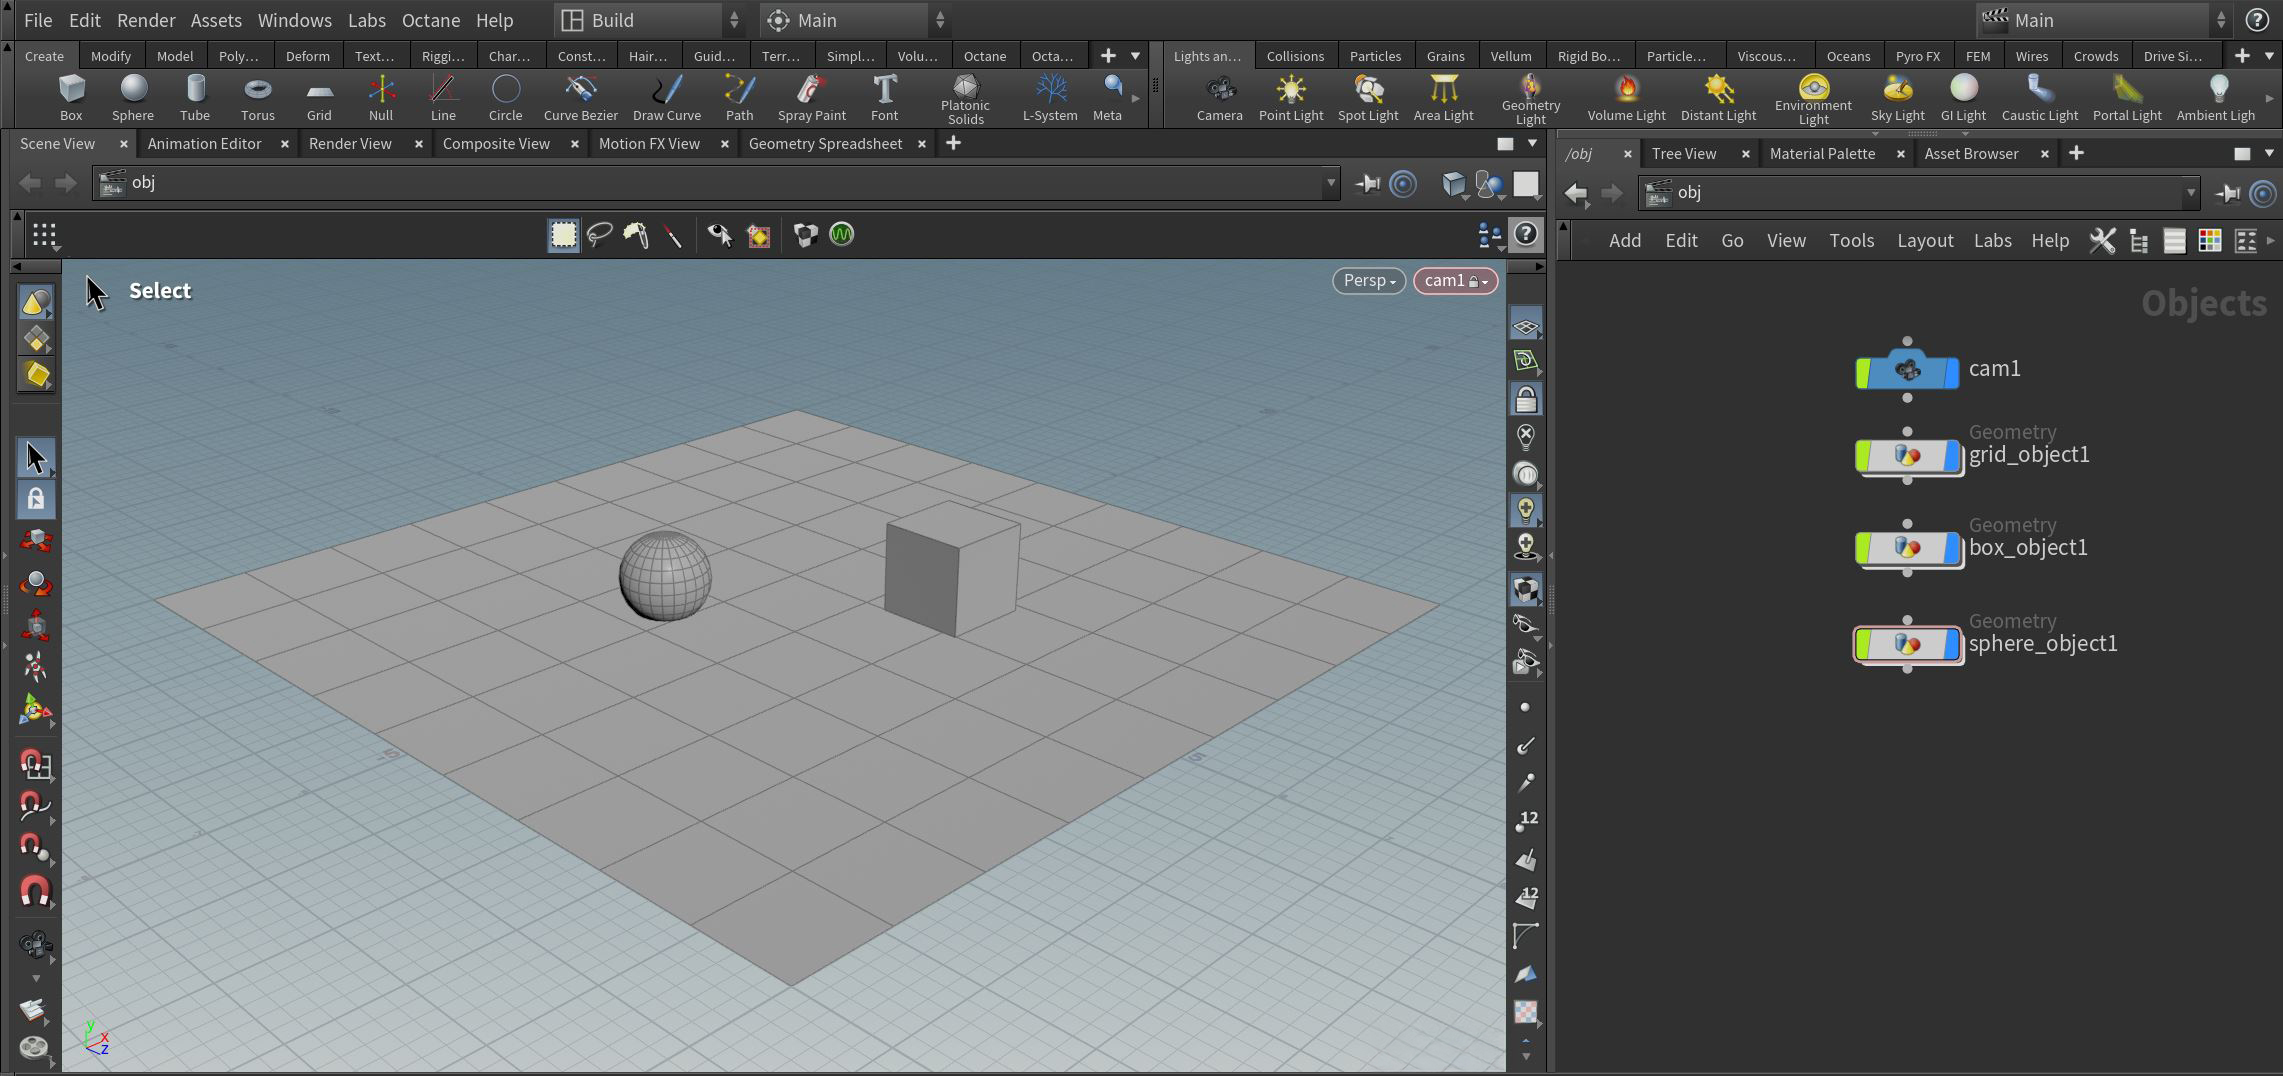
Figure 6: Adding geometry to the scene
Adding Octane Materials
The SHOP or MAT network can be used to add an Octane material with the MAT network being the preferred workflow using an Octane Material Builder (VOP NET) node (figure 7a). Inside the VOP NET, create three materials for each of the scene objects (figure 7b). See the Material section for more details. For quick material assignments, the Octane Quick Material can be used as well.
|
|
VOP NET
|

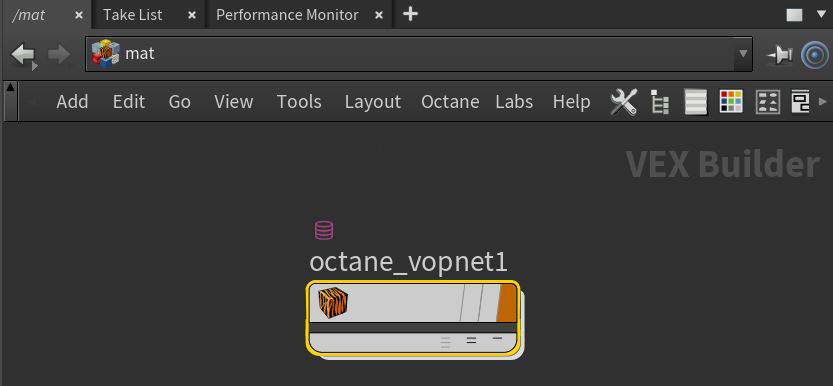
Figure 7a: Adding an Octane VOP NET to the MAT network
|
|
VOP NET
|

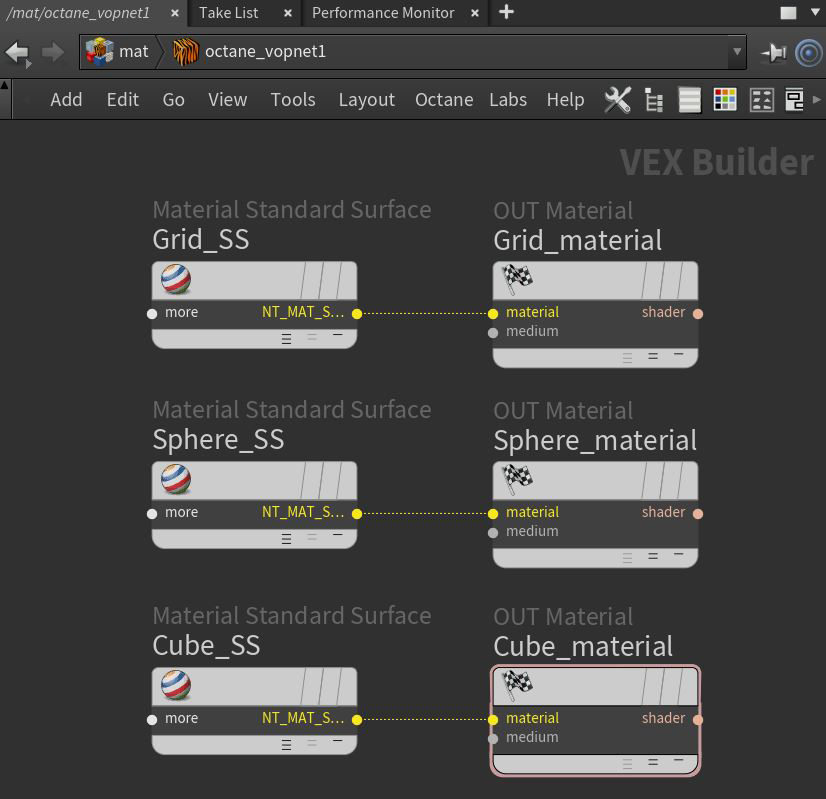
Figure 7b: Adding Octane materials to the Octane VOP NET
The materials can be applied to the scene objects two ways. The first method is to apply the material at the OBJ level (figure 7c). The second method is to apply the material at the SOP level using a Material SOP node (figure 7d).
|
|
Material Assignment
|

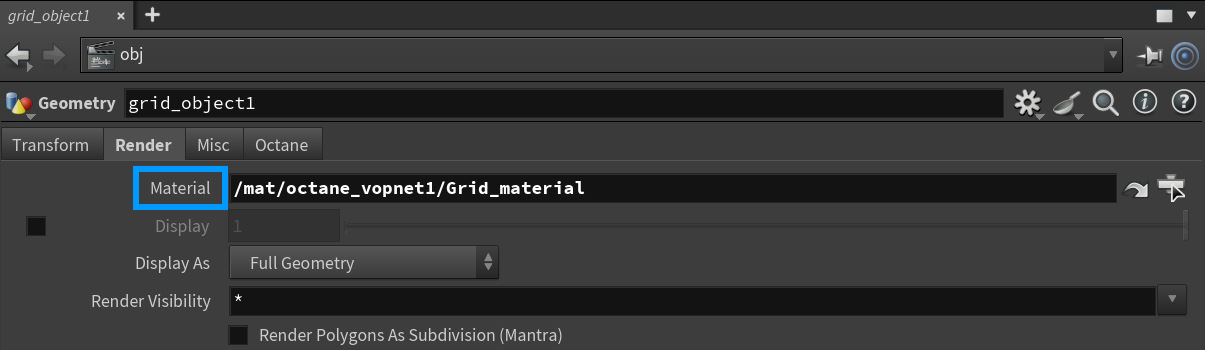
Figure 7c: Assiging a material from the OBJ level
|
|
Material Assignment
|

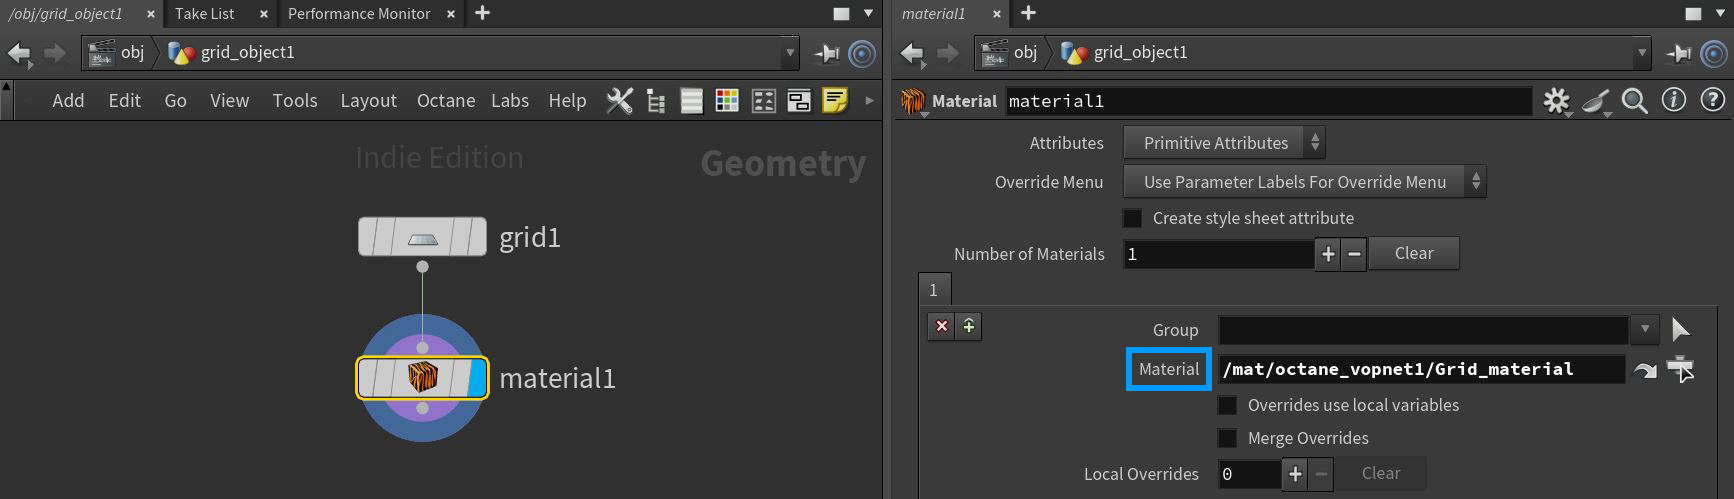
Figure 7d: Assigning a material from the SOP level
The IPR Window
We are now ready to render our first OctaneRender scene. Go to the Octane shelf and click on the IPR button (Figure 8). You can also access the IPR window from the Octane ROP node. The IPR window is the core of the Octane interactive renderer (Figure 9). You can zoom and pan over the image with the mouse buttons and wheel, reload the scene after a change, select the render passes or layers, or pick the focus point or the material under the cursor.
|
|
IPR Window
|


Figure 8: Accessing the Octane IPR from the Octane shelf
|
|
IPR Window
|

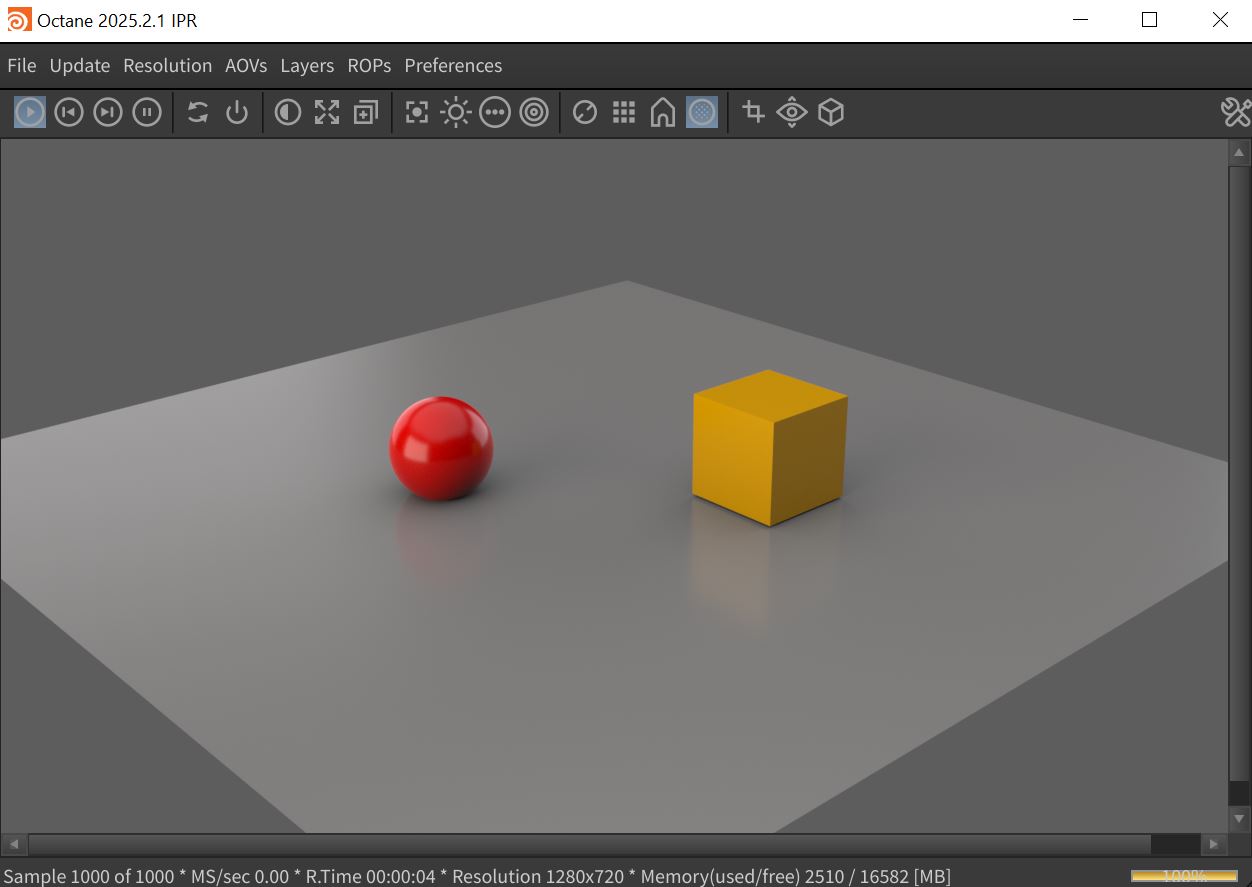
Figure 9: The Octane IPR window
Edit the Rendering Parameters
You can adjust almost all of the rendering parameters from the Render Target tab in the Octane Render Setup node, with real-time preview in the IPR window (Figure 10). For example, we can change the rendering kernel from the default to full Path Tracing.
|
|
Render Target Parameters
|

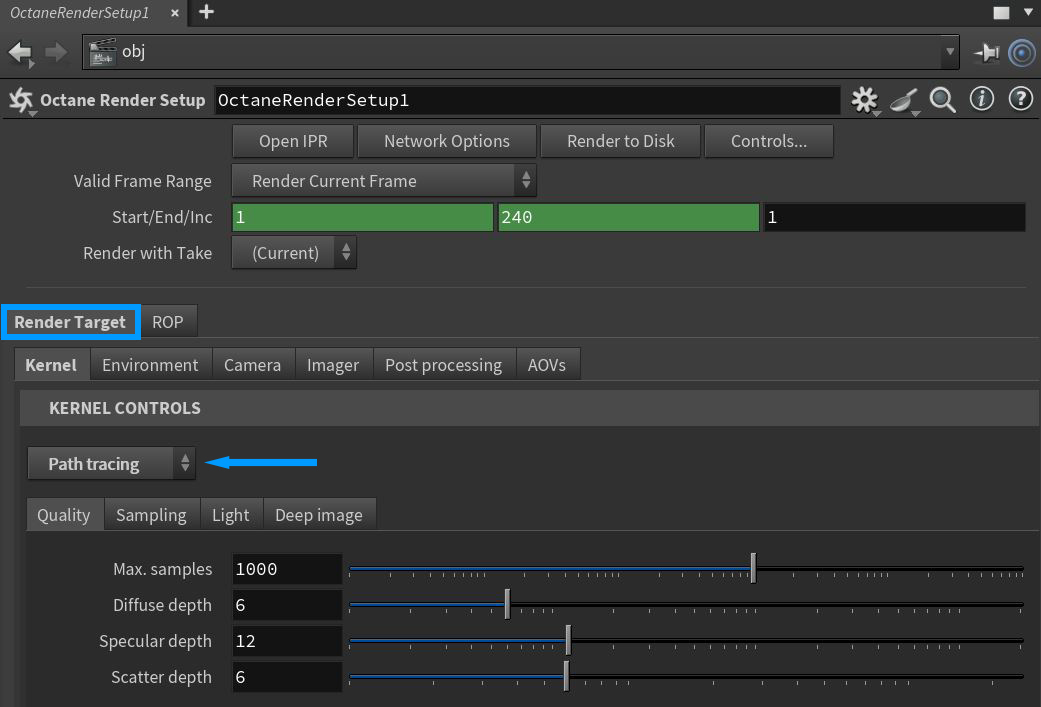
Figure 10: The RenderTarget parameters
Render the Scene
When you have the scene ready, you can set the final render settings in the ROP tab and render the scene to MPlay and/or to PNG or EXR multilayer files (Figure 11).
|
|
Render to MPlay
|

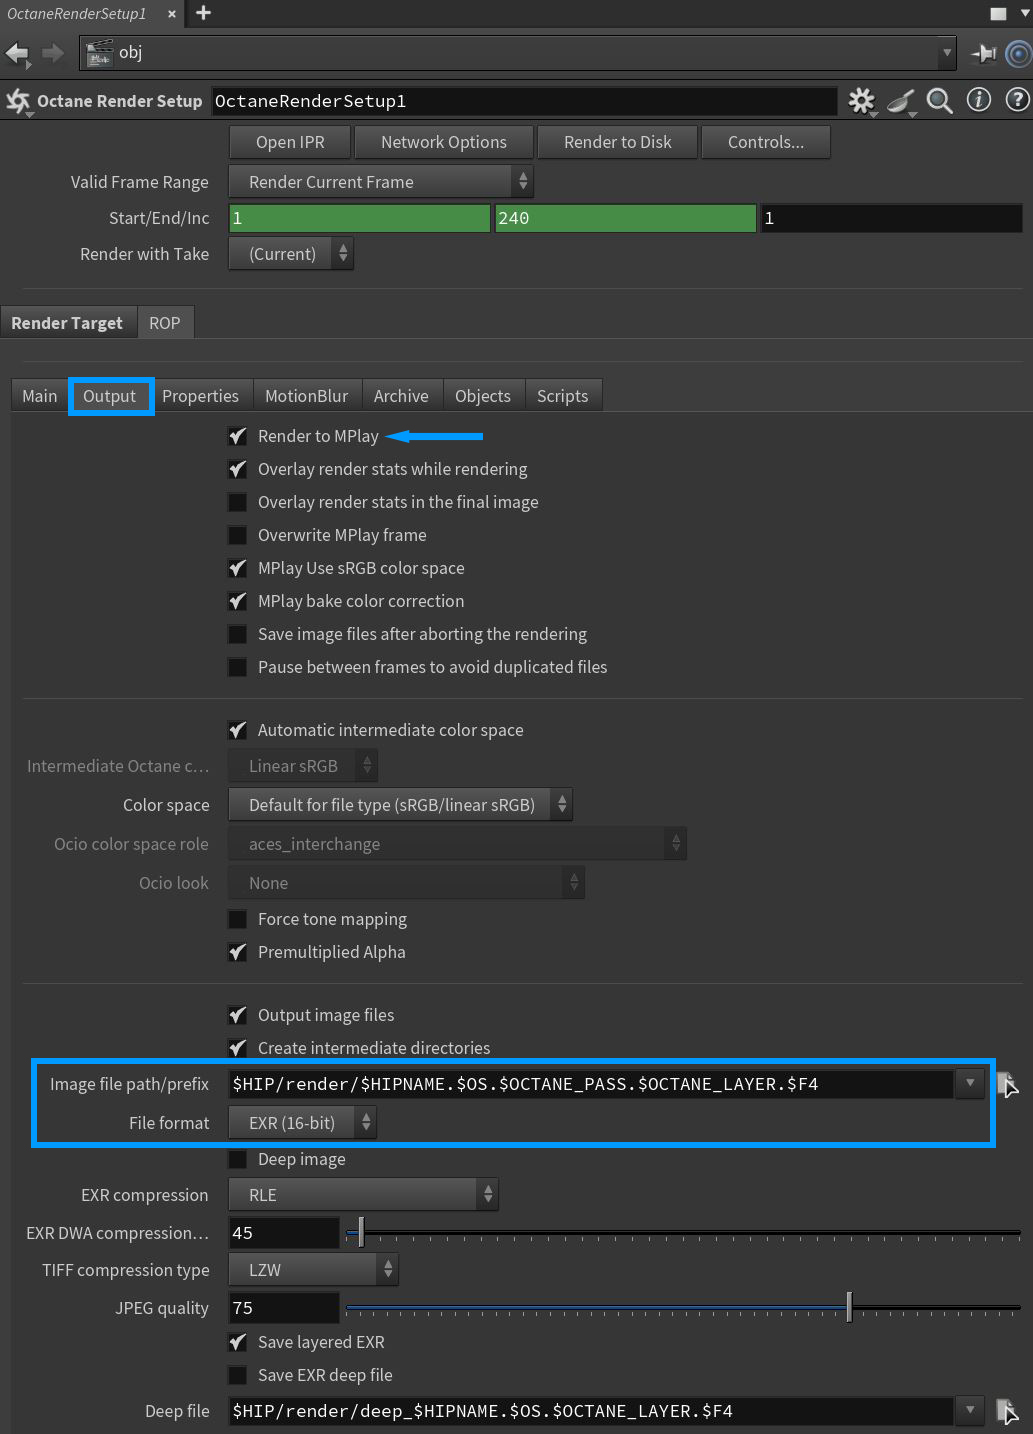
Figure 11: Rendering to the MPlay window from the ROP node parameters