Material Toon And Toon Ramp
The Toon Material designs non-photorealistic renderings with hand-drawn characteristics (Figure 1). You can use it in conjunction with the Toon Ramp texture by connecting it to any of the ramp attributes to design more detailed, toon-like material effects.
|
|
Toon Material
|

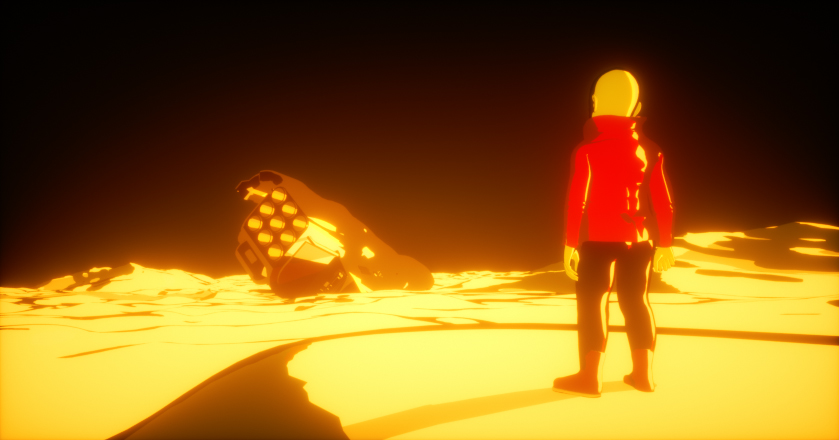
Figure 1: The Toon material
Toon Material Parameters
Diffuse - The Diffuse reflection channel, or the albedo value of the Toon shader.
Specular - The Specular reflection channel, which behaves like a coating on top of the Diffuse layer and creates a highlight on the surface depending on the incident light angle and the camera’s viewpoint. A value of 0 means there is no highlight at all.
Roughness - The Specular reflection channel's roughness. The appearance of the Toon shading’s Specular reflection becomes more prevalent as the roughness of the Specular reflection channels decreases.
Toon Lighting Mode - Since Toon Lighting is required for Toon materials to work, this attribute defines where the Toon lighting is drawn from. This can be from the camera direction, or from Toon Lights. If Toon Lights is the selected mode, Toon materials will need either a Toon Point light or a Toon Directional light included in the scene in order to work.
Outline Color - The color used for the surface's outline and contour edges.
Outline Thickness - Defines and propagates the outline and contour edges used in the Toon shading. A thickness of 0.0 means there is no outline for that surface.
Opacity - Controls the Toon material transparency with a Grayscale texture.Bump - Simulates a relief using a Grayscale texture interpreted as a height map.
Bump Pin - Creates fine details on the material’s surface using a Procedural or Image texture. Often a Greyscale image texture connects to this parameter - light areas of the texture indicate protruding bumps, and dark areas indicate indentation. You can adjust the Bump map's strength by adjusting the Power or Gamma values on the Image texture node.
Bump Height - Determines the height represented by a normalized value of 1.0 in the bump texture. A vaule of 0 disables the bump map and a negative value will invert the bump map.
Normal Pin - Creates the look of fine detail on the surface. A normal map is a special type of image texture that uses red, green, and blue color values to perturb the normals of the surface at render time, thus giving the appearance of added detail. They can be more accurate than Bump maps, but require specific software such as ZBrush®, Mudbox®, Substance Designer, XnormalTM, or others to generate.
Displacement Pin - Allows adjustment for the height of points on a surface based on an image value. Displacement differs from Bump or Normal mapping by providing true displacement of an objects surface. Displacement mapping is covered in more detail under the Displacement Overview section.
Smooth - Enables normal interpolation. If disabled, triangle meshes will appear faceted.
Smooth Shadow Terminator - If enabled, self-intersecting shadows are smoothed according to the polygon's curvature.
Round Edges Pin - This creates a shader effect at render time that rounds the sharp edges of objects without modifying and reloading the geometry. Higher values will round the edges more. This is useful to bevel hard edges during render time, like when using low-polygon models. See the Round Edges section for more information.
Priority - Used to resolve the ambiguity in overlapping surfaces, the surface priority control allows artists to control the order of preference for surfaces. A higher number suggests a higher priority for the surface material, which means it is preferred over a lower priority surface material if a ray enters a higher priority surface and then intersects a lower priority surface while inside the higher priority surface medium.
Custom AOV - Writes a mask to the specified custom AOV.
Custon AOV Channel - Determines whether the custom AOV is written to a specific color channel (R, G, or B) or to all the color channels.
Compatibility Version - The Octane version that the behavior of this node should match.
You can apply a Toon Ramp to the Diffuse and Specular components of the surface. We recommend setting the Diffuse parameter to black. This cancels out any contributions from the Diffuse parameter. Toon ramp settings consist of classic gradient settings (Figure 2).
|
|
Toon Ramp
|

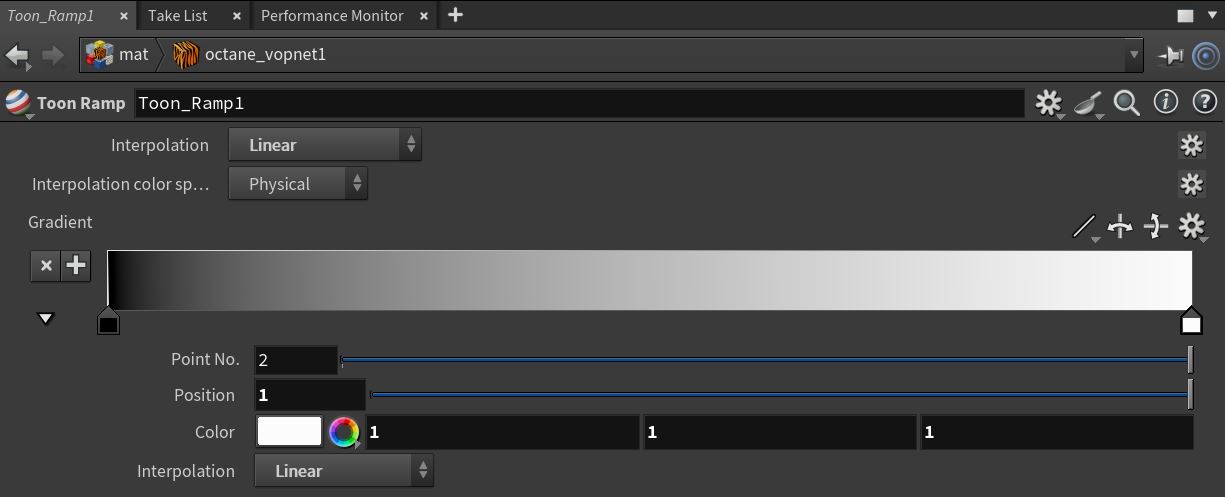
Figure 2: The Toon ramp parameters
|
NOTE The Toon Material requires the use of Toon lights. |