Enabling Network Rendering
To enable network rendering for a Primary Render Node, click on the Octane ROP node, then click on the Network Options button (Figure 1).
|
|
Enabling Network Rendering
|

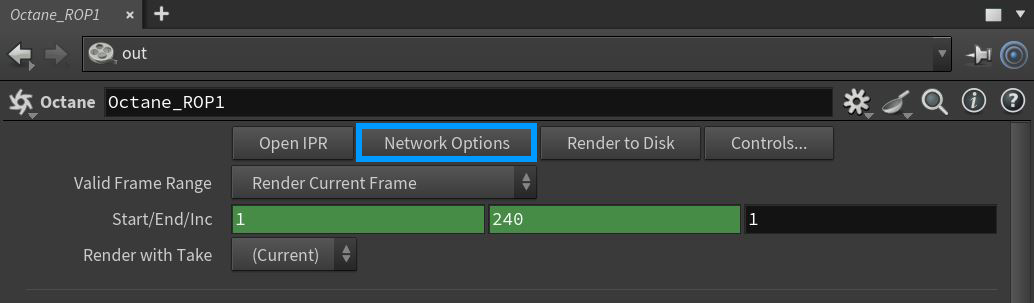
Figure 1: Accessing the Network Options from the Octane ROP
Select the Enable Network Rendering checkbox in the OctaneRender Network Preferences window (Figure 2). The Primary Node opens a socket at the specified Master Network Port and listens at that port for render nodes trying to connect to the primary node. It starts scanning the specified subnet in the local network for daemons and as soon as a render node with the correct version connects, the Script window shows a message about the additional GPUs and render nodes. Additionally, the Network Options dialog includes an option to turn automatic port configuration for the Primary Render Node on or off. If enabled, you can use multiple primary render nodes on the same computer.
|
|
Enabling Network Rendering
|

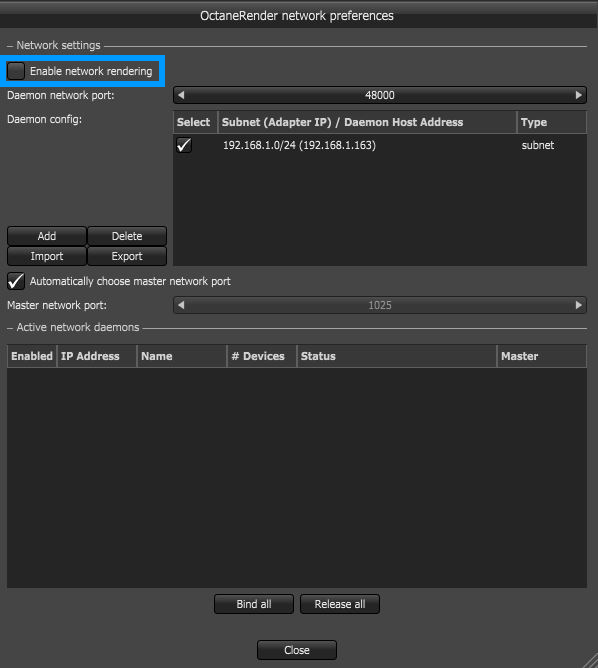
Figure 2: Enabling the Network Rendering feature
While you are rendering an image, the render data is sent to the new Render Node and it starts contributing to the image. The render data update on the render node is driven by the primary render node, and you can see the progress in the statistics information.