Substance Painter with Universal Material
Substance Painter / Universal Material Workflow
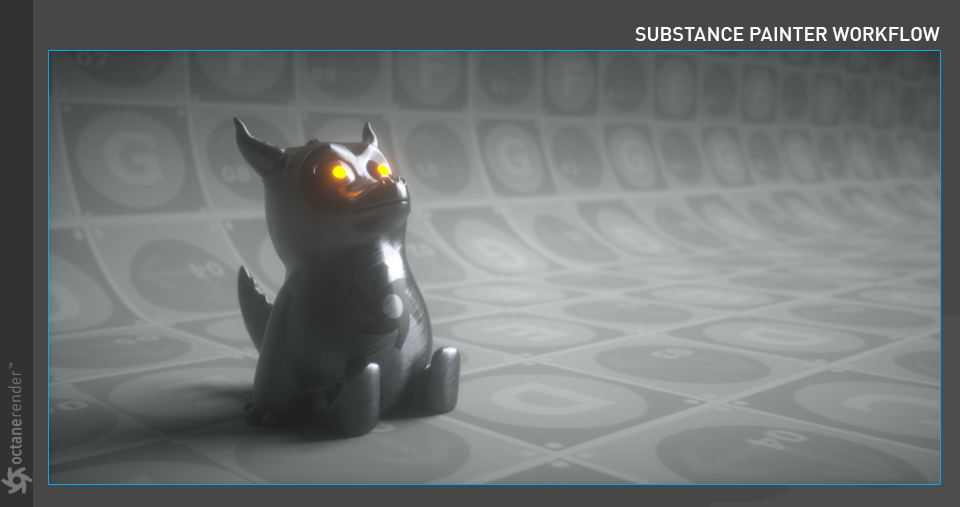
The Universal Material is specifically intended to work with Substance Painter and other PBR workflows. The following mini tutorial does not describe how Substance Painter is used or how the texture is produced. This is beyond our scope. Both free and professional tutorials are available on the Internet about Substance Painter. The Mini Tutorial does not include complex Substance texture setups. It is aimed to explain the universal material connection with a setup that is as simple as possible.
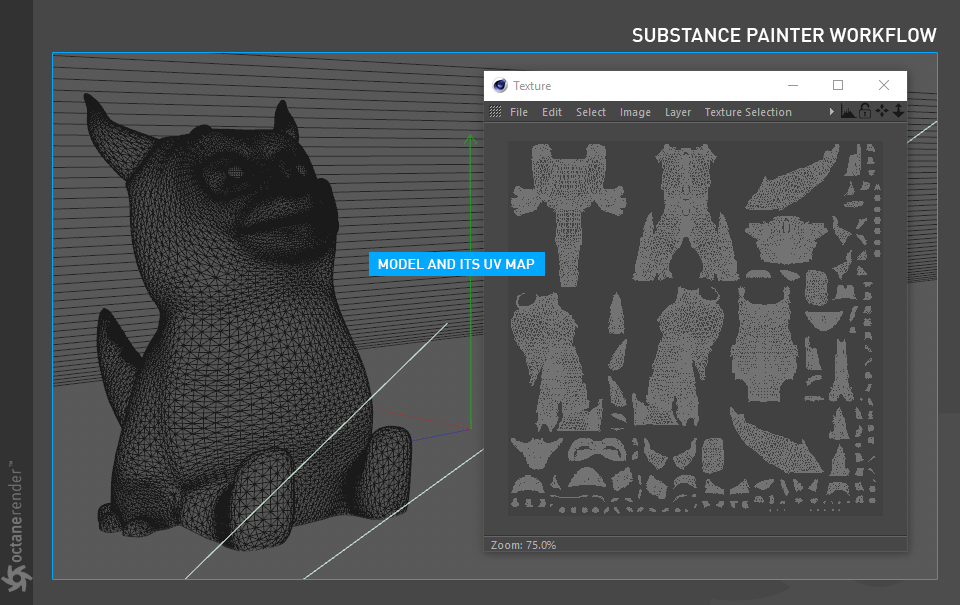
1- Scene PreparatIon (C4D)
Prepare the model in Cinema 4D. UV maps must be made properly in order to work efficiently in Substance. This model was unwrapped using Cinema's UV toolset.
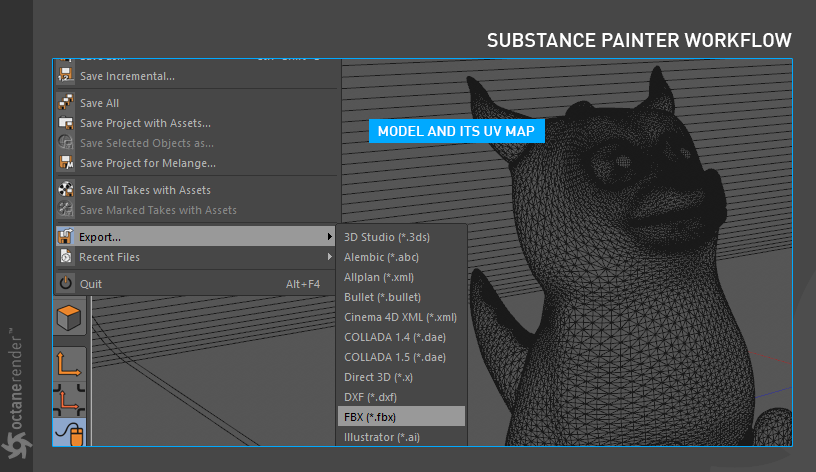
2- Export Your Mesh for Substance
Once the model has UVs, it is ready for Substance. From the File menu, select the Export/FBX format and save with the default options.
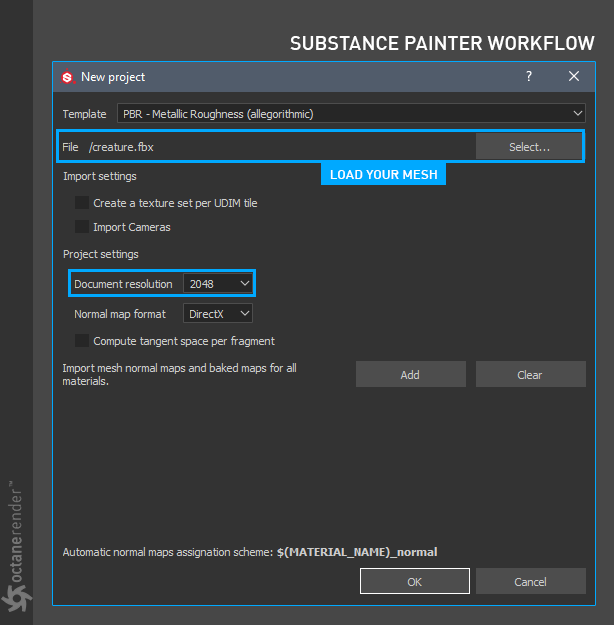
3- Import Your Mesh to Substance Painter
Now switch to Substance painter. From the File menu, choose "New Project" and load your object. Also, make the Document Resolution 2048. If necessary, the resolution can be lowered to 1024 to work more comfortably. When exporting the final output in Substance, it can be saved at a higher resolution. Due to its procedural nature, there is no loss of quality in processes such as texture enlargement or reduction in Substance Painter.
4- A Few Small Steps...
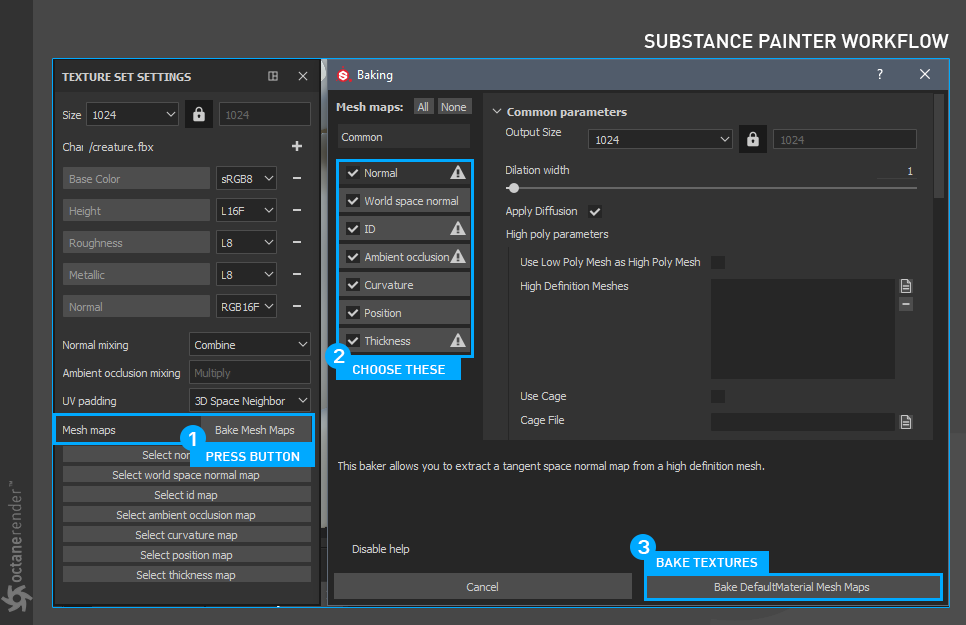
There are a few more steps to do before we get into the production of textures. First go to the "Texture Set Settings" window and click "Bake Mesh Maps" right next to "Mesh Maps". This allows us to have a texture set for every process on our Mesh and is similar to the "bake texture" command in Cinema 4D. For more information, check both the Substance and the Cinema 4D help file.
5- Texture CreatIon
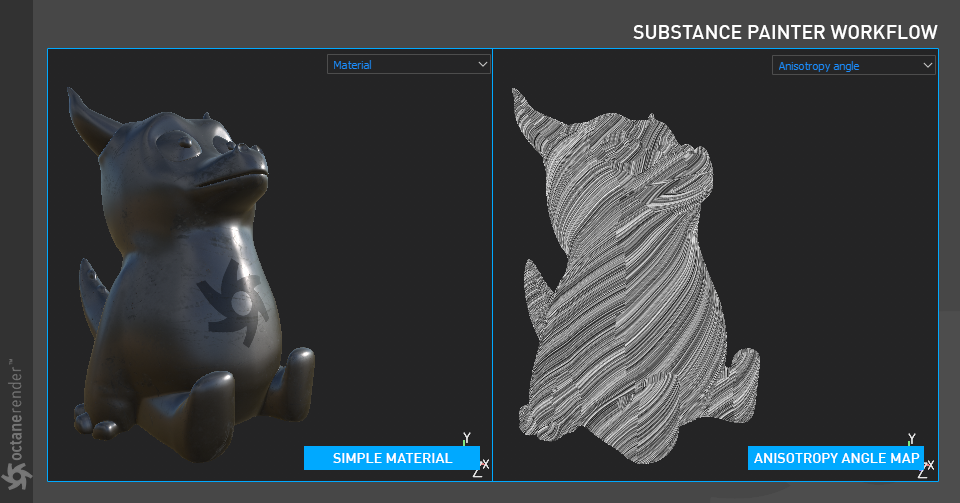
You can now start texture/paint production. For this tutorial we have created a simple material. This material consists of four maps: Albedo, Metallic, Roughness and Anisotropy Angle. In Substance, you can see the Anisotropy Angle presented as a separate map, which we will add to the Universal material.
6- Export Your Textures
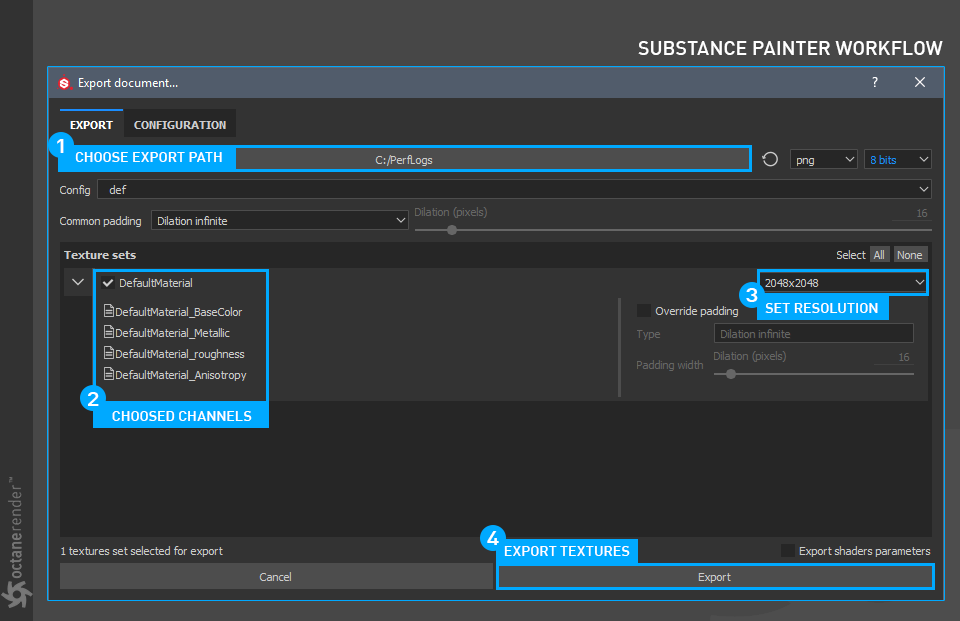
You can now export the texture after it has finished. To do this, select "Export Textures (CTRL+SHIFT+E)" from the File menu. After making the appropriate settings in the export window, press the "Export" button. We are done with Substance Painter for now.
7- Use Textures in Octane Universal Material
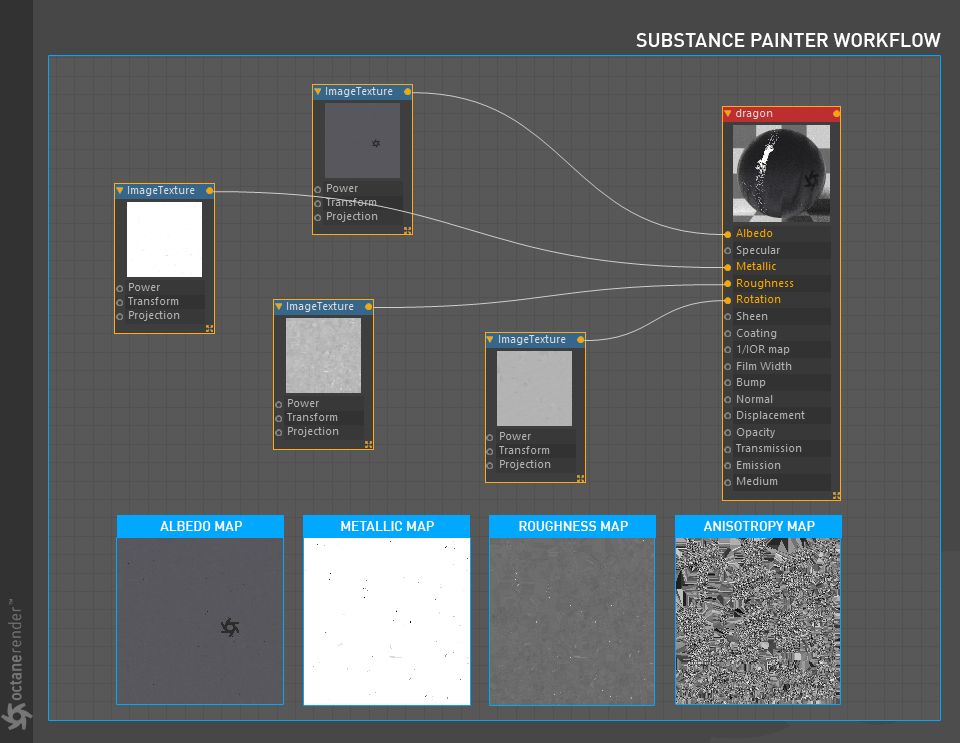
Now, create a Universal material, and set the BRDF model to GGX. Next, open the material in Node editor and create a Node setup as in the image below. For information on the Node editor, it is explained in detail here. You can also look at this section for the image texture node information. In order for the anisotropy angle map to work, first change the Anisotropy to "1" from the main material parameters. In addition, Anisotropy is strictly dependent on roughness. So, in Substance, you should map the anisotropy channel to roughness. In Octane, you can easily control both the metallic appearance and the anisotropy level with the Power and gamma settings.
Note: "Anisotropy Rotation" is named "Rotation" in Octane.
8- Finalizing Your Render
After connecting the textures to Universal material, run Live Viewer. Set up the camera and lights for the scene. The material visible in Substance's viewport is for reference purposes only, the light setups in your actual scene determine the primary appearance of your texture.
That's it! You're all set with the basics of working with Substance materials in Octane with the Universal Material.