Anatomy of the Live Viewer
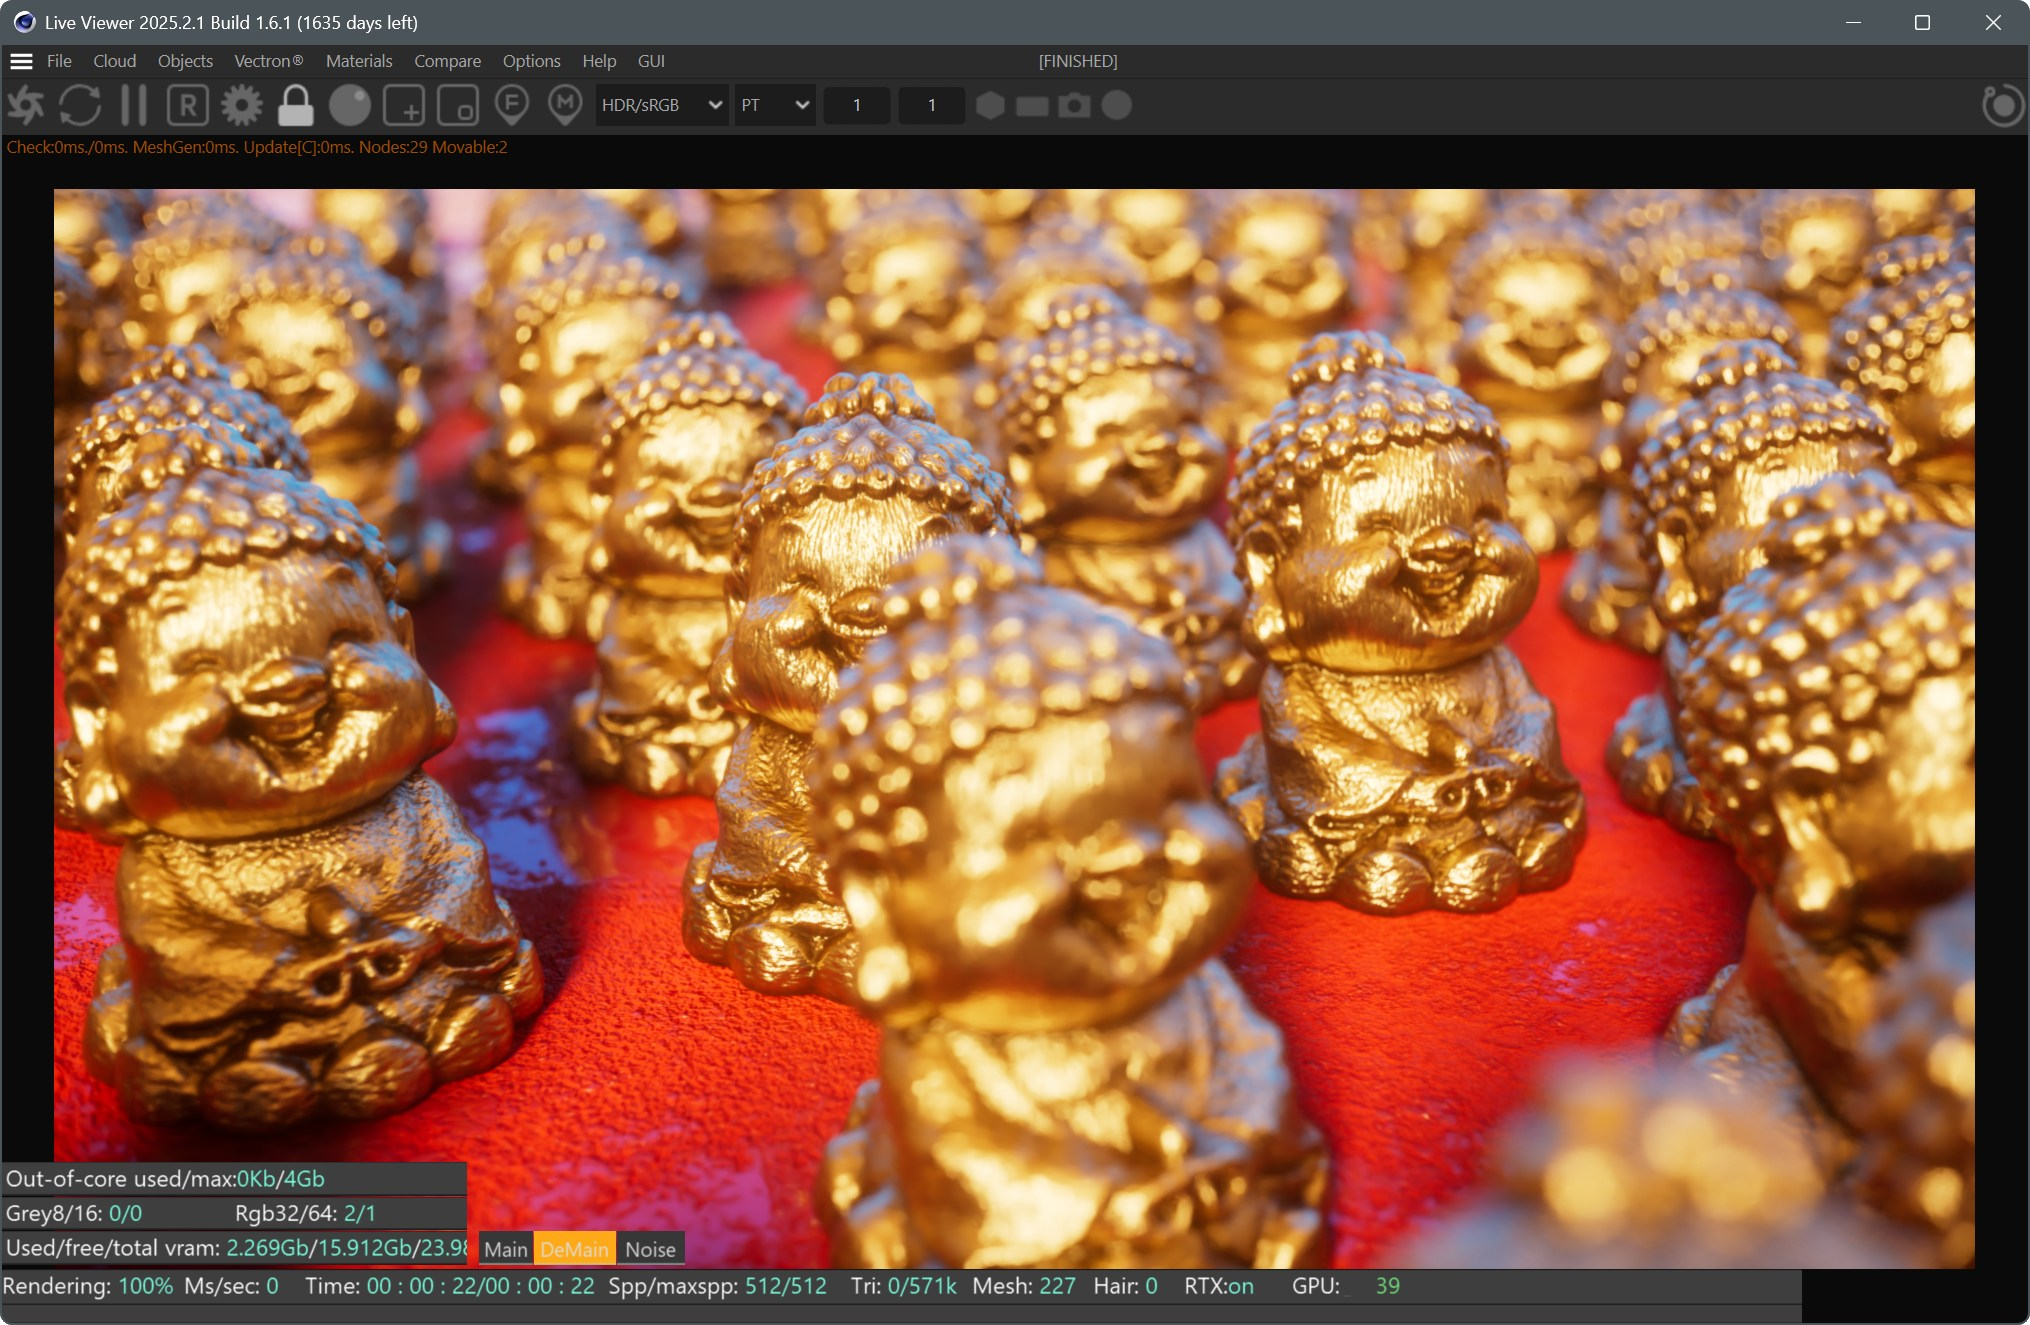
Live Viewer is effectively the heart of OctaneRender®. Here, all the elements in the scene — materials, lights and objects — will react immediately as changes are made. This interactivity and immediacy will completely change the way you work in 3D. Live Viewer is so responsive that you can even model and layout your scene and plot shots while using Live Viewer, allowing you to quickly explore and create like never before.
use live viewer for lighting and shading — not motion blur or motion previews
|
VERY IMPORTANT Live Viewer is a real time tool for look and lighting development, camera framing, DOF, and post effects. Live Viewer is NOT a motion preview system — Live Viewer is intended for speed and makes many cheats along the way to achieve as close to a real time interaction as possible. As a result, the results from Live Viewer will most likely differ from Picture Viewer and final renders with regard to motion blur, animation, simulations and color management (as Picture Viewer color management in Cinema 4D is a feature in R2023 and beyond). To get accurate results that match Live Viewer (but with proper motion blur) you need to actually render the scene and save via Render Settings > Octane Renderer > Render AOV Manager and save via the file path option in that tab. More information can be found here. |
Animation — Timeline
Live Viewer is timeline dependent — motion blur, simulations and other features require a forward traversal of time. If not, these elements will get confused and thus not match what you would see when you render to Picture Viewer (considering the restrictions discussed above). Live Viewer will display these elements, but the display may not be correct. You can improve on this to a degree if you go back to your first frame, active Live Viewer, and then scroll to the desired frame. If you scrub the timeline (move the play head back and forth) any motion results shown in Live Viewer may not be correct. The tips below should be used in situations requiring accurate motion previews:
Use Make Preview to check Motion
Do not use the Live Viewer as a proof for motion or final motion blur quality; instead, use the Make Preview command for a quick motion preview or do a low sample/low resolution final render. Live Viewer uses the contents of working memory only for speed; any time-dependent functions (motion blur, mograph, simulations) may not properly display in Live Viewer.
Render Low Sample/Low Resolution Previews
To check motion blur results, you will need to do a final render — for speed, use a combination of lower resolution output with low Max Samples. Final renders iterate through the entire Cinema 4D motion evaluation pipeline which Live Viewer bypasses for speedy feedback.
Final Image Quality
Live Viewer allows you to save images from the viewer itself. Depending upon your settings, those images may not match be final quality in terms of renders that are initiated through the Render to Picture Viewer, Render View or command line options. In part, this is because Live Viewer's primary purpose is giving you the closest possible experience to real time feedback — sampling may be reduced and/or other methods may be employed to deliver that goal. Unlike the final render methods, Live Viewer does NOT load assets from disc; instead, it uses what Cinema has currently in memory.
Image Quality Settings
Live Viewer has its own set of quality and sampling settings. These settings can be migrated over to the main OctaneRender settings, but not without you explicitly doing so by Octane Settings > Settings menu > Copy to Video Post. Always render a test frame to Picture Viewer, for confirmation of your scene settings before committing to a long render or shot.
Color Management
The color management for Live Viewer is completely under Octane's control — Cinema 4D color management is ignored. Any image shown in Live Viewer will properly displayed via the settings in the Colorspace Switcher. In order for the Cinema 4D Picture Viewer output to match that of the Live Viewer, the scene's Color Management settings by be correct in the Edit > Scene Settings > Color Management turndown discussed here.
|
NOTE In cases where ACES is desired, an simpler option would be to enable the ACES Tone mapping toggle in Octane Camera tag > Camera Imager > ACES tone mapping or in Octane Settings > Camera Imager > Imager > Aces Tone mapping. Doing so bypasses the need to deal with the depth of settings involved with ACES and OCIO when not needed. For more information on color management in Octane, see the Color Management and ACES topic. |
|
|
live viewer
|

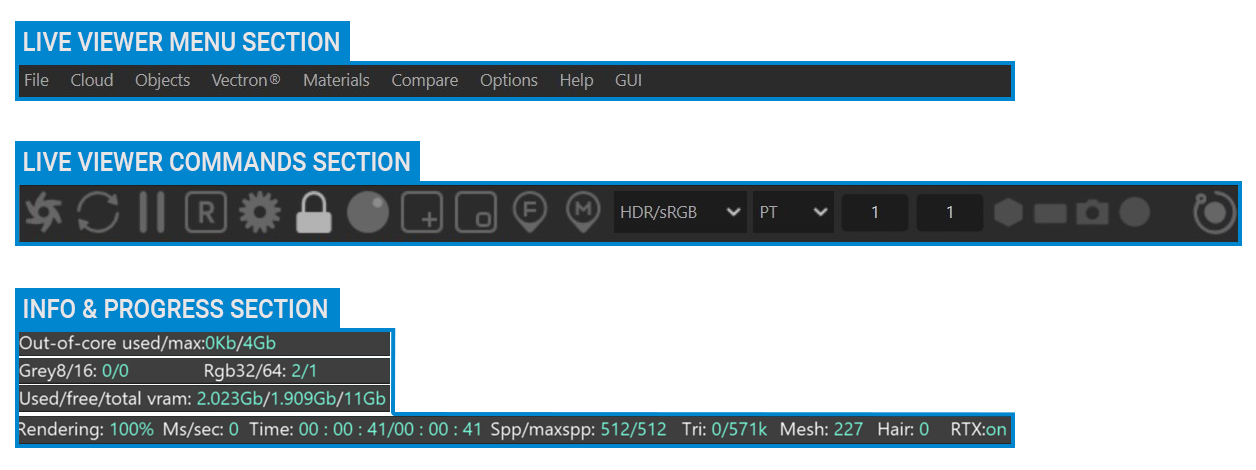
Live Viewer Breakdown
The Live Viewer contains three main control sections for you to interact with:
1- Live Viewer Menus Section.
2- Live Viewer Commands Section.
3- Live Viewer Info&Progress Section.
|
|
live viewer breakdown
|
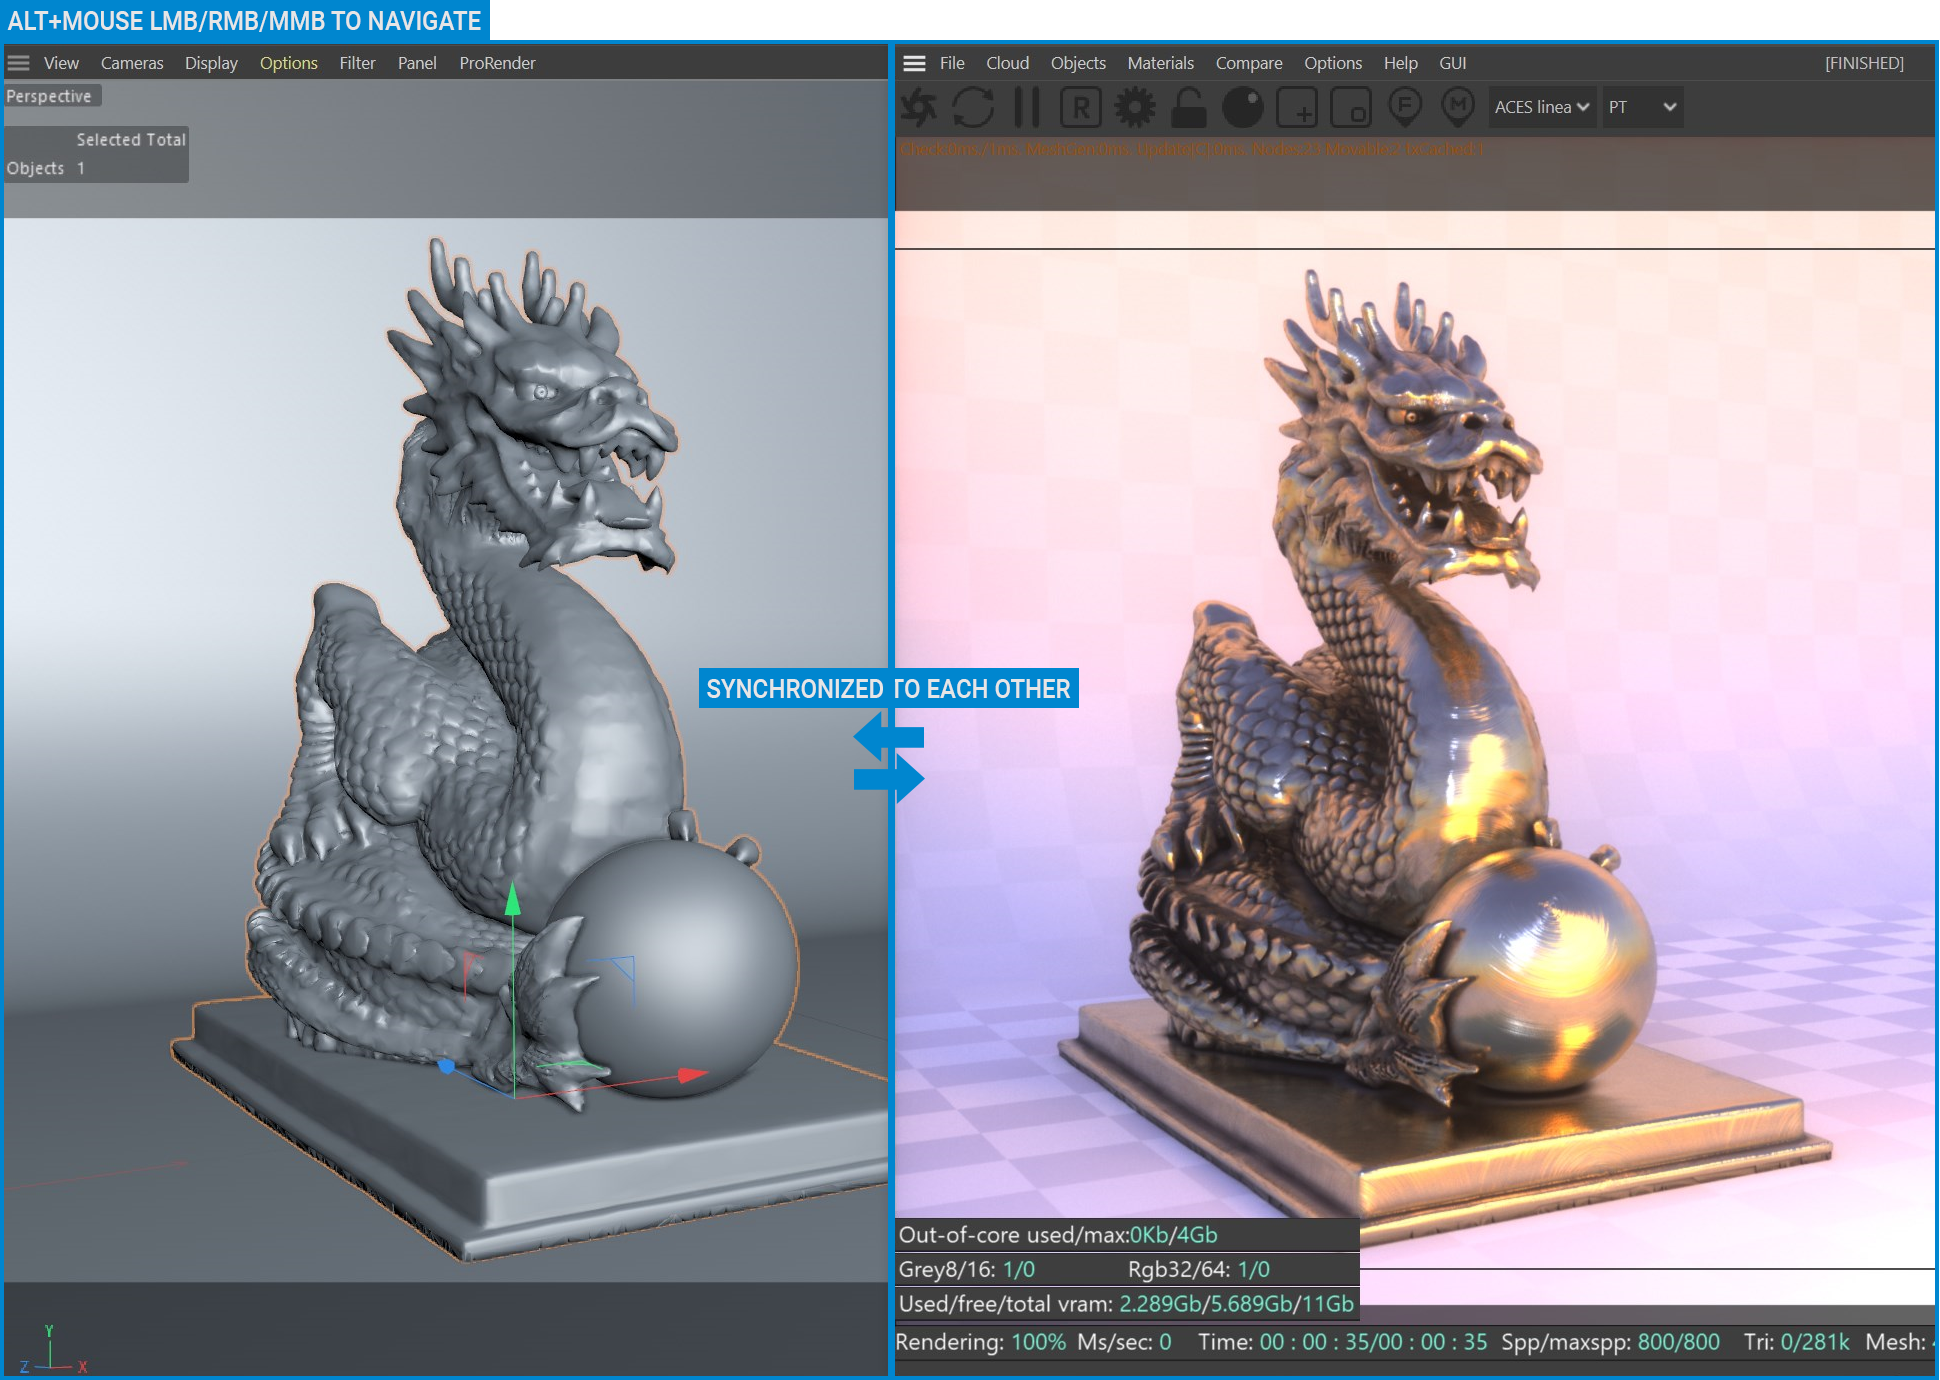
Navigating 3D Space in the Live Viewer
Navigate through the scene in Live Viewer using the same commands and shortcuts as Cinema 4D's viewport: ALT+Mouse LMB/RMB/MMB buttons. The Live Viewer is synchronized with the Cinema 4D viewport, though you can specifically disable this by deactivating Live Viewer > Options > Check Camera. The view works regardless of the presence of an Octane camera.
|
|
navigating in live viewer
|
Context Menu
When working in Live Viewer, you can access some menus, commands, or shortcuts via the context menu. To do this, right-click on the Live Viewer and select the option to use from the drop-down context menu. Let's look at these options:
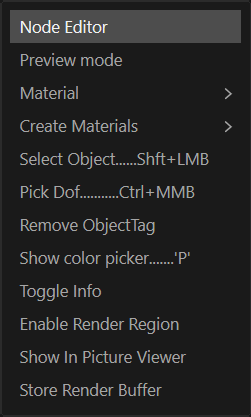
Node Editor
When you right-click on any object in Live Viewer and select this command, the Node Editor window opens, and you can see the corresponding material setup.
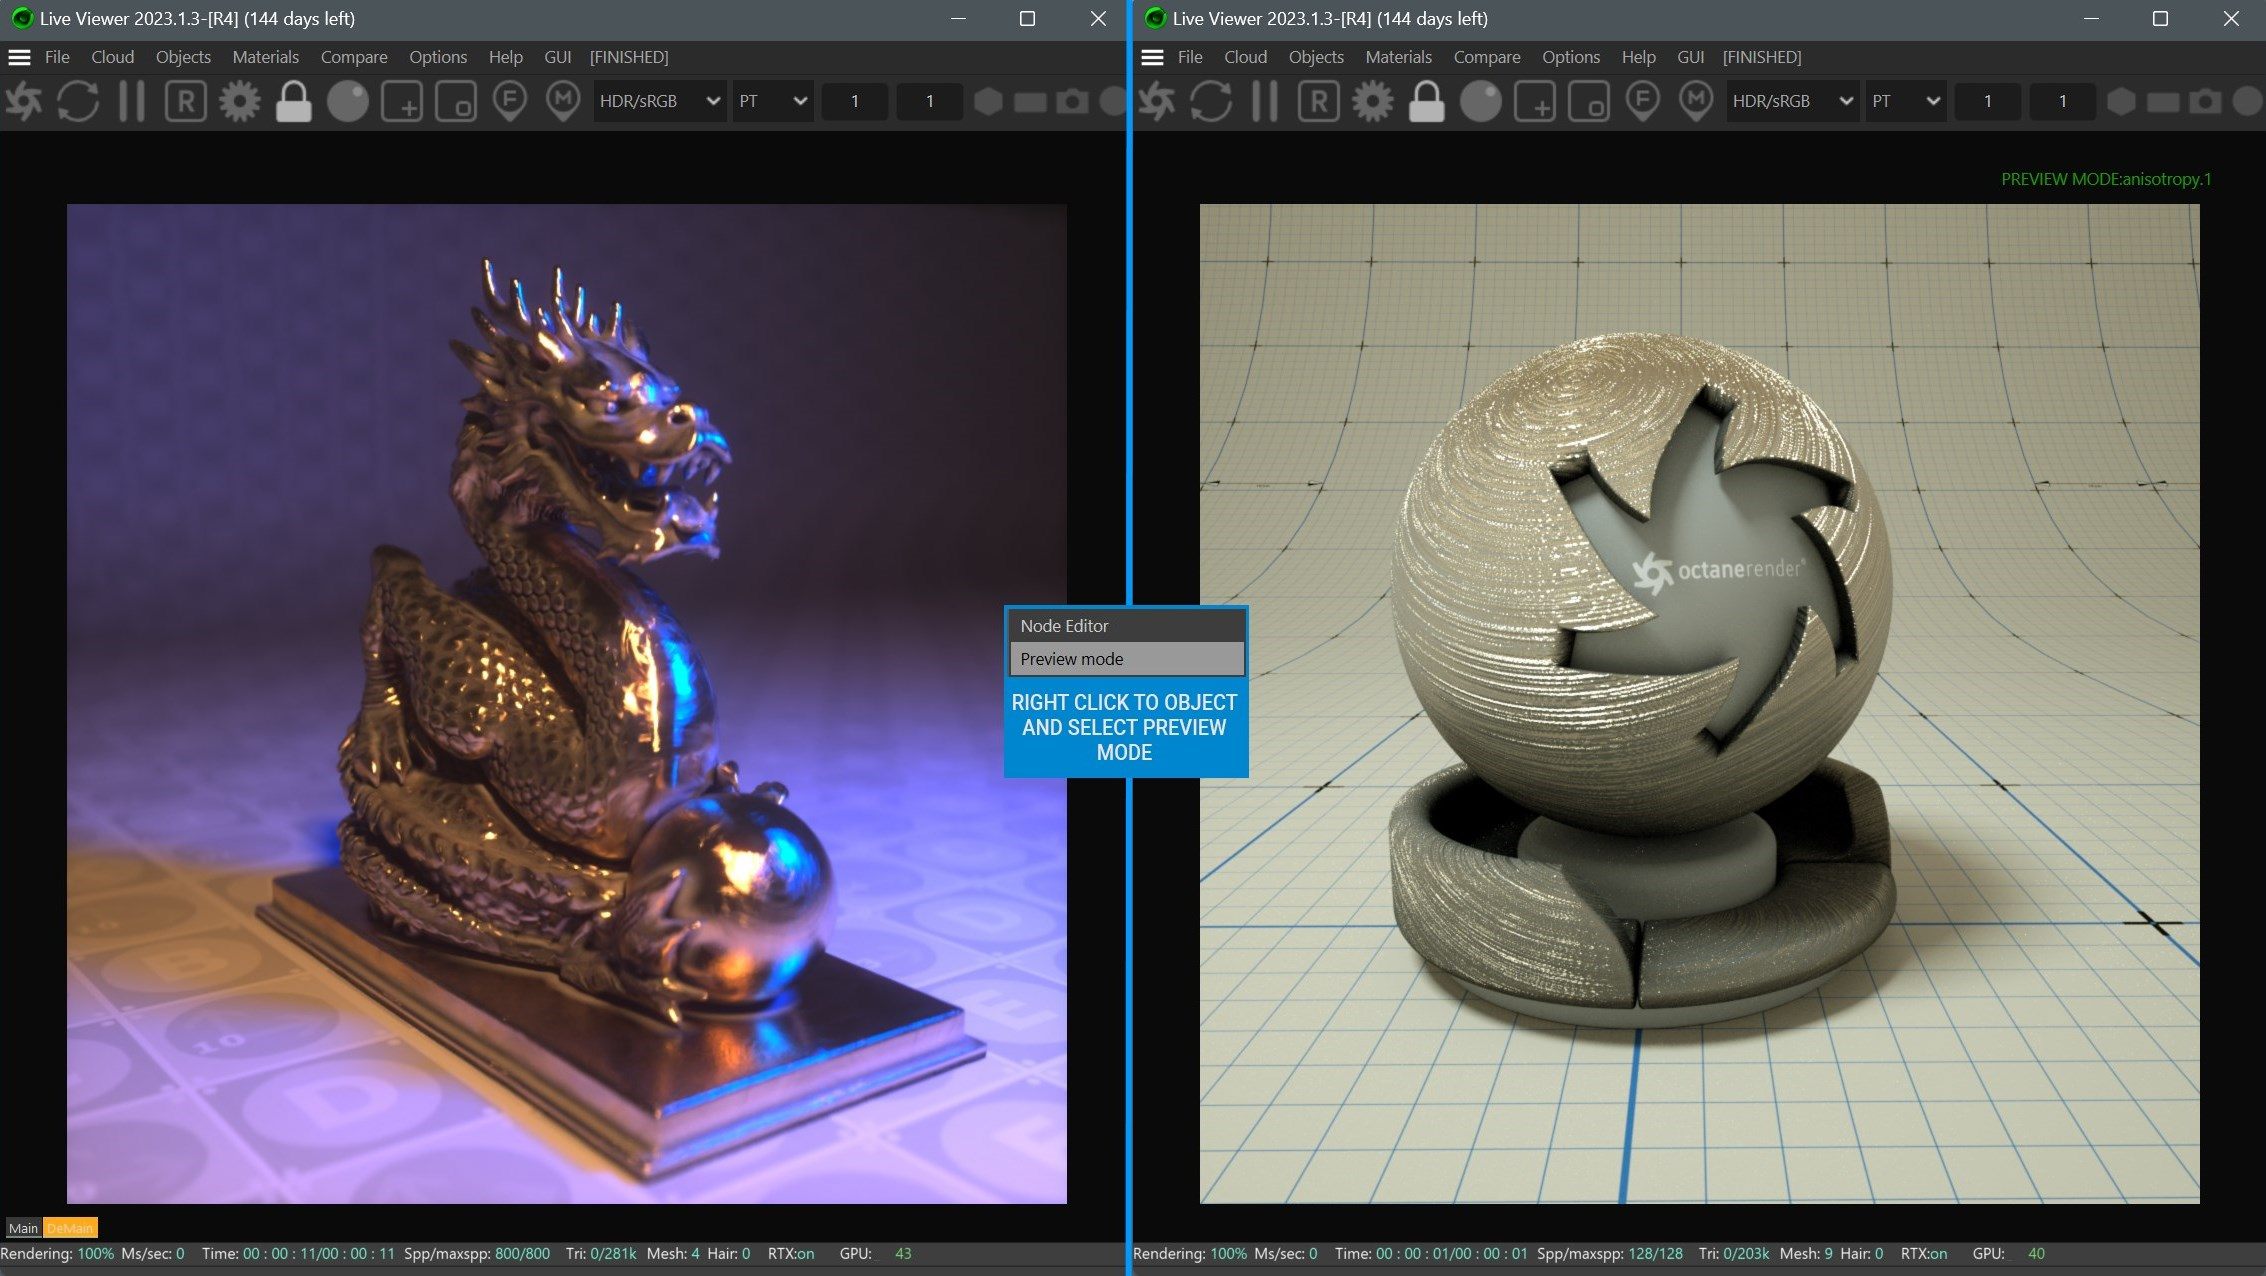
Preview Mode
When you right-click on any object in Live Viewer and select this command, the Live Viewer window changes to preview of the corresponding material. A new scene will quickly load, with a special "shading object" in the center containing the selected material. In addition, a curved background "cyclorama" will also be loaded, with a grid texture applied. Right click again when you want to close the Preview window and choose "Disable Preview Mode" from the context menu.
|
|
Material Preview
|
Material > Select Material
When you right-click on any object in Live Viewer and select this command, you can see the selected material in the Cinema 4D Material Manager window and in the Attribute panel.
Material > Copy & Paste Material
You can copy and paste from any object's material and to any other object in Live Viewer by using these commands.
Create Materials
This is a shortcut to create most of the Octane Material types, in addition to the Live Viewer Menus.
Select Object
You can select any object in Live Viewer window. Selected object will be active in the Cinema 4D Object Manager.
Pick DOF
The Pick DOF option allows you to set the focal plane for the depth of field effect by clicking in the Live Viewer. The target pixel is evaluated for its position in 3D space, and that becomes the location of the focal plane. See the Octane Camera Tag topic for detailed explanation.
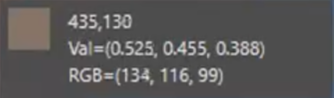
Show Color/hide Picker
Reveals the color underneath the cursor location. Toggle to enable/disable.
Toggle Info
Toggles the information display in Live Viewer. You can also click anywhere in Live Viewer to toggle on or off.
Enable Render Region
See the Live Viewer Commands section for details.
Show in Picture Viewer
Show your current rendered image in picture viewer.
Store Render Buffer
See the Live Viewer Menus section for details.