The Node Graph Editor
The Node Graph Editor displays the nodes associated with the current scene. The Render Target node encompasses the primary scene-related nodes (Camera, Environment, Visible Environment, Geometry, Film, Animation, Kernel, Render Passes, Render Layer, Render AOV, Output AOV, Imager, and Post-Processing) without needing to add these nodes manually to the Node Graph Editor window (figure 1).
|
|
Render Target Node
|


Figure 1: Acccessing node data from the Render Target's Node Inpector window
These nodes can be added individually and connected to their respective pins on a Render Target node in the Node Graph Editor window. In figure 2, a Texture Environment node is connected to the Environment pin on a Render Target node. Placing the mouse cursor over a node pin shows the name of the data type accepted by that pin.
|
|
Input Pins
|


Figure 2: Connecting nodes in the Node Graph Editor window
Selecting a node in the Node Graph Editor window brings up that node's parameters up in the Node Inspector. In addition to adding and connecting nodes manually in the Node Graph Editor window, nodes can be added directly to a parameter in the Node Inspector window (figure 3). Nodes added using this method will not be displayed in the Node Graph Editor window.
|
|
Nodes in the Node Inspector
|


Figure 3: Adding nodes in the Node Inspector window
You can move around the Node Graph Editor with the mouse by clicking and dragging the yellow area on the thumbnail preview at the top-left corner of the window (figure 4). You can also zoom in and out of the Node Graph Editor by using the mouse's scroll wheel or pan using the right mouse button.
|
|
Navigation
|

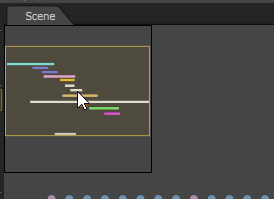
Figure 4: The Node Graph's viewable area
Adding Nodes In The Node graph Editor
To add new nodes, right-click on an empty area to bring up the context menu containing all the node options (figure 5). After selecting a node from the menu, the new node is placed on the cursor location.
|
|
Accessing Nodes
|

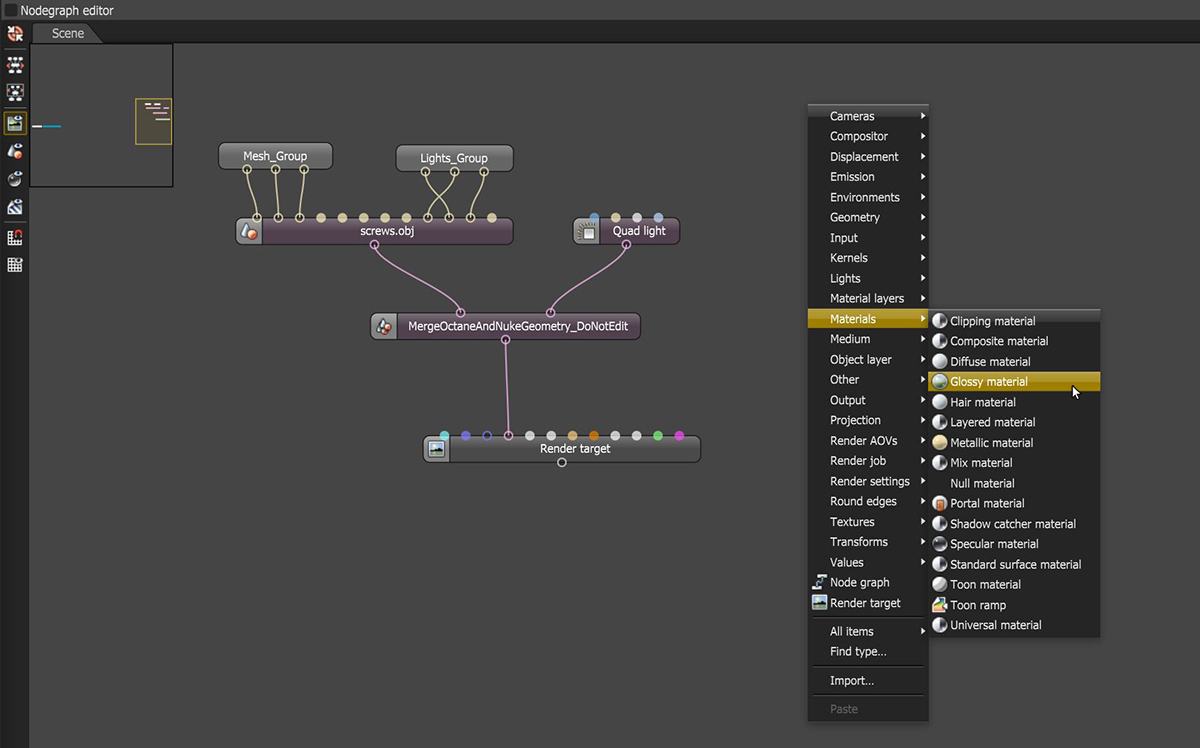
Figure 5: Adding nodes to the Nodegraph Editor window
Node Context Menus
Right-clicking on a node brings up a context menu with options related to the selected node (figure 6).
|
|
Node Context Menu
|


Figure 6: Node context menu
Render - Render the selected node.
Save - Saves the selected nodes as an ORBX file or in LocalDB
Cut/Copy/Paste - Allows for cutting, copying, and pasting of single or multiple selected nodes.
Delete - Deletes one or more selected nodes.
Group Items - Groups multiple selected nodes into a new, single Node Graph node. The grouped nodes can be accessed by double-clicking on the node. Once nodes are grouped, there will be an option to ungroup the nodes when right-clicking on the group node.
Collapse Items - Collapses the selected node into the node it is connected to.
Expand Items - Expands all the child nodes connected to the selected node.
Show in Outliner - Highlights the selected node in the Scene Outliner window.
Show in Lua API Browser - Displays the selected node in the Lua API window.
Connecting & Disconnecting Nodes
Multi-Connect - Connects multiple nodes at a time by holding down the CTRL key (or CMD key on Macintosh® platforms) while connecting some selected nodes to a pin on another node. It is inactive if only one connection is possible.
Connection Cutter - Cuts off multiple connections by holding down the CTRL key (or CMD key on Macintosh® platforms) and then click-dragging the mouse to form a line over the connections to remove (figure 7).
Search Dialog - Pressing CTRL+F brings up the Search Dialog, which finds and selects nodes and dynamic pins that contain the entered search string.
|
|
Disconnectinig Nodes
|


Figure 7: Disconnecting nodes
Internal Graph And Material Previews
The Node Graph Editor provides buttons to preview various scene components when a node is selected (Figure 8).
|
|
Preview Options
|

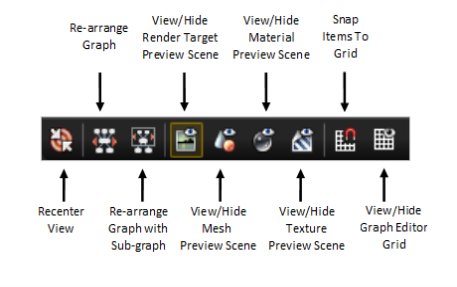
Figure 8: Node Graph Editor buttons