Render Layers
Render Layers separate scene geometry into parts, where one part is meant to be visible, and the other parts capture the side effects of the visible geometry. The layers allow different objects to render into separate images, where you can apply some normal render passes. The Render Layers are meant for compositing, not hiding parts of the scene.
To set up a scene for rendering in layers, you need to add the Octane OBJ Parameters node to each scene object using the Octane shelf button (Figure 1).
|
|
Render Layers
|


Figure 1: Adding the OBJ Parameters to a scene object
In the scene object's Octane tab, you can assign the Object Layer ID for that object from the Properties sub-tab (Figure 2).
|
|
Render Layers
|

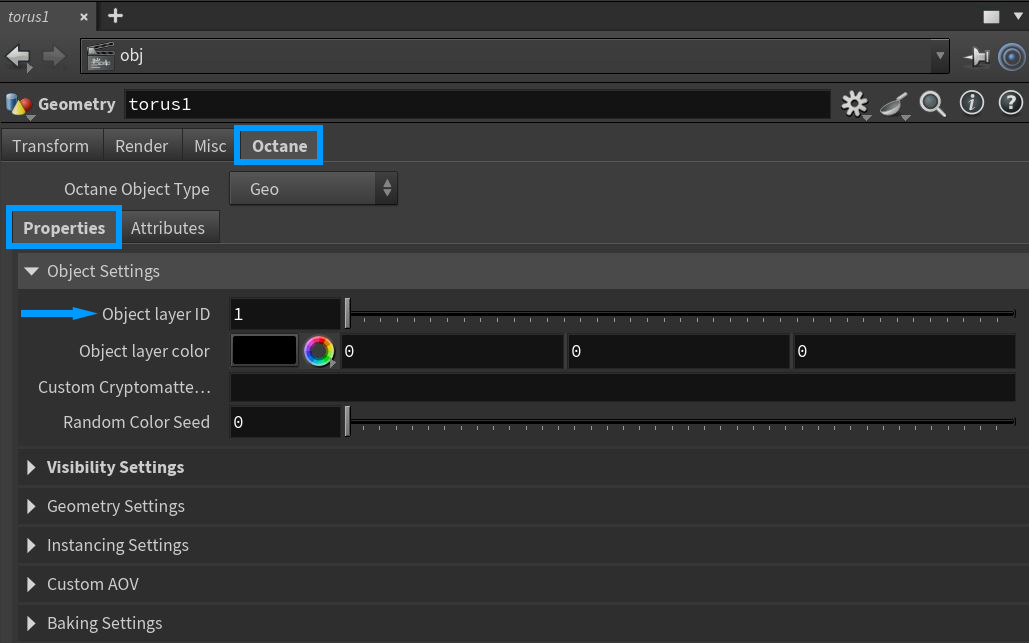
Figure 2: Assigning Object Layer IDs for Layer Passes
With the Layer ID for objects in the scene assigned, you can specify the active render layers to render in this scene. You can do this through the Octane ROP node's Output tab (Figure 3).
|
|
Render Layers
|

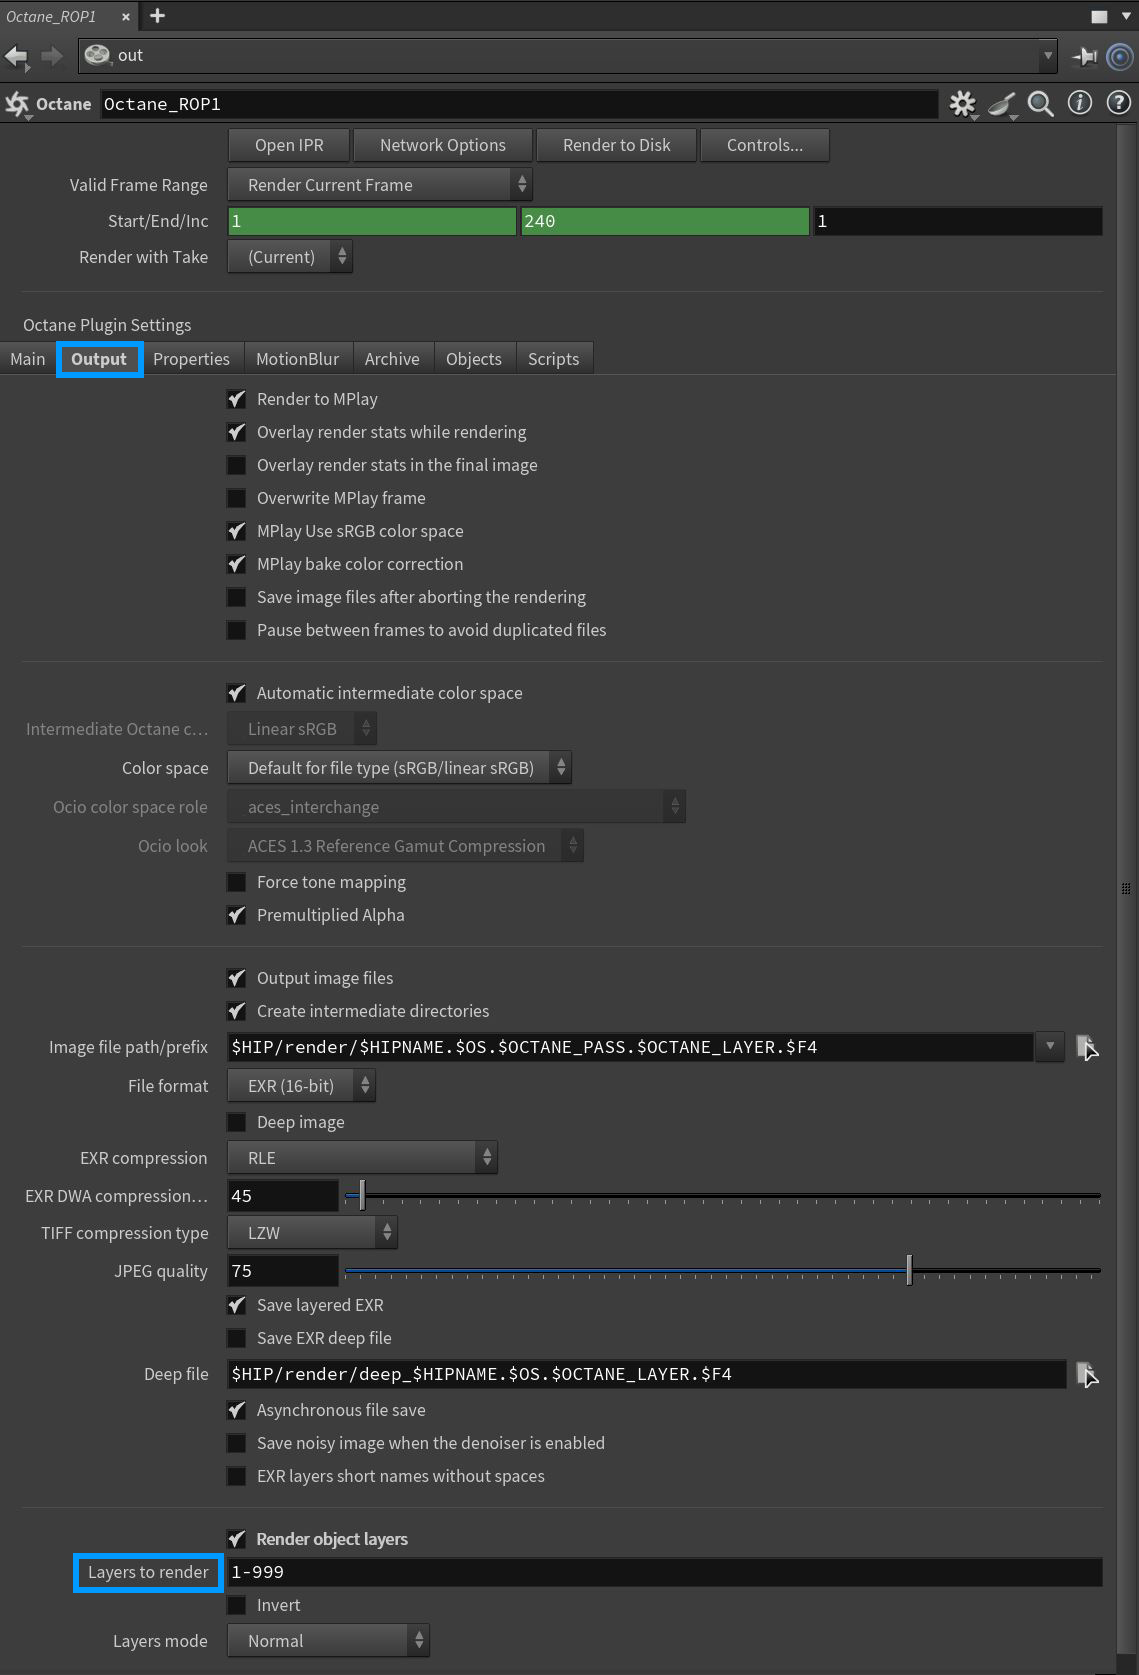
Figure 3: Specifying the render layers to render
The Render Layers can also be viewed in the Octane IPR window under the Layers menu item (figure 4).
|
|
Render Layers
|

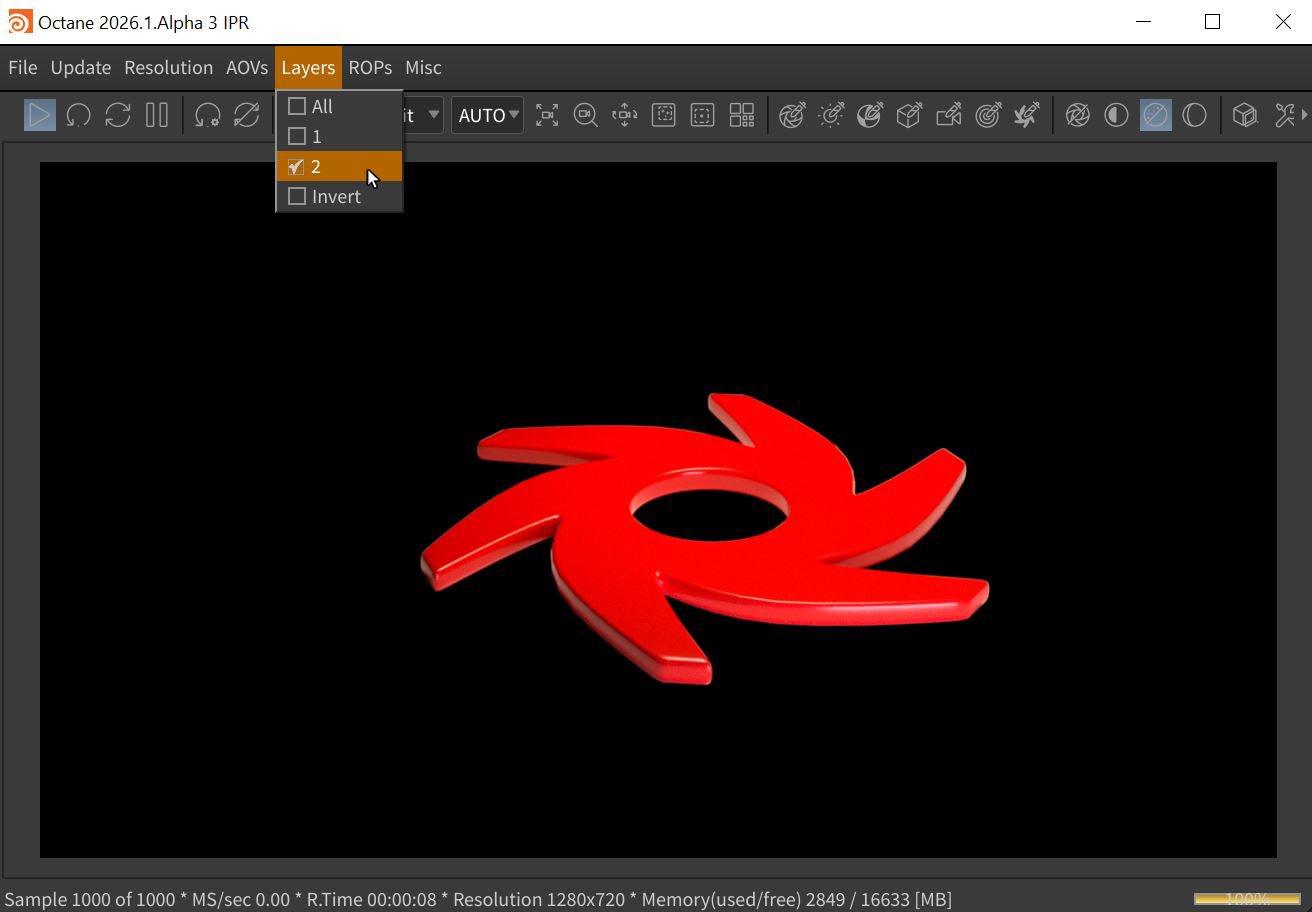
Figure 4: Accessing Render Layers in the IPR window