Texture Displacement
Texture Displacement is a volumetric shader effect that will use grayscale images or baked procedural textures to create new surface topology at render time. This effect can go a long way OctaneRender® takes the displacement map and voxelizes the surface mesh upon which the displacement is applied. Texture displacement is very fast and can produce very clean results. That said, it can also consume GPU memory very quickly, so it's best to use Texture displacement only when you need to see actual changes in topology in the silhouette of your meshes. Bump maps or normal maps can go a long way before actual displacements are required.
Unlike Vertex Displacement, Texture Displacement does not need a significant amount of object tessellation ahead of time for good results. That said, the underlying quality of the mesh can still have an impact on the quality of the displacement. If artifacts are visible, consider adding more tessellation, typically using the OctaneObject tag > Subdivision Group tab > Subdivision level attribute. Play around with the settings on the tab to dial in the look. You can also use the Cinema 4D Subdivision generator instead, however, this is more expensive an option in terms of memory and performance. Always try the Octane-native options first, as these options are fined tuned for the best results.
For the highest quality displacements, make sure that your displacement map is a large enough resolution for your needs. Lower resolution maps will often produce artifacts once you get too close. This will be particularly evident when you apply displacements to glass objects, such as bottles or drinkware. Make sure that your displacement map is 16 or 32 bits per pixel; gradients in displacement maps with less color resolution will show stair step artifacts.
Displaced objects do not need UVs, but having good UVs gives options to get better results if needed. Some additional pointers for successful Texture displacement can be found here.
|
|
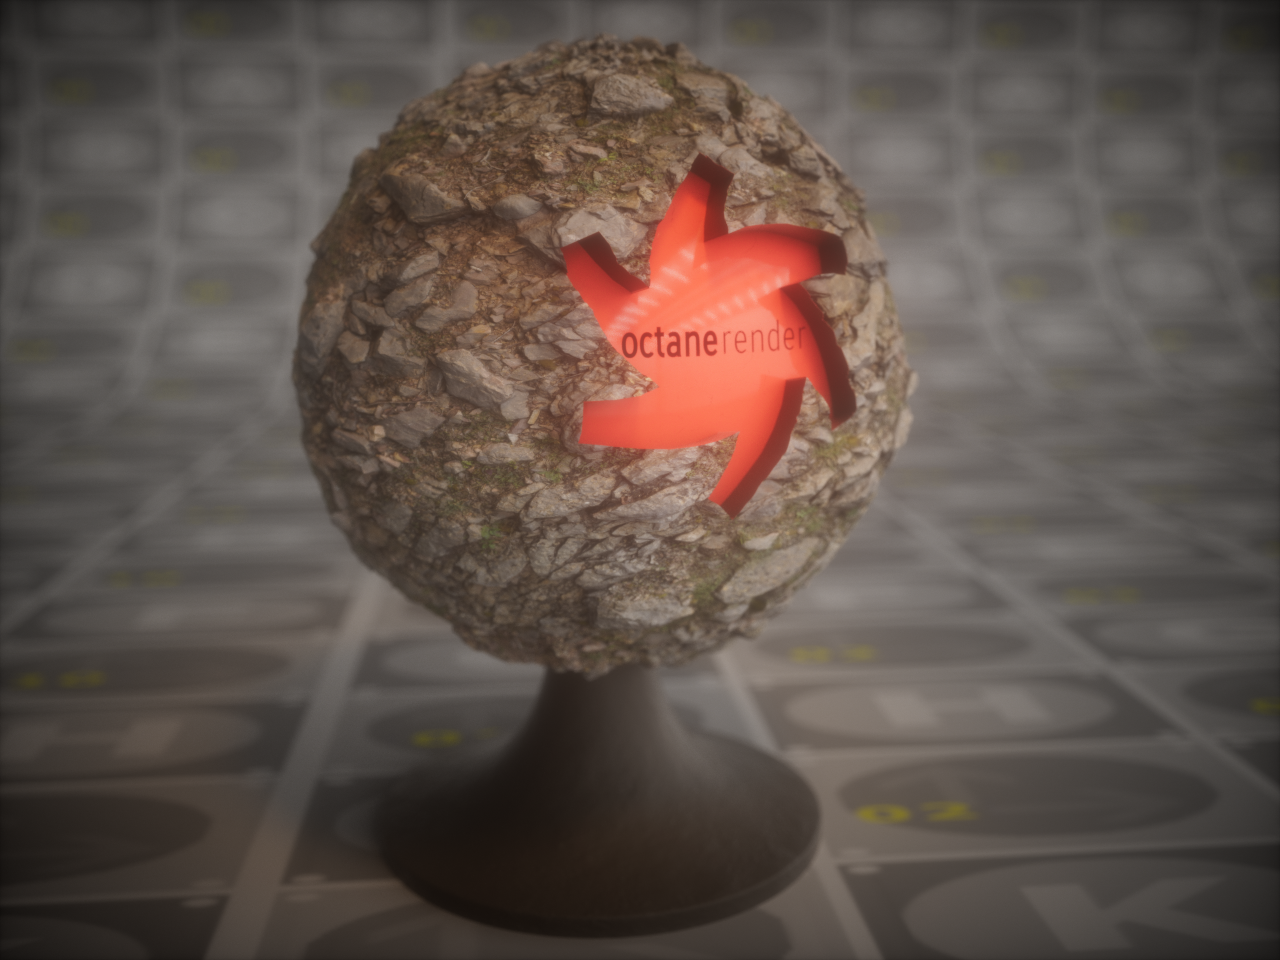
texture displacement
|

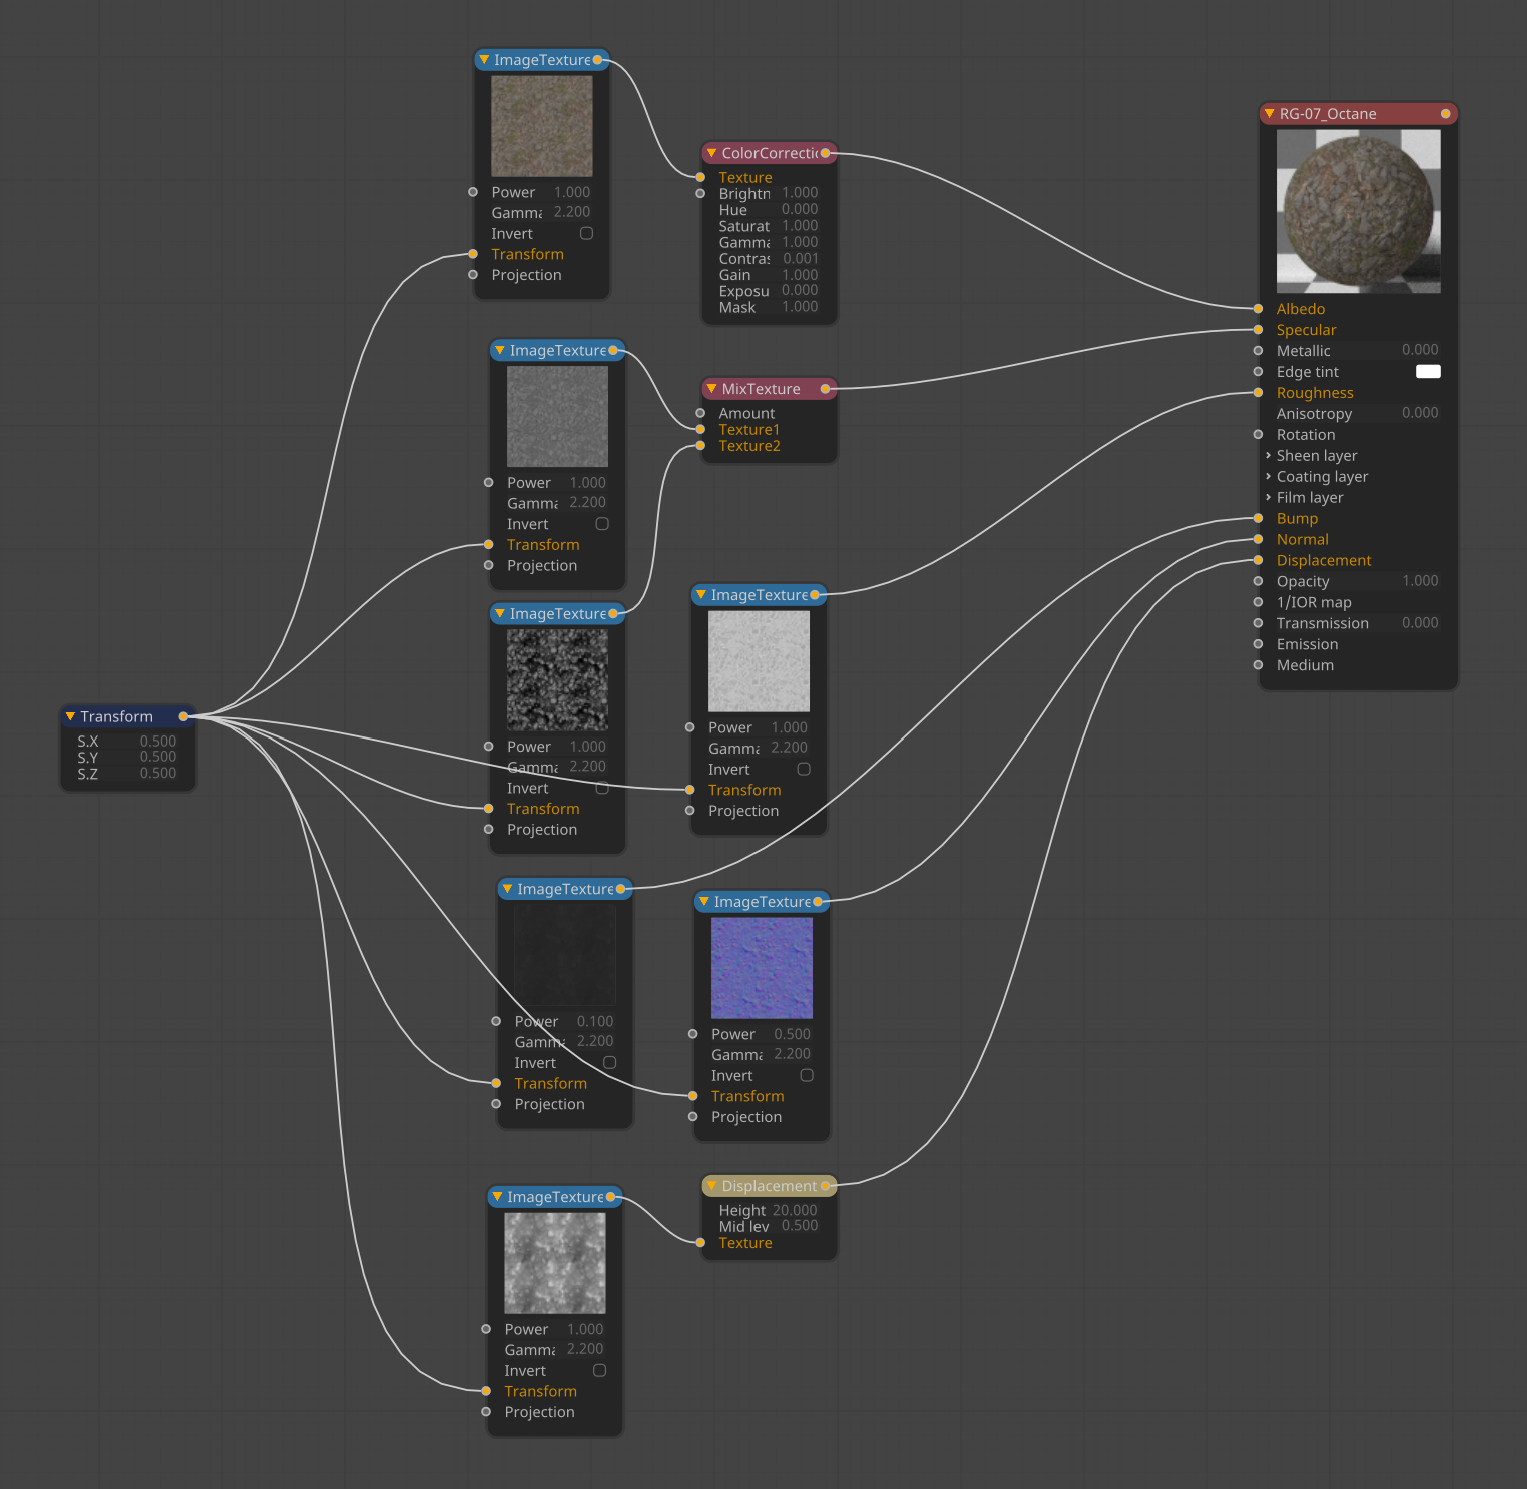
How to Use
Open the Node editor and prepare the setup as you see in the picture below. Displacements require the use of two nodes, the Image Texture node and the Displacement node. You can choose any grayscale texture to use in the Image texture node. Connect this node to the displacement node and then connect the displacement node to the displacement channel of the main material. The structure of your scene and the details of the objects are important to consider. If you see your objects at distance, you can use a Normal map instead of displacement. However, if your object(s) plays a main role and you look at the various angles then it is recommended that you use a Displacement node. Again, closely monitor memory consumption, as a high number of polygons consumes VRAM and costs computation time.
It is also possible to use procedural textures with the help of the Baking texture node. Read more about the Baking texture node here.
|
|
texture displacement node setup
|
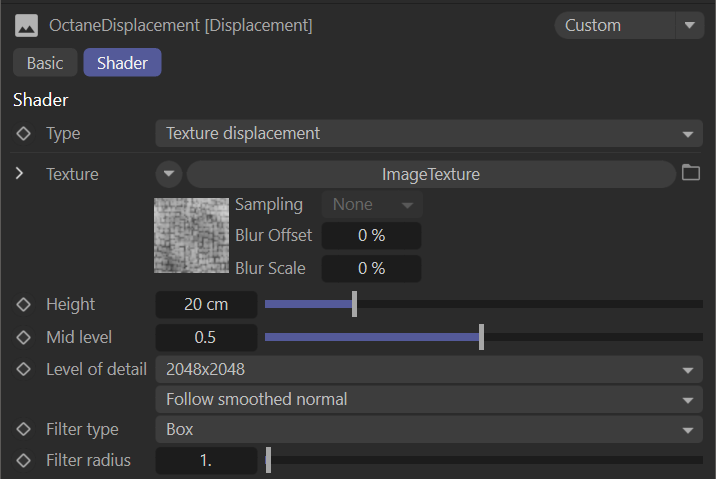
Displacement Settings
Texture
From here you can load any grayscale image as a displacement map. You can create a displacement map using any image 3rd party software, such as bitmap2Material.
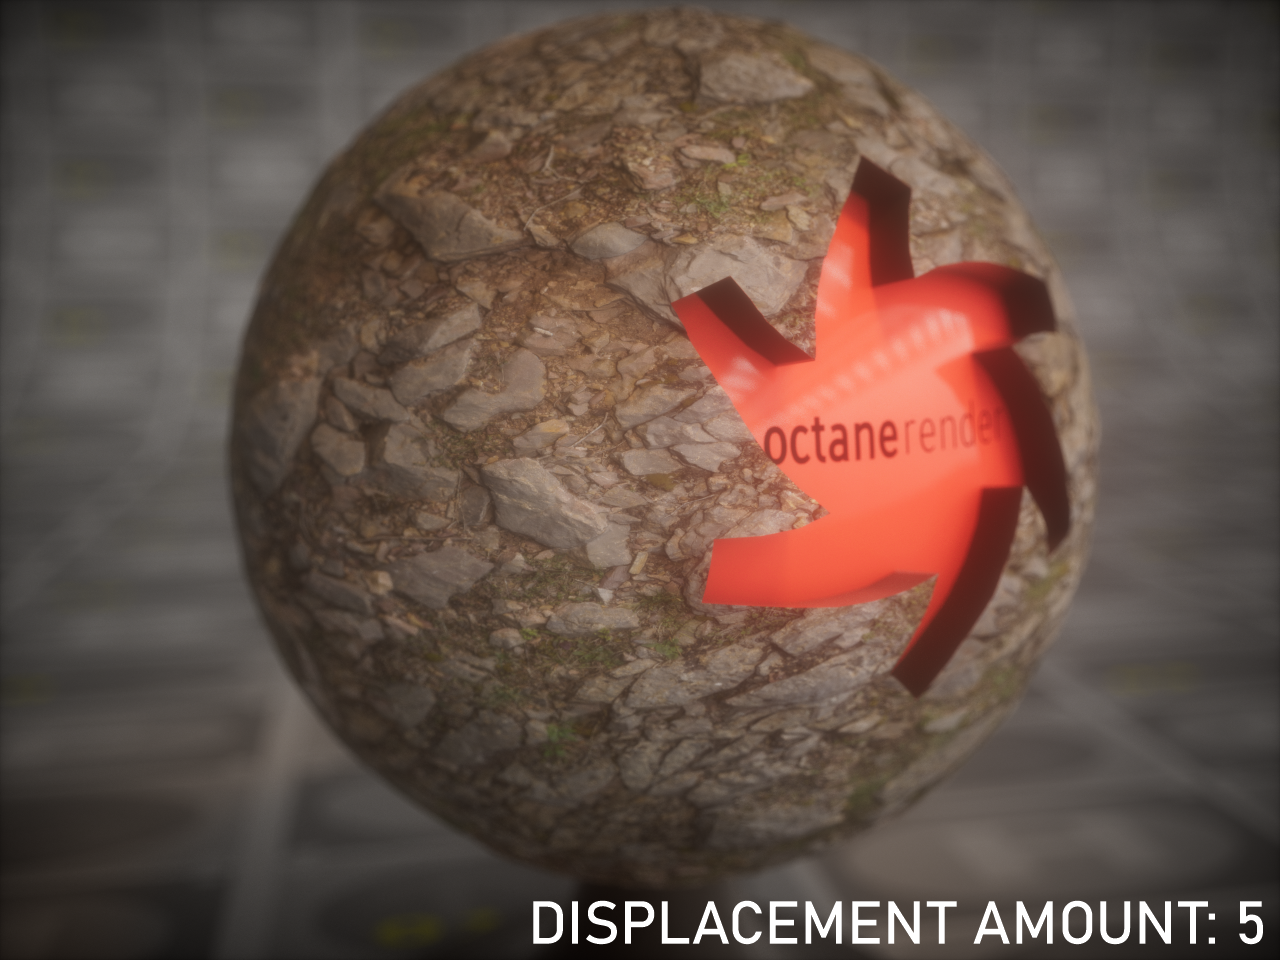
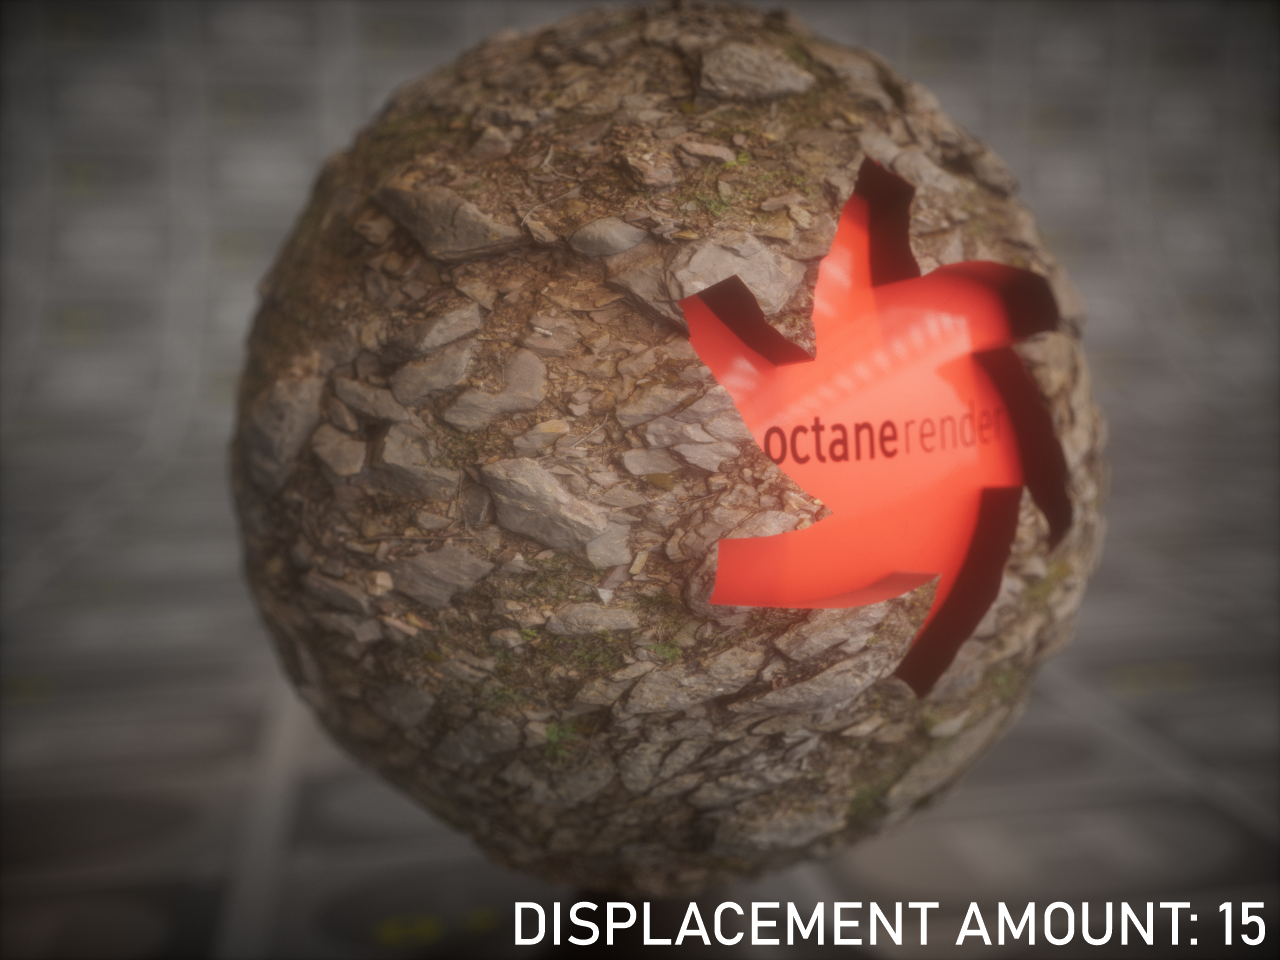
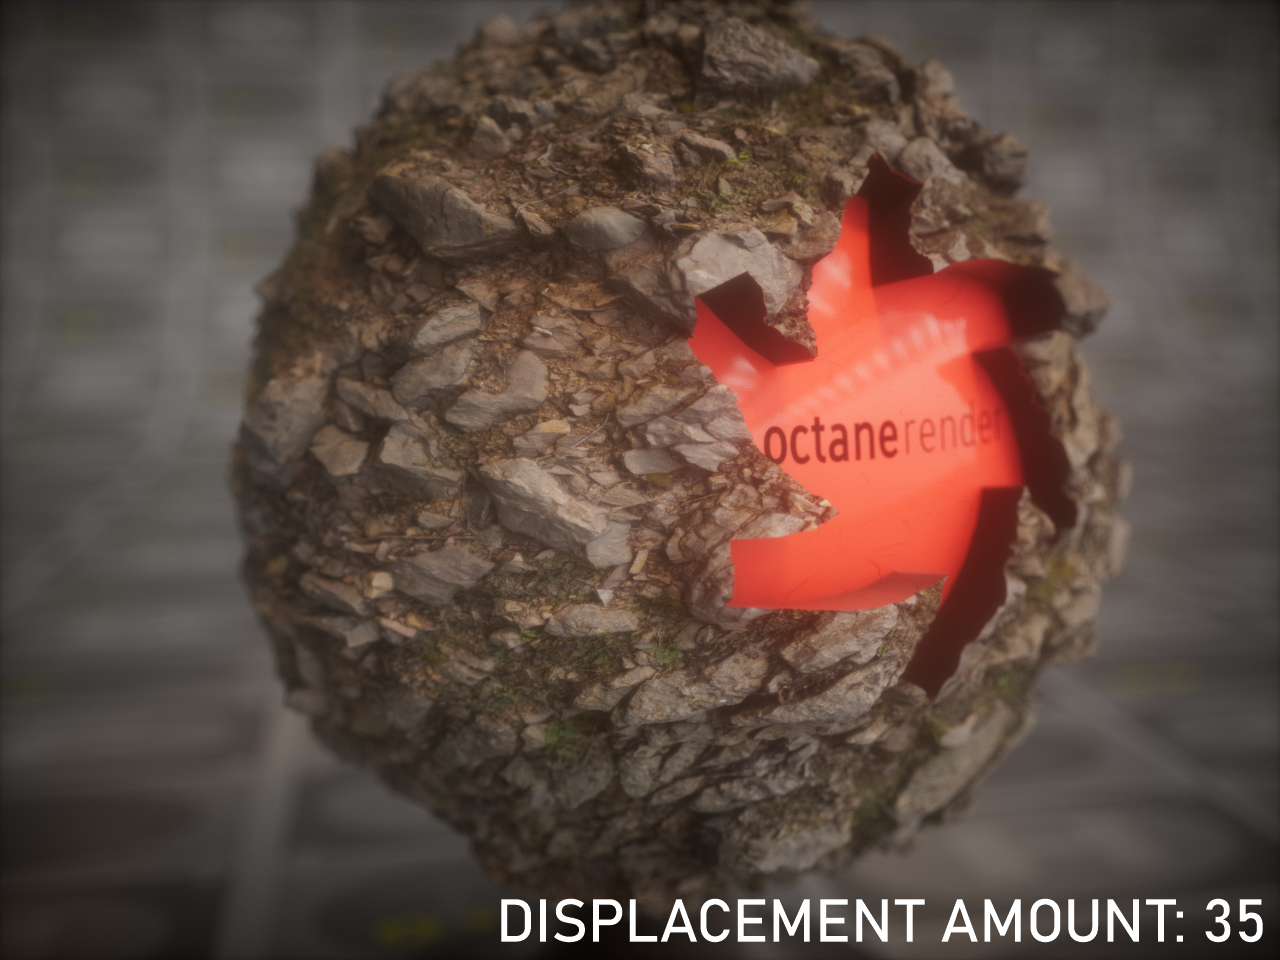
Height
Controls the strength of the displacement.
|
|
displacement amount
|
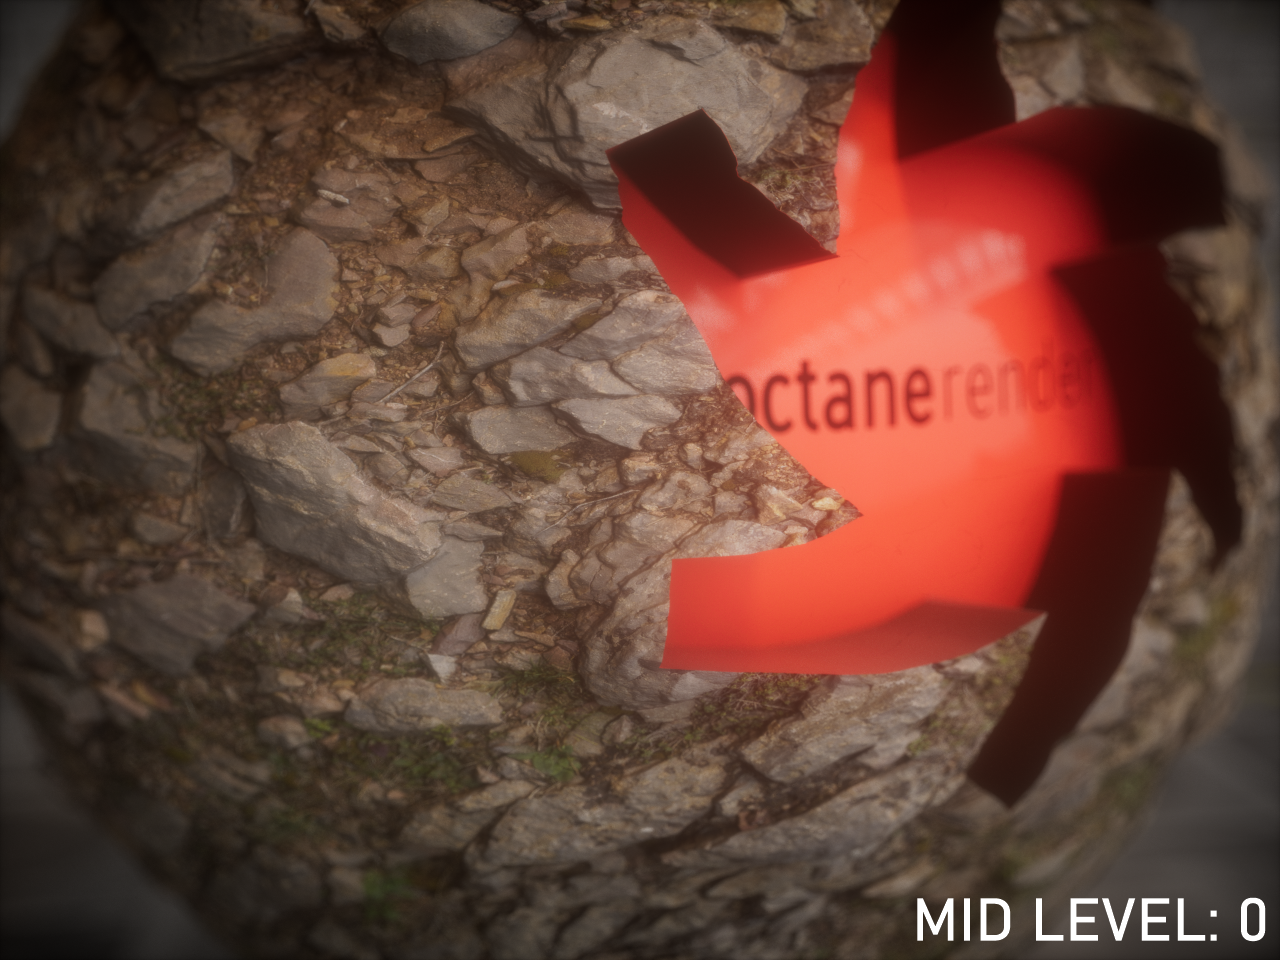
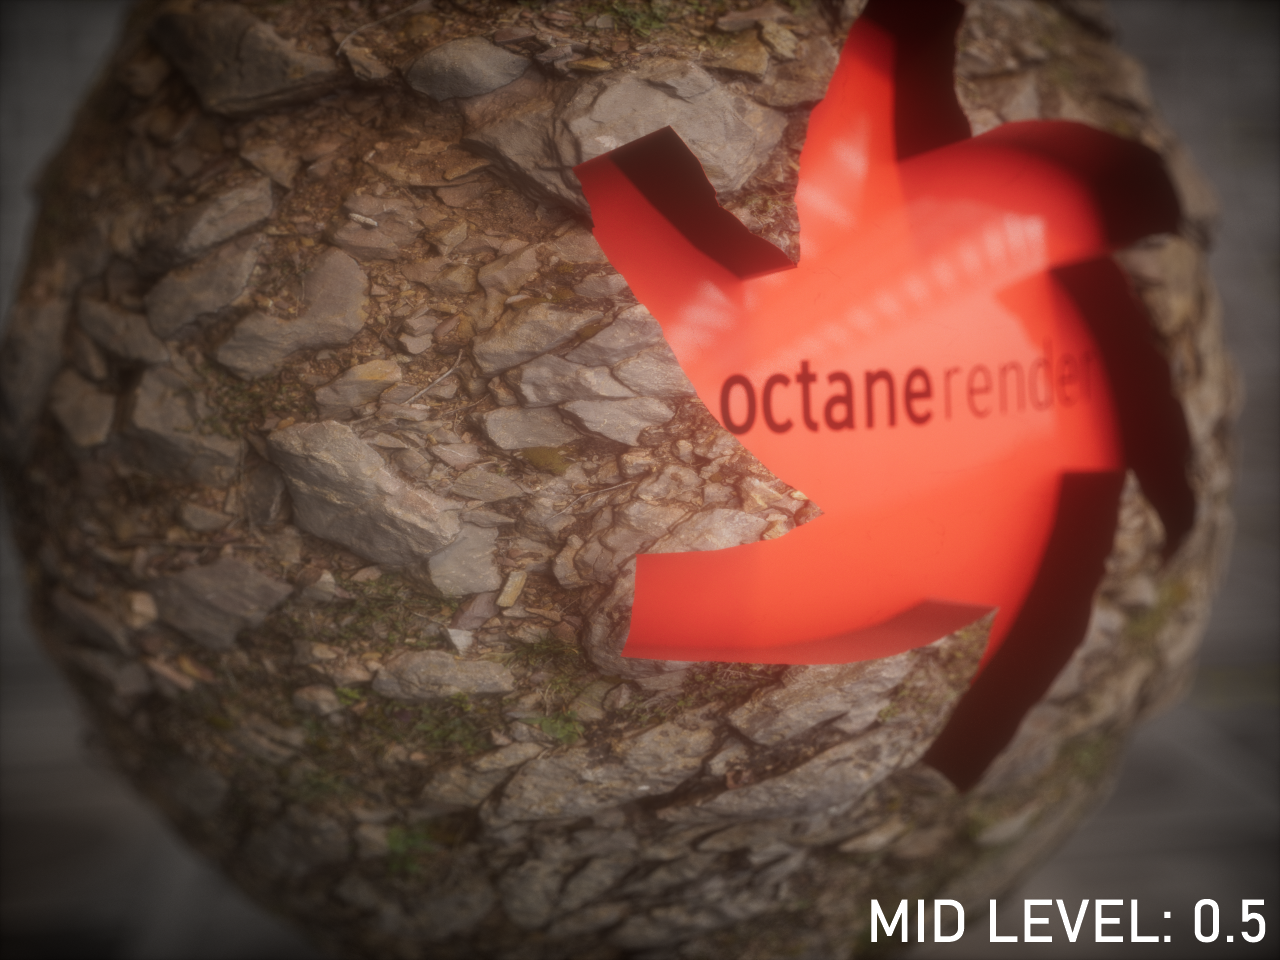
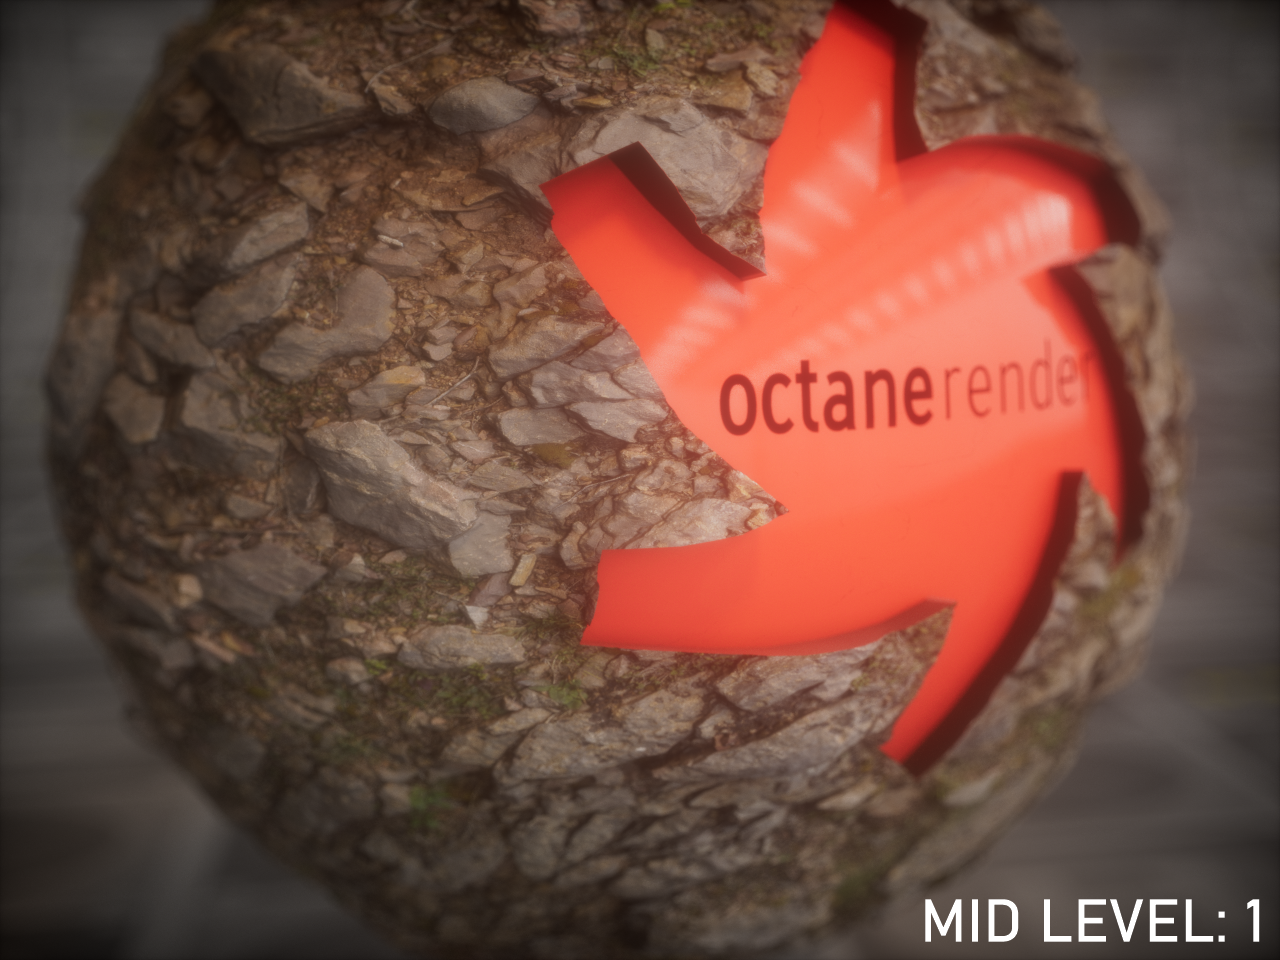
MID Level
Defines the shift of the displacement in texture value range. This value should be set to 0.5 for image textures that use 50% to represent no displacement.
|
|
MID LEVEL
|
Level of Detail
You control the displacement map quality with the options in this section, specifically image map resolution and the normal to be used for the displacement. Artifacts can sometimes occur at lower resolutions, especially on shadows. It is recommend that you adjust according to the map resolution based upon the shot requirements. Remember that when the Level of Detail resolution is increased, the GPU VRAM use will increase, as will render times.
Displacement Direction
Below the Level of Detail menu is the Displacement Direction menu (not currently labeled in the node). The surface will be displaced along the vector specified. There are three choices:
- Follow Geometric Normal
- Follow Vertex Normal
- Follow Smoothed Normal
Filter Type & Filter Radius
At times, and depending on the content of your displacement map, you might find it necessary to filter your map to a degree. Filtering will allow you to adjust the softness of the displacement map, which can help to minimize certain artifacts. When you apply Box or Gaussian filter, a slight blur occurs in the picture. The Filter Radius is to increase or decrease the strength of this blur. Using this feature may prevent the need to adjust the map further in an application such as Adobe Photoshop or Substance Painter.
|
NOTE: Calculating Displacement geometry results in additional GPU load. High or very low Displacement values can cause issues and GPU errors. You should avoid using a Displacement and a Normal map together on the same material — this can result in rendering artifacts on the material. The same caveat also applies to Bump maps, but the artifacts tend to be less pronounced than Normal maps. |