Octane Planetary Environment
The OctaneRender® Planetary Environment allows you to create a realistic view of the sky and beyond (in orbital, space), including a planetary body, sky model and atmospheric scattering. The Planetary Environment is based on the Nishita Sky Model, developed by a scientist named Tomoyuki Nishita in the 1990s. If you are interested, you can read original paper from this link.
|
|
octane planetary
|

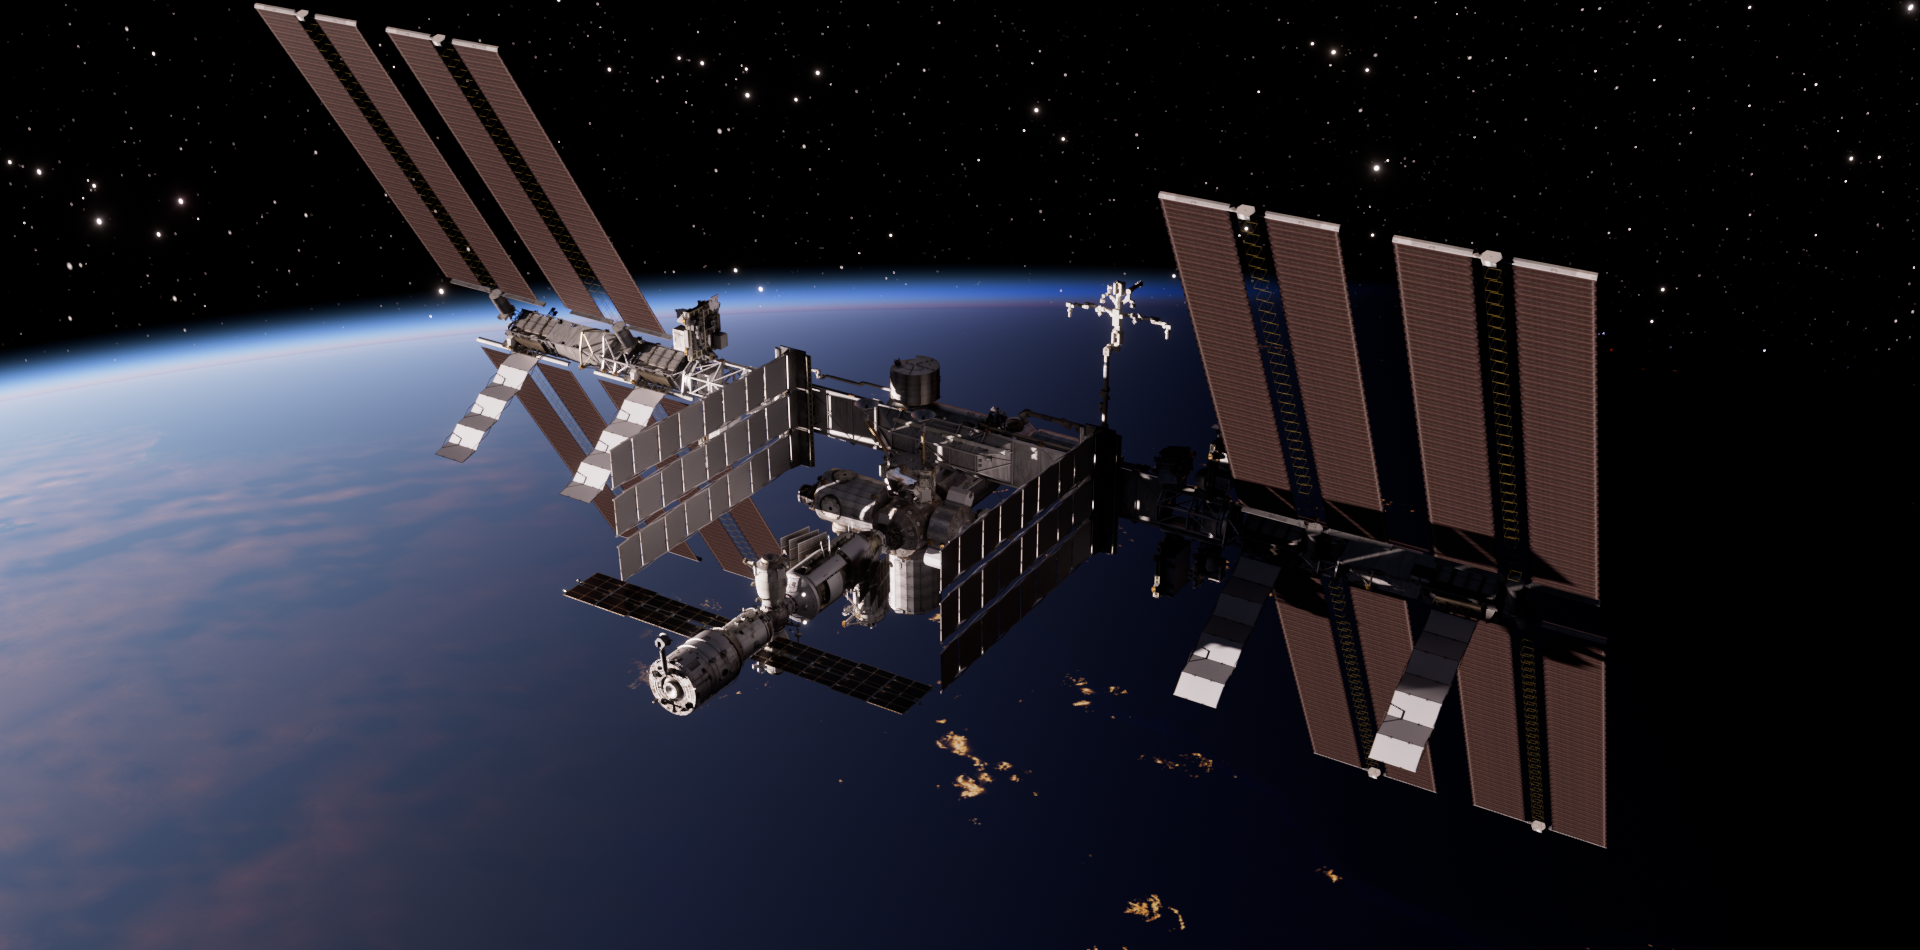
ISS Above Earth — NASA USDZ file imported into Octane Standalone; saved as an ORBX; added into ORBX Loader in Cinema 4D
|
IMPORTANT The Planetary Environment DOES NOT ILLUMINATE scene objects. To enable scene object illumination when using the Planetary Environment, add an additional Octane Daylight object to the scene and do the following:
|
|
|
octane planetary environment
|
Creating Octane Planetary
To add the Octane Planetary Environment to the scene, go to Object > Lights > Octane Planetary. As with Octane Daylight, use the Object Manager to access the options by selecting the Octane Daylight tag assigned to the Octane Planetary object.

Planetary EnvIronment Settings
Some of the options for the Octane Planetary tag are covered in Transform Operations of the Daylight and Set Up Latitude & Longitude via Sun tag in the Octane Daylight Environment topic. The planetary R.H rotation value from the viewport corresponds to North Offset in the tag settings, however, the two are not synchronized. So, the physical rotation of your light does not change when you change the north offset.
There are two ways to move the planet sphere off axis, that is, away from center frame:
- In the Octane Camera tag > Thin Lens tab > Viewing angle turn down, use the X and Y lens shift controls to offset the planet to the left, right, up, and down.
- Select the camera and enter in values numerically from the attribute manager. If you place the cursor in a rotation edit field and activate the field, you can then use your keyboard arrow keys to see the changes quickly. Note that the position edit fields will not affect anything.
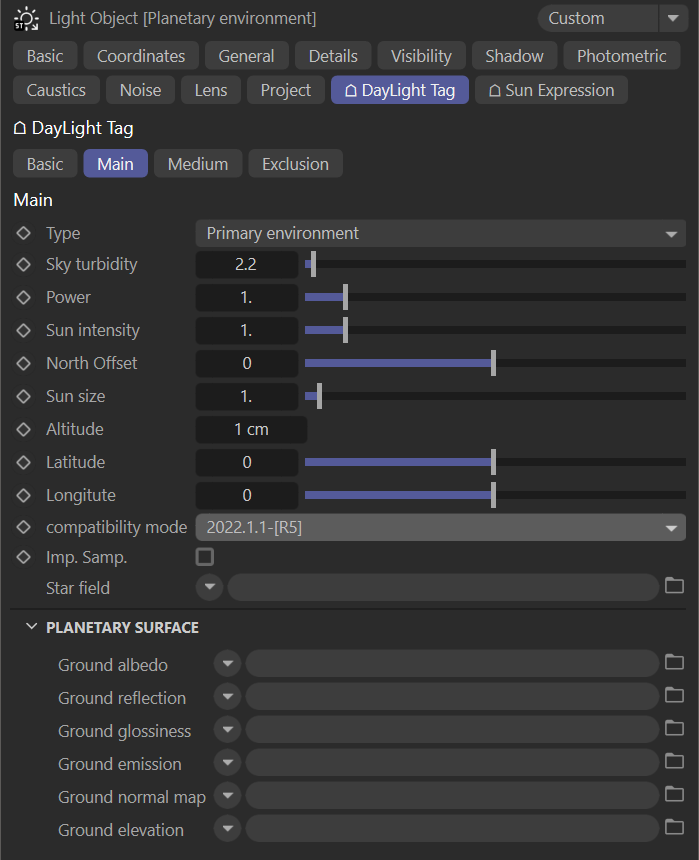
Type, Turbidity, Power, North Offset & Sun Size
These options are explained in "Octane Daylight" topic, here.
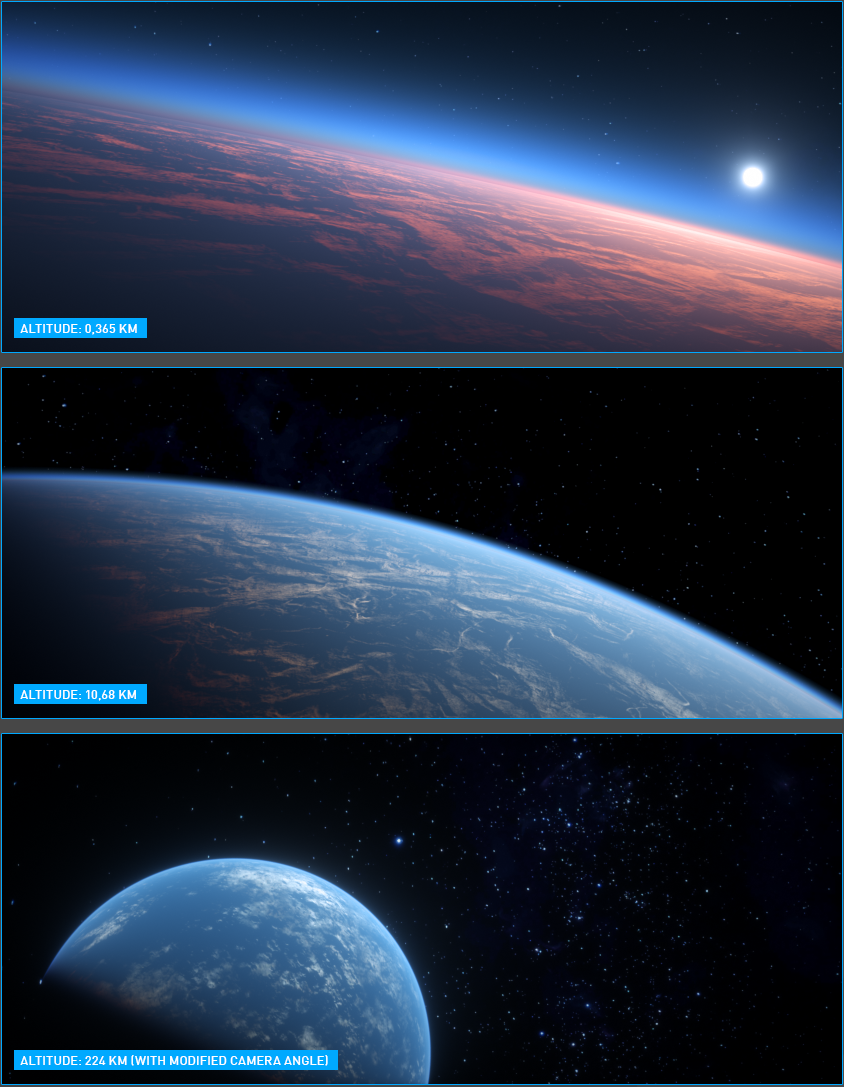
Altitude
This option is used to set how high the virtual camera is from the planet body. The virtual camera of the Planetary Environment is only responsible for the altitude. You can only change your altitude of the virtual camera by using this option. However, if you have a physical camera in the scene, you can do all the transformation operations except "altitude". In the planetary environment, there is no connection between the physical camera in the scene and the virtual camera.
|
|
planetary environment — altitude
|

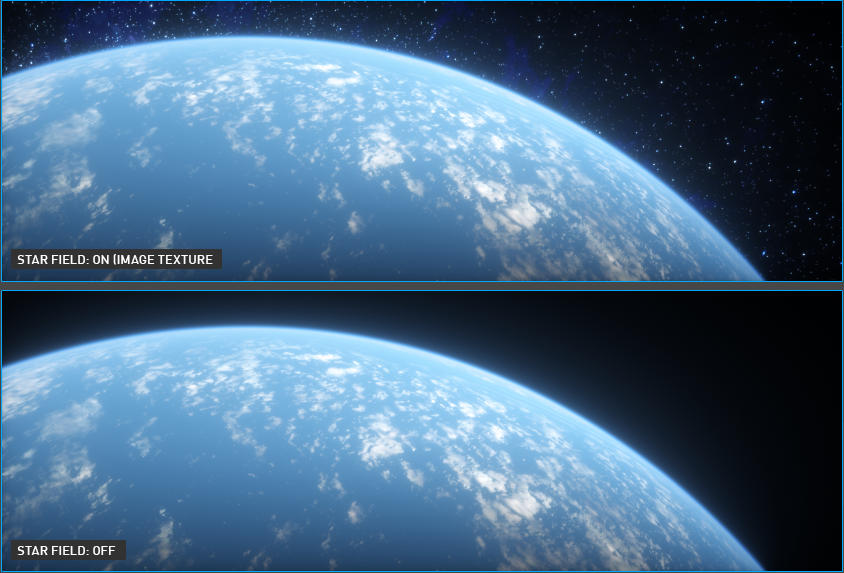
Star Field
This option allows you to assign a star map to the background.
|
|
planetary environment — star field
|

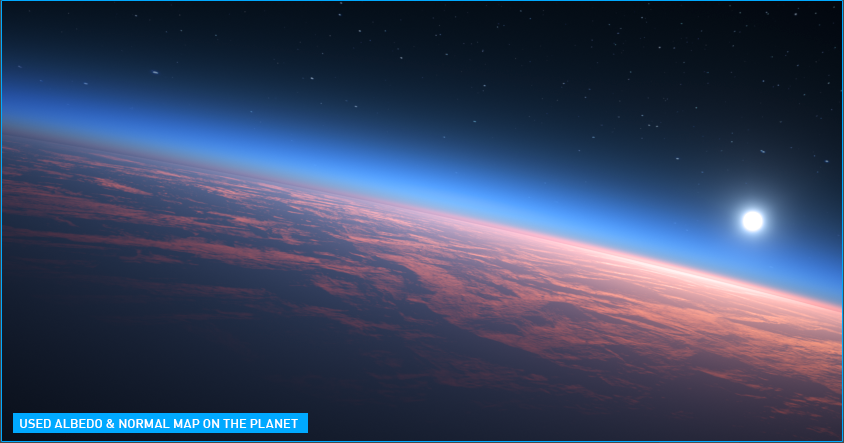
Planetary Surface
You can assign textures to the various aspects of the planet in this section. These textures are respectively Ground Albedo, Reflection, Glossiness, Emission, Normal Map and Height Map. The Emission Map is used for night lights.
Workflow tips:
- Low altitude shots look much better with a texture size greater than 8K
- High altitude shots can use lower resolution textures.
- There are a variety of free and commercial planet textures online which work very well.
|
NOTE The planet itself is not an actual object, but rather a shader process, so no planetary object will be visible in the viewport. However, all the transform and projection operations described in "Using Textures" section of this manual will affect the planet representation |
|
|
planetary environment — planetary surface
|