Rendering for the First Time
Before delving into complex render setups with OctaneRender®, here are the first basic steps to preview and render a simple scene in Blender® using the Addon.
Create or import geometry into Blender (figure 1).
|
|
Adding Geometry
|

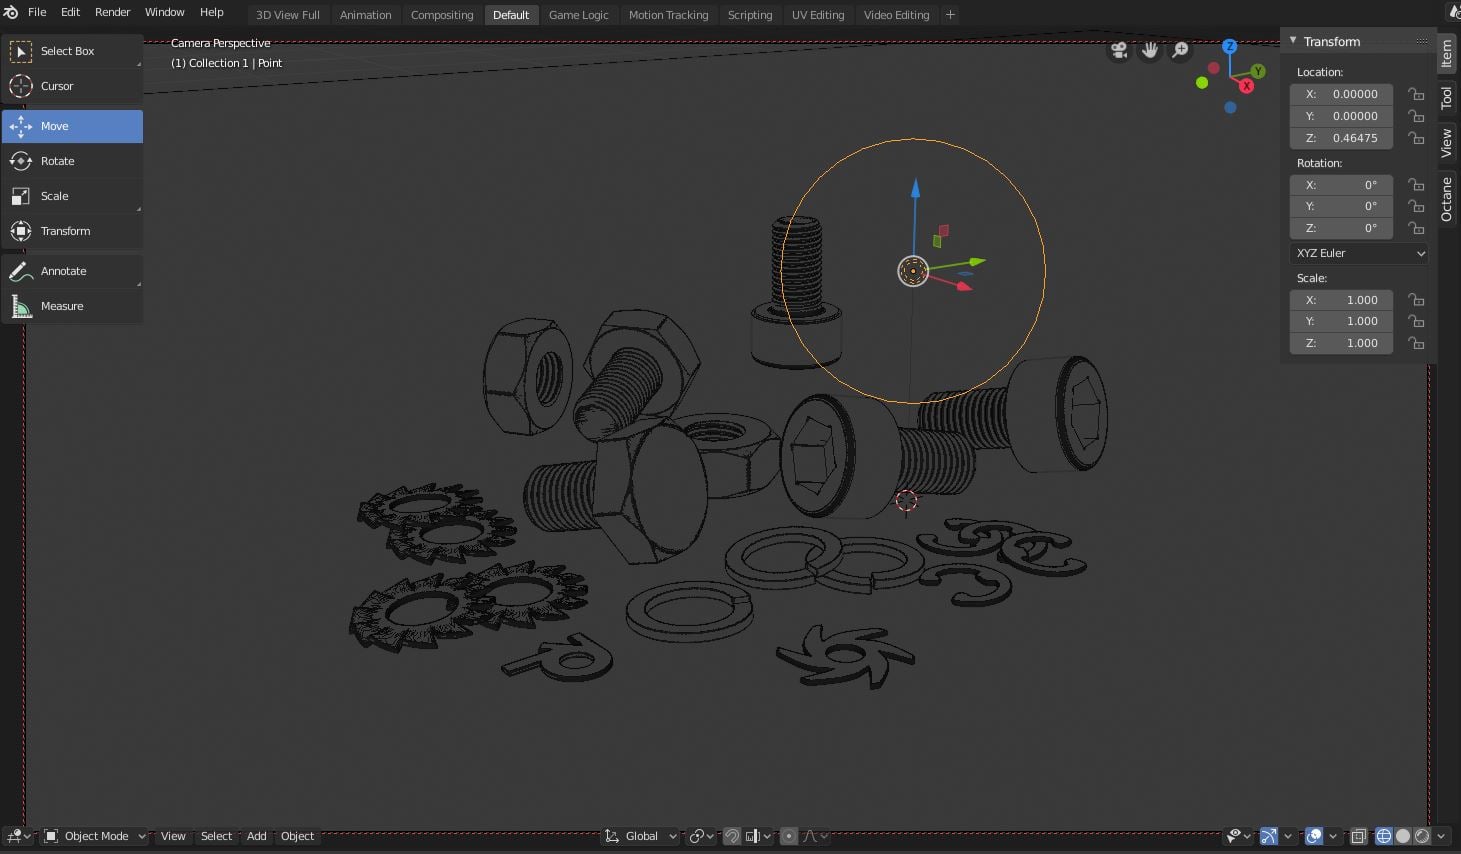
Figure 1: New geometry
In the Render tab under the Render Engine dropdown, choose Octane (figure 2). If Octane is not available, please refer to the Initiating OctaneRender® Inside Blender® topic in this manual.
|
|
Octane Render Engine
|

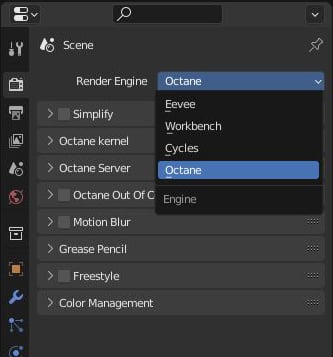
Figure 2: Render Engine options
Make sure to choose an available GPU for rendering from the Device Preferences (figure 3).
|
|
Device Preferences
|

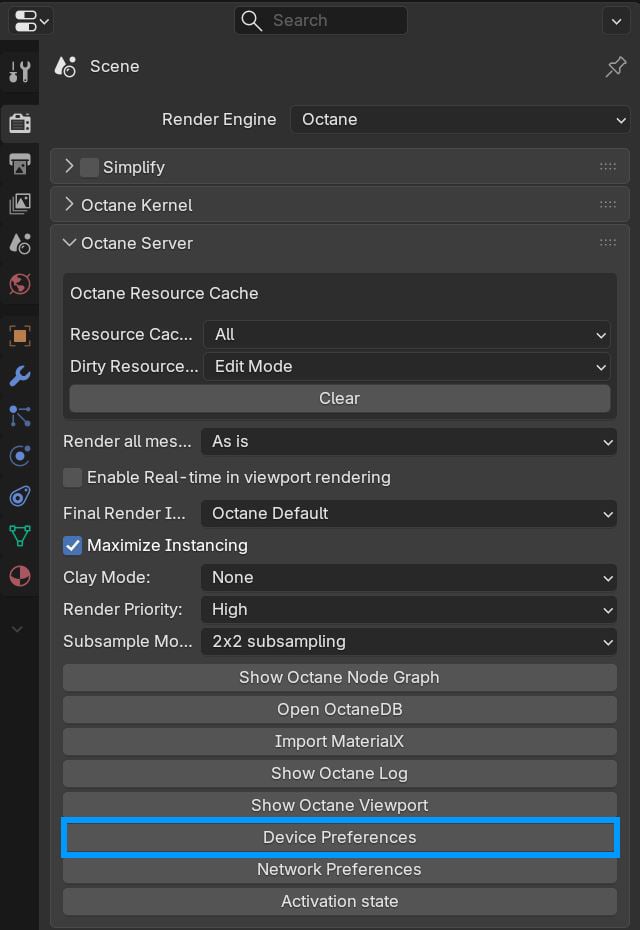
Figure 3: Device Preferences button
Apply Octane-specific materials to objects in the scene. The Octane Diffuse material is the default (figure 4).
|
|
Applying Materials
|

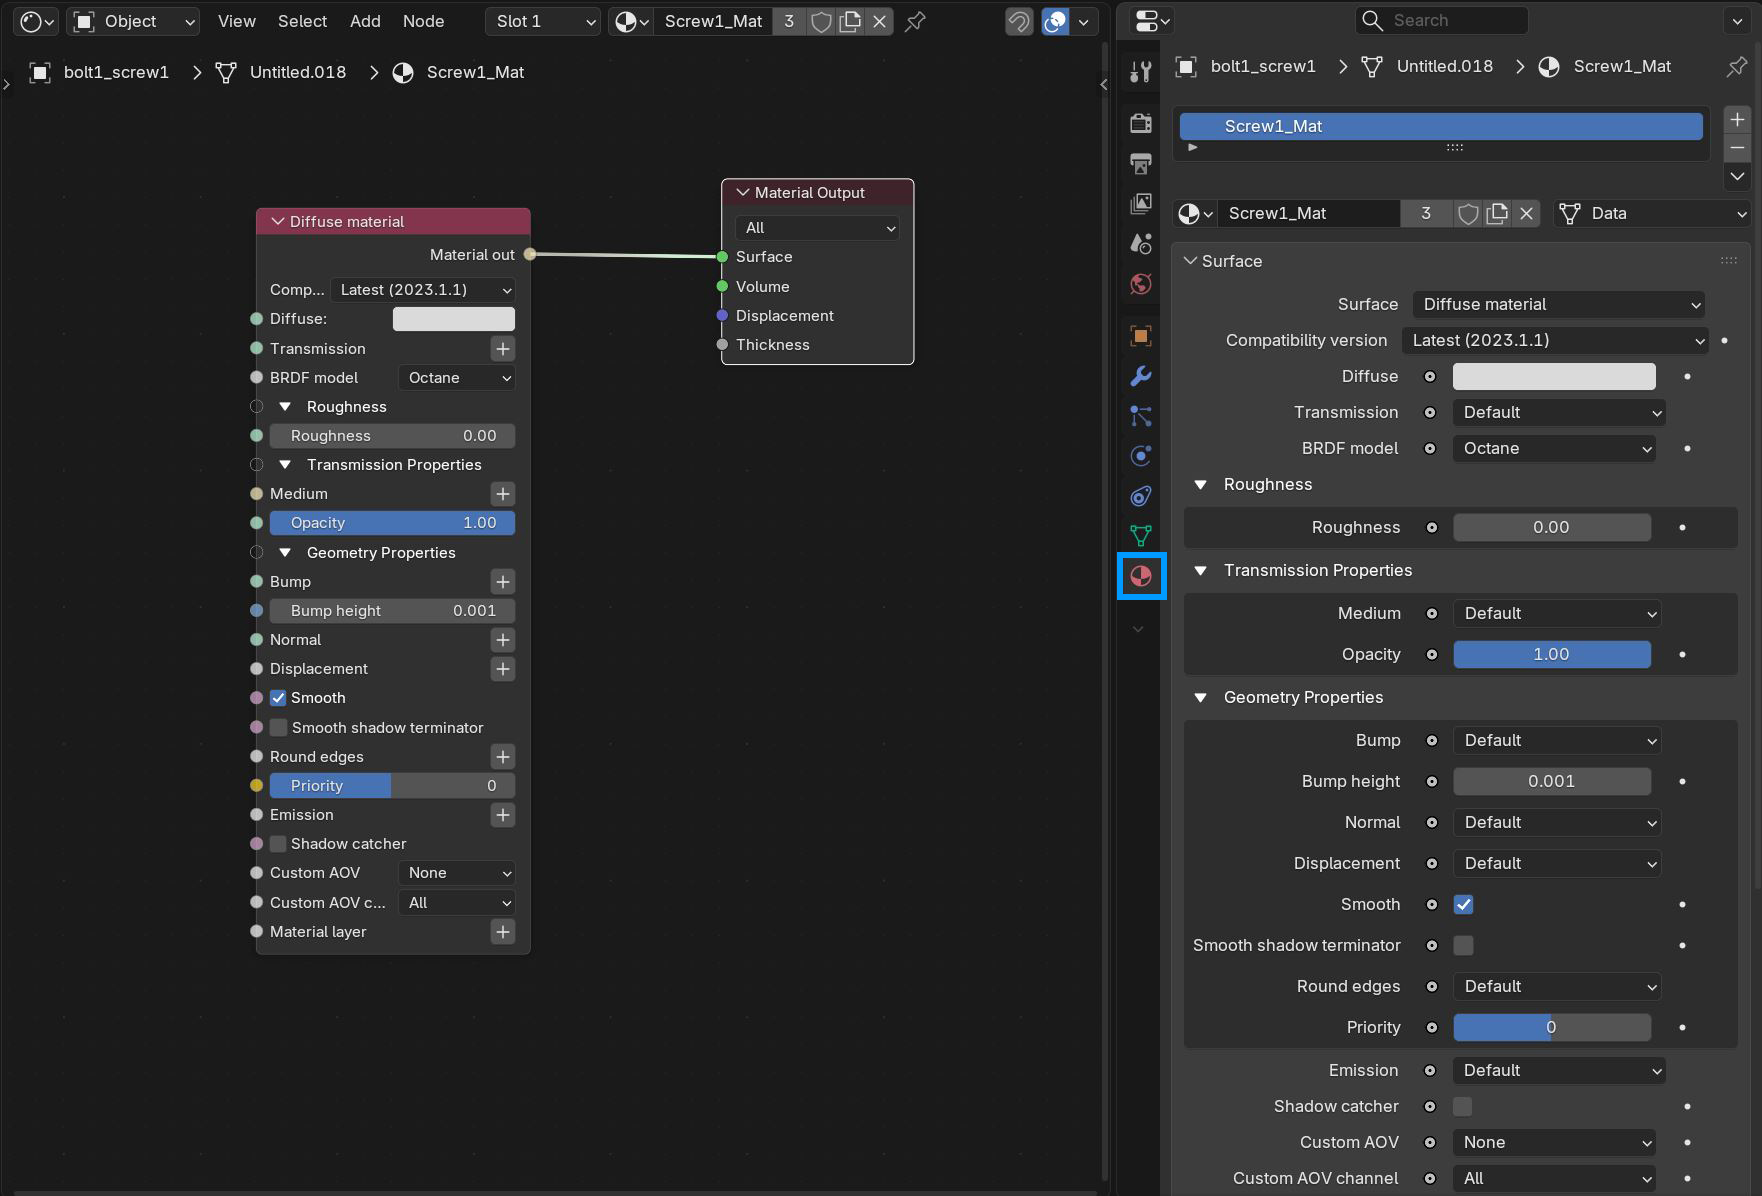
Figure 4: Adding Material
For more about complex materials, see the Octane Shaders Overview topic in this manual.
Light the scene. A Blender lamp is in the scene by default, but it is suggested to use the Octane-specific lights found in the Add menu under the Light category. Refer to the Octane Lighting section in this manual for more information on the native Octane light sources. The Octane Daylight Environment light system is active by default (figure 5).
|
|
Daylight Environment
|

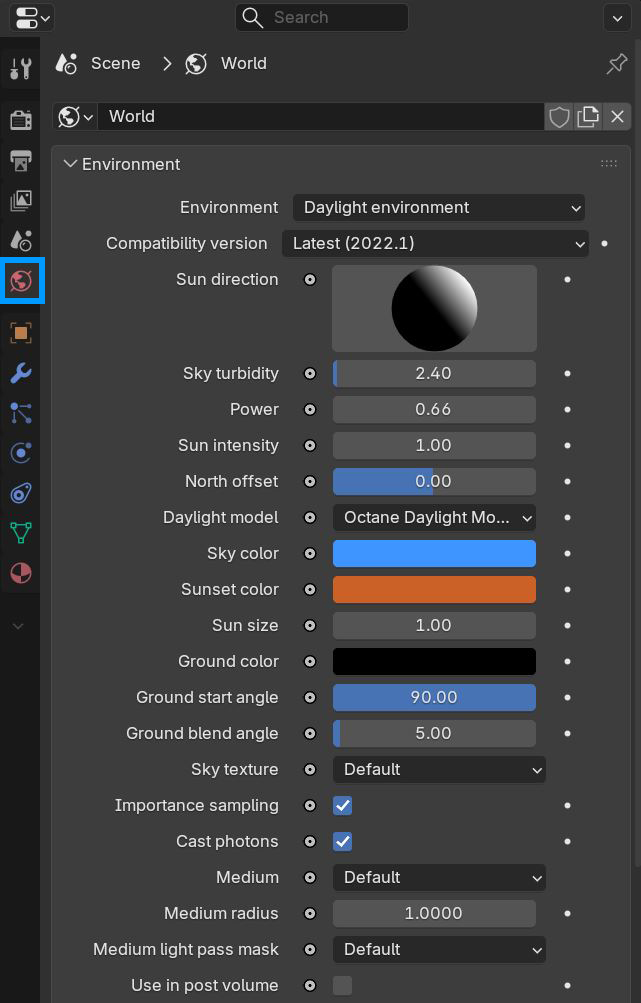
Figure 5: Daylight Environment setting
Customizing the Environment settings is discussed more in the Environment topic in this manual.
Select the default camera in the scene and open the Camera Settings (figure 6).
|
|
Octane Camera
|

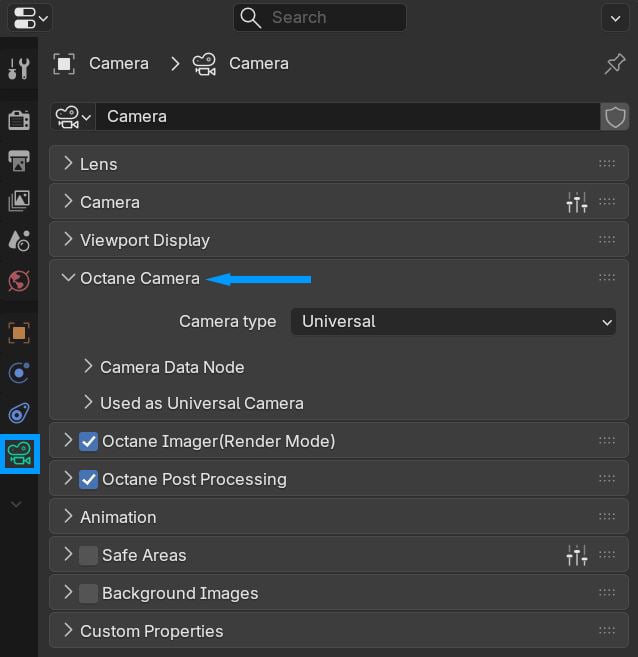
Figure 6: Octane Camera rollout
The default properties should work. See the Octane Cameras topic in this manual for more information about the cameras and their features.
Choose a Render Kernel type (figure 7). There are five to choose from. The default is the Direct Light Kernel
|
|
Octane Kernel
|

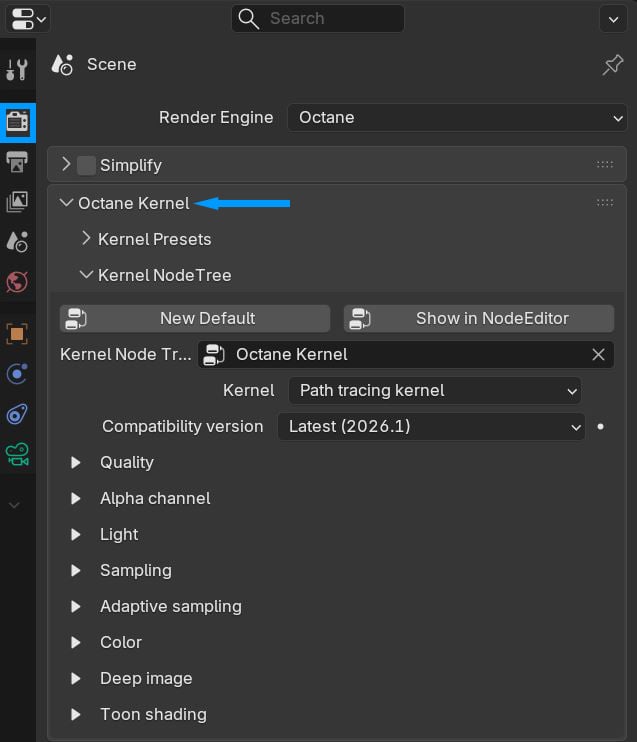
Figure 7: Octane Kernel button and rollout
For more information about each Render Kernel type, see the Render Kernels topic in this manual.
Adjust the resolution for the rendered image in the Format rollout (figure 8).
|
|
Render Resolution
|

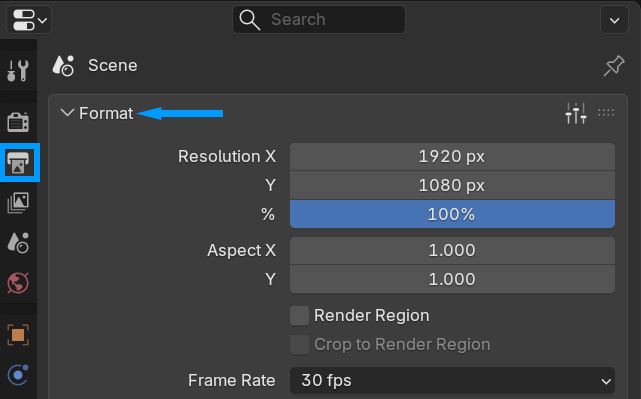
Figure 8: Dimensions button and rollout
Render the scene from the Render menu (figure 9).
|
|
Render Image
|

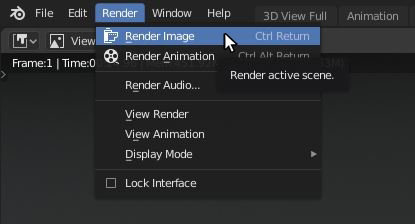
Figure 9: Rendering the image
|
|
Rendered Image
|

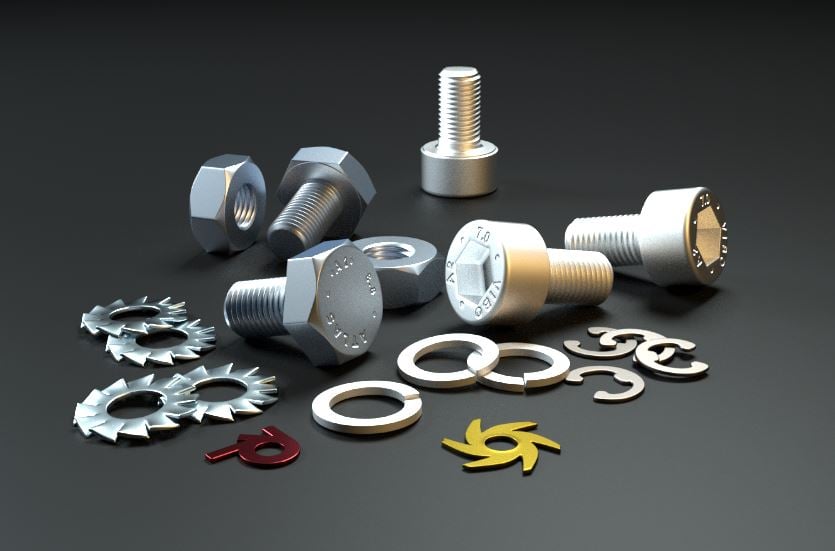
Figure 10: The rendered image