Render Target Node
The Render Target is the node that is referenced as an output point for the rendered scene. It offers powerful flexibility when setting up advanced scenes, as it hooks up to everything that forms part of the scene including the geometry, materials, environment, camera, and the render kernel. Multiple Render Targets allows for various scene configurations within the same file. To create a Render Target node, right-click in the Node Graph Editor and click on Render Target (figure 1).
|
|
Render Target
|

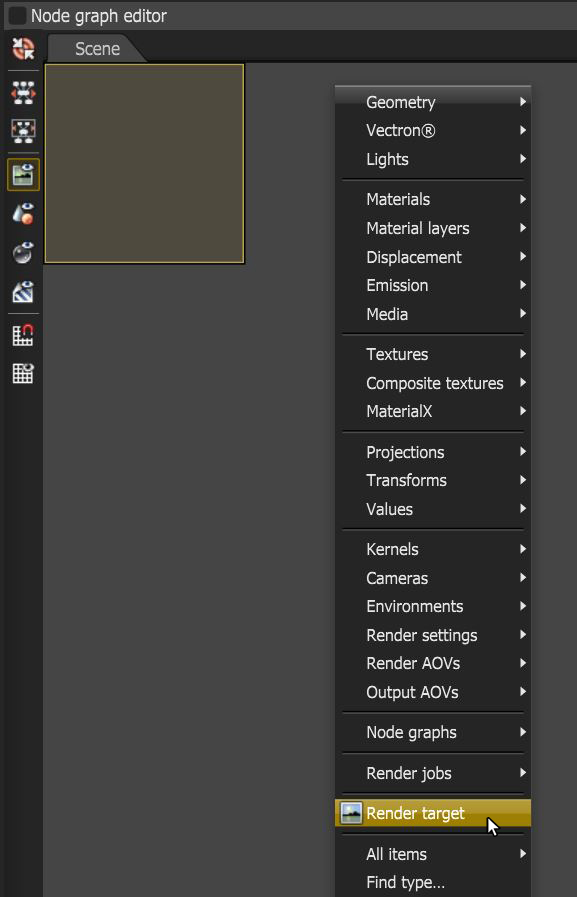
Figure 1: Adding a Render Target node
The Render Target node provides the set of default parameters and each parameter has an associated pin for connecting appropriate nodes (figure 2)
|
|
Input Connections
|

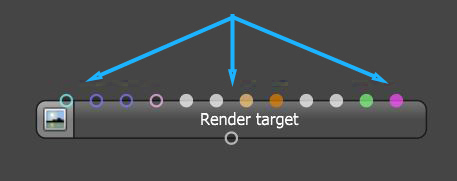
Figure 2: The Render Target node input connections
Appropriate node connections are shown below (figure 3). The Node Graph Editor provides specific nodes for each input pin and using these specific nodes instead of adjusting the default Render Target parameters directly in the Node Inspector offers greater flexibility and customization (figure 4).
|
|
Connecting Nodes
|

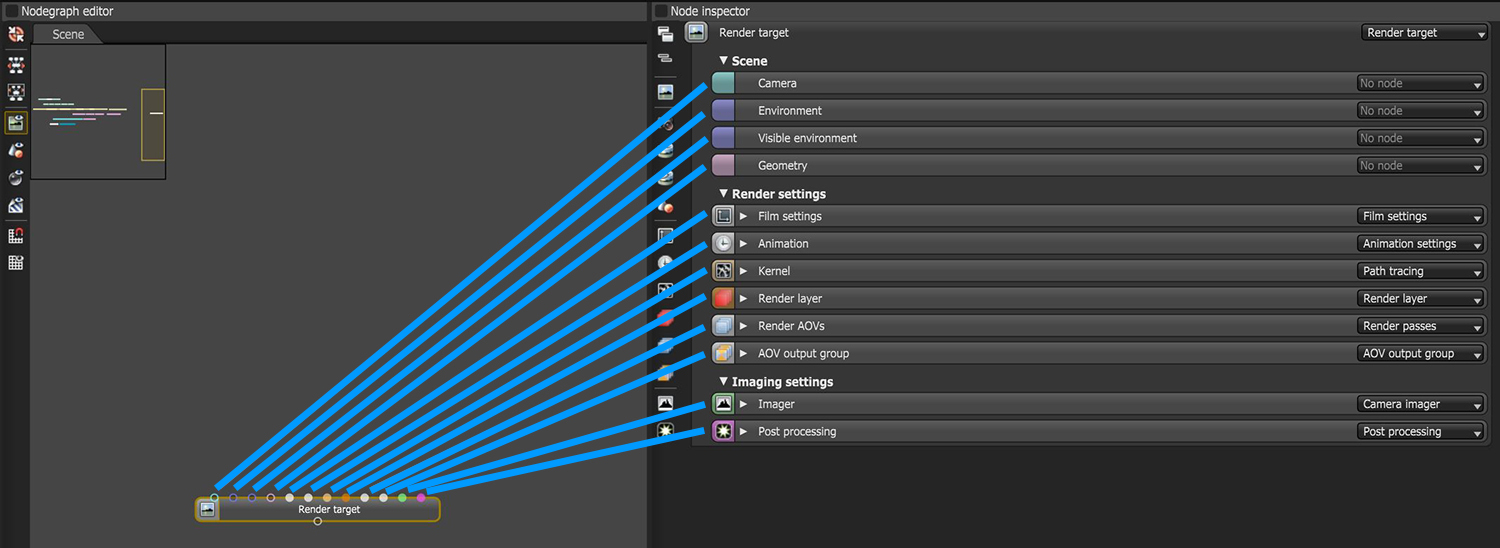
Figure 3: Connecting nodes to the Render Target to customize the render output
|
|
Node Connections
|

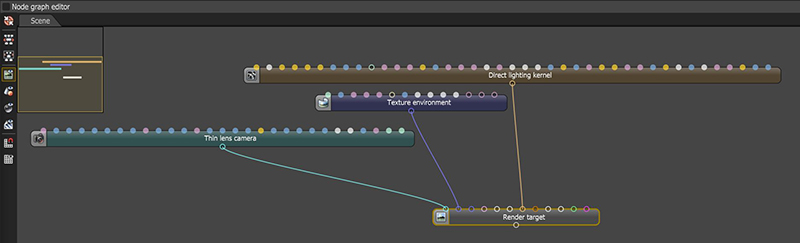
Figure 4: Adding a few specific nodes to a Render Target's input pins
The following examples illustrate how multiple Render Targets can connect to the same scene. In the Figure 5, the Render Target node is active and it has different settings for F-Stop and camera placement than the second example shown in Figure 6, where the Render Target (2) node is active.
|
|
Multiple Render Targets
|

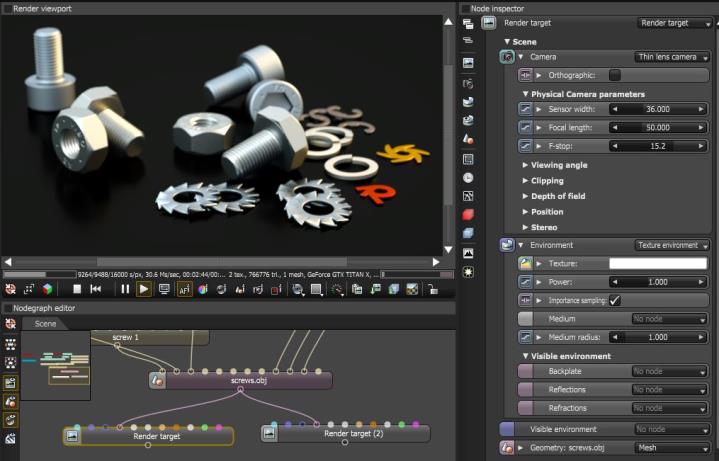
Figure 5: The Render Viewport shows the result generated when the first Render Target is selected
|
|
Multiple Render Targets
|

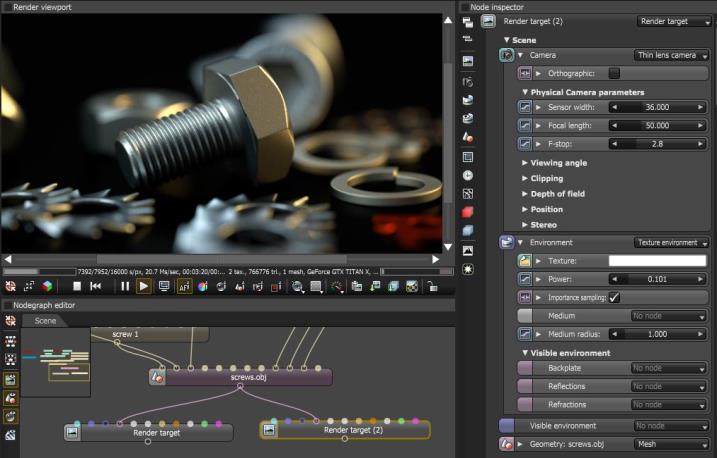
Figure 6: The Render Viewport shows the result generated when the second Render Target is selected