Enabling the Network Rendering Feature
Primary Node
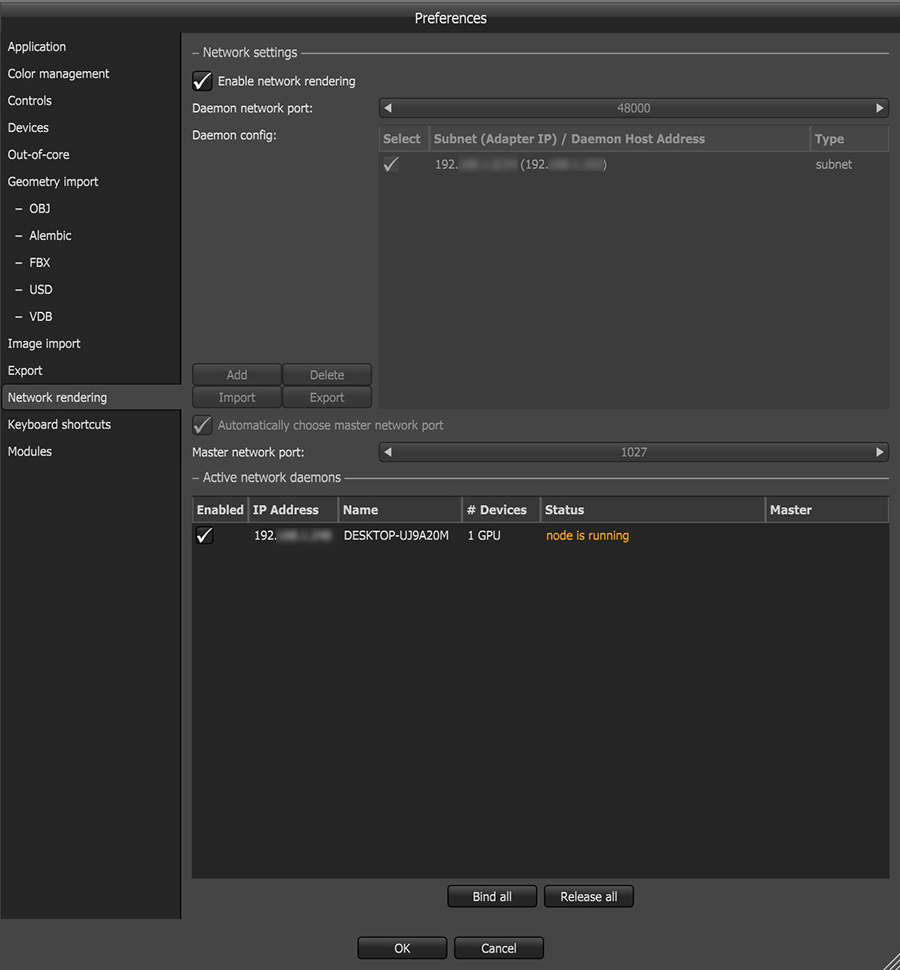
To enable network rendering, click on File > Preferences > Network Rendering, then click on the Enable Network Rendering checkbox.
The Network Settings dialog box includes an option to turn the automatic port configuration for the Primary Node on or off. If enabled, you can use multiple Primary Nodes on the same computer.
|
|
Network Rendering Tab
|
Figure 1: Network Rendering tab in Preferences
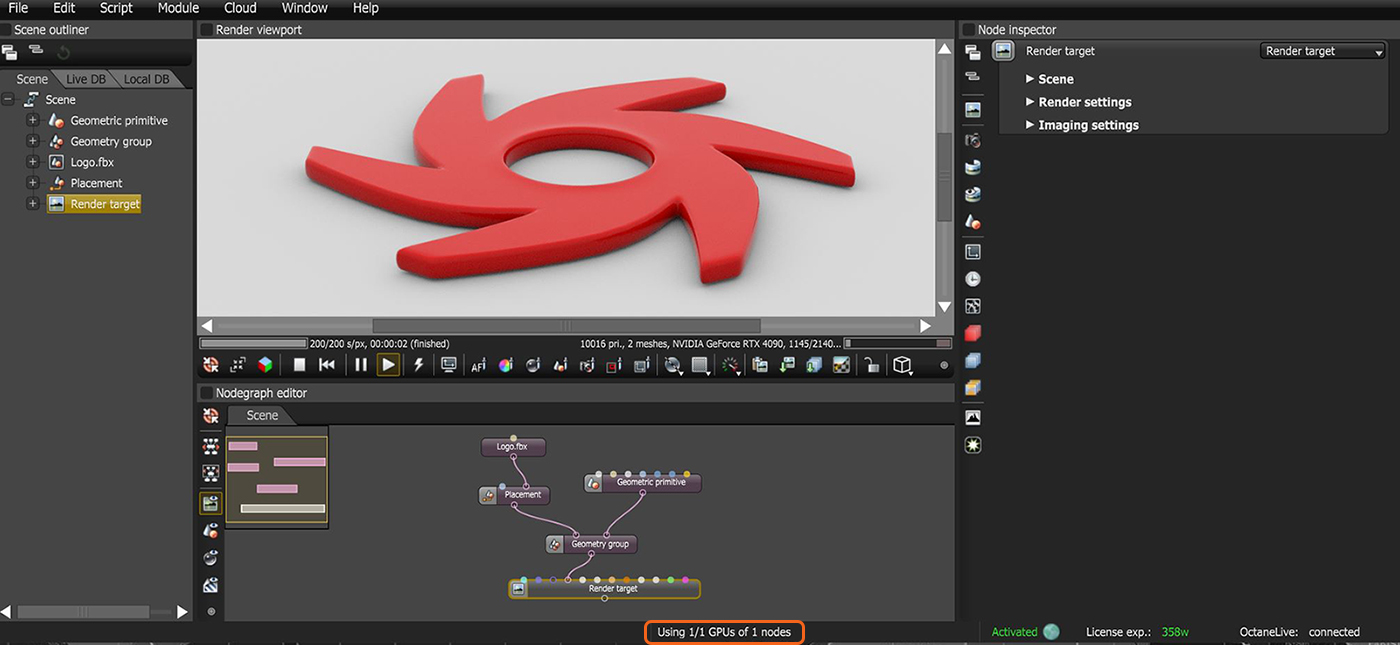
The Primary Node opens a socket at the specified Primary Node network port and listens for Render Nodes trying to connect to the Primary Node. It starts scanning the specified subnet in the local network for daemons, and as soon as a Render Node with the correct version connects, the OctaneRender® status bar shows the additional GPUs and Render Nodes.
|
|
GPUs in the Status Bar
|
Figure 2: OctaneRender status bar
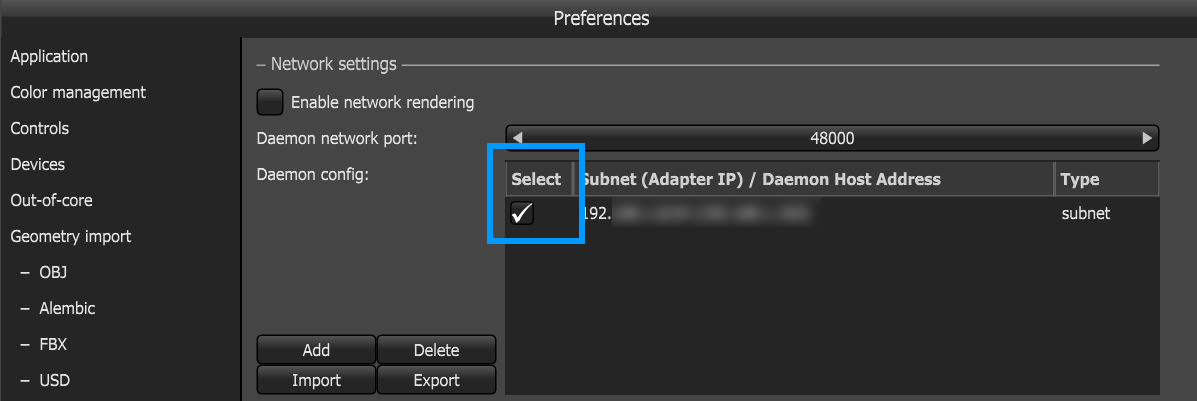
You can scan multiple subnets. The network render feature is also applicable if the Primary Node and Render Node are not on the same subnet.
|
|
Selecting Subnets
|
Figure 3: Selecting subnets
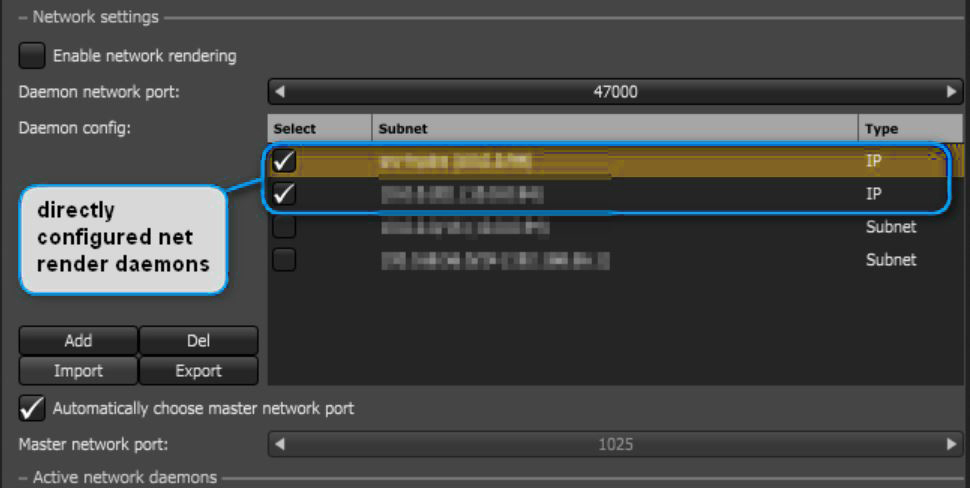
You can also specify host names or IP addresses of net render daemons, which is helpful if they are located outside of the subnet where the net render Primary Node connects.
|
|
Direct Config
|
Figure 4: Directly-configured net render daemons
To avoid entering all the daemons on every Primary Node computer, users can export or import this daemon list and share it between computers.
{
"Version": 1,
"AddrList": ["server1", "192.168.0.103"]
}
Render Node Daemons
The daemon is a program that launches after logging in, and runs all the time unless you shut it down. It fulfills various roles:
- Provides the ability for Primary Nodes to locate it in the local network.
- Determines the version and GPU configuration of the Render Node.
- Starts/stops a Render Node on request by a Primary Render Node and makes sure that only one Primary Render Node uses the Render Node at a time.
- It monitors the health of a running Render Node process and kills it, if necessary.
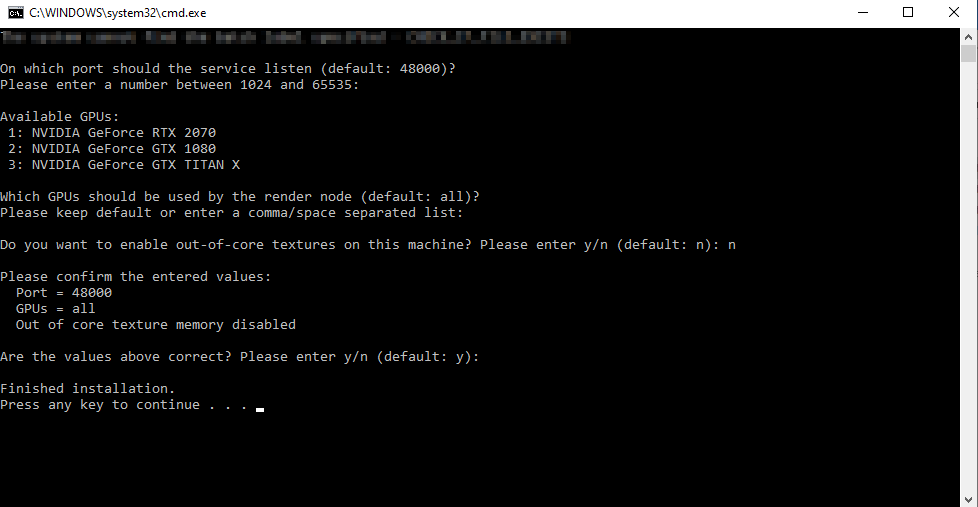
To set up the daemon, download the OctaneRender Network Rendering Node installer from the Downloads section on the Otoy website which can be found towards the bottom of the Applications section. Run the installer on the Render Node computer. The installer will create a new application named Install Octane 2025.2 Daemon which can be found in the Start menu. During the setup, the installer asks you to choose a port for Primary Node requests. After that, the daemon resides on that machine, active at all times. If the daemon needs to be restarted, there will be an addiitonal program in the Start menu named Start Octane 2025.2 Daemon. This program can be run in order to restart the render node daemon.
|
|
Batch Script
|
Figure 6: Running the batch script
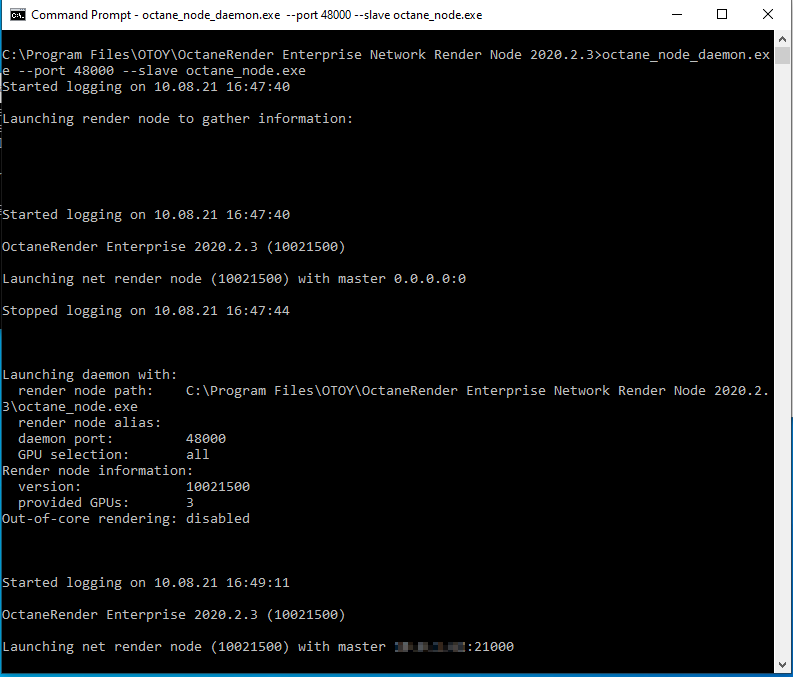
After confirming your selection, a batch file run_octane_node_daemon.bat is created in your Start menu's Startup folder (Start > Programs > Startup …). It launches the next time you log into your Windows® account, and a new terminal window appears in your task bar. When you open the terminal, you can see the daemon starting up. At first it tries to launch the Render Node process to gather some information.
|
|
Daemon Startup
|
Figure 7: Daemon startup
On the Mac®, the concepts are the same as on Windows.
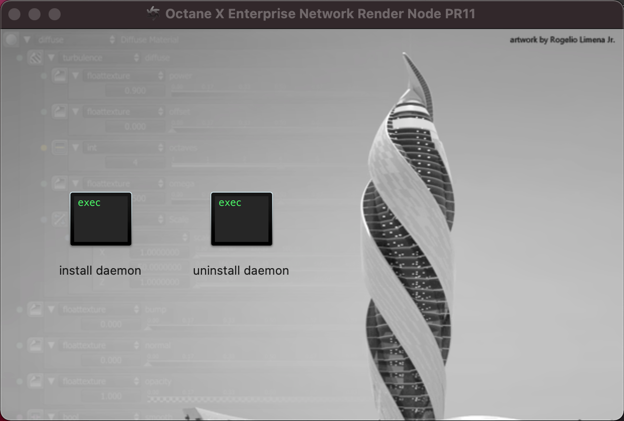
- Open the Standalone.dmg file and double-click Install Daemon.
|
|
Daemon Install
|
Figure 8: Install Daemon on the Mac
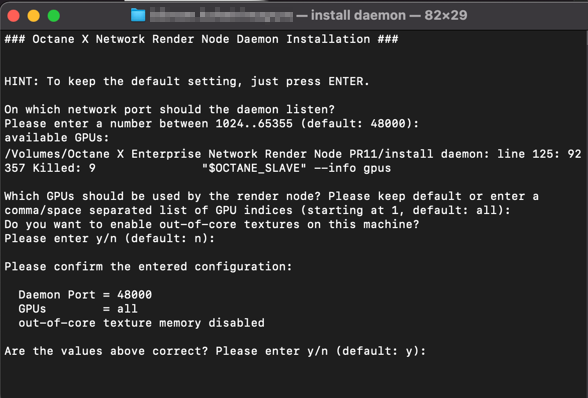
- When the Terminal window pops up, enter the daemon port and the GPU IDs used for rendering, or press Enter to use the default values.
|
|
Daemon Setup in Terminal Window
|
Figure 9: Daemon setup in the Terminal window
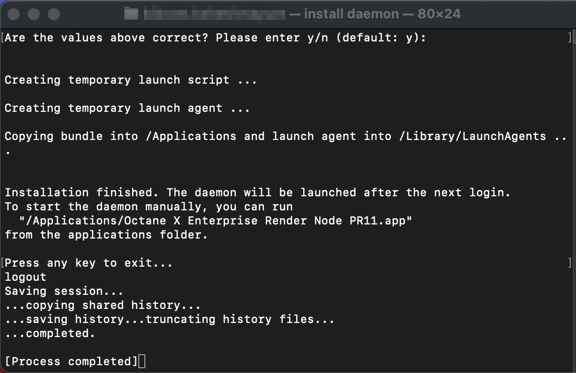
- After confirming the settings, enter your administrator password, and then macOS® copies the daemon and Render Node into the Applications folder and sets up a launch agent, which launches the daemon when you log in the next time.
|
|
Finishing Daemon Install
|
Figure 10: Finished daemon installation
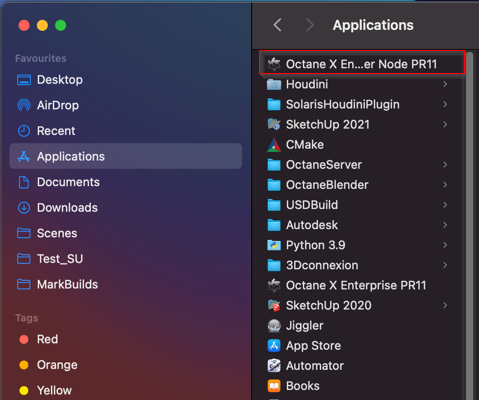
- To run the daemon immediately without logging out and logging in, go into the Applications folder and run the daemon from there.
|
|
Applications Folder
|
Figure 11: Selecting the daemon from the Applications folder
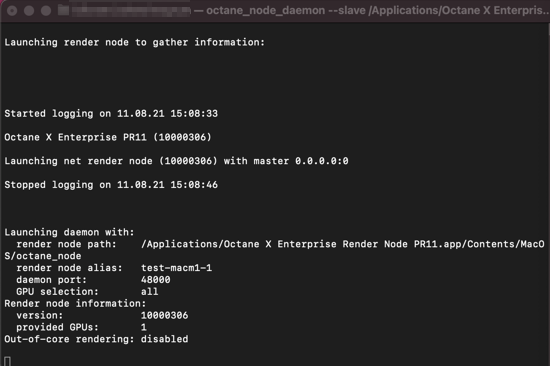
- This creates a minimized Terminal window in the dock. The daemon is a console application, and should produce an output like this.
|
|
Daemon Output
|
Figure 12: Daemon output

