Render AOV Group tab
The OctaneRender® Render AOVs allow for the segregation of different aspects of the scene, with each selected AOV rendered across multiple images or image layers or folders, depending upon the output file settings. Render AOVs are particularly useful in fine-tuning projects, compositing, and creating remarkably detailed and photo-realistic images.
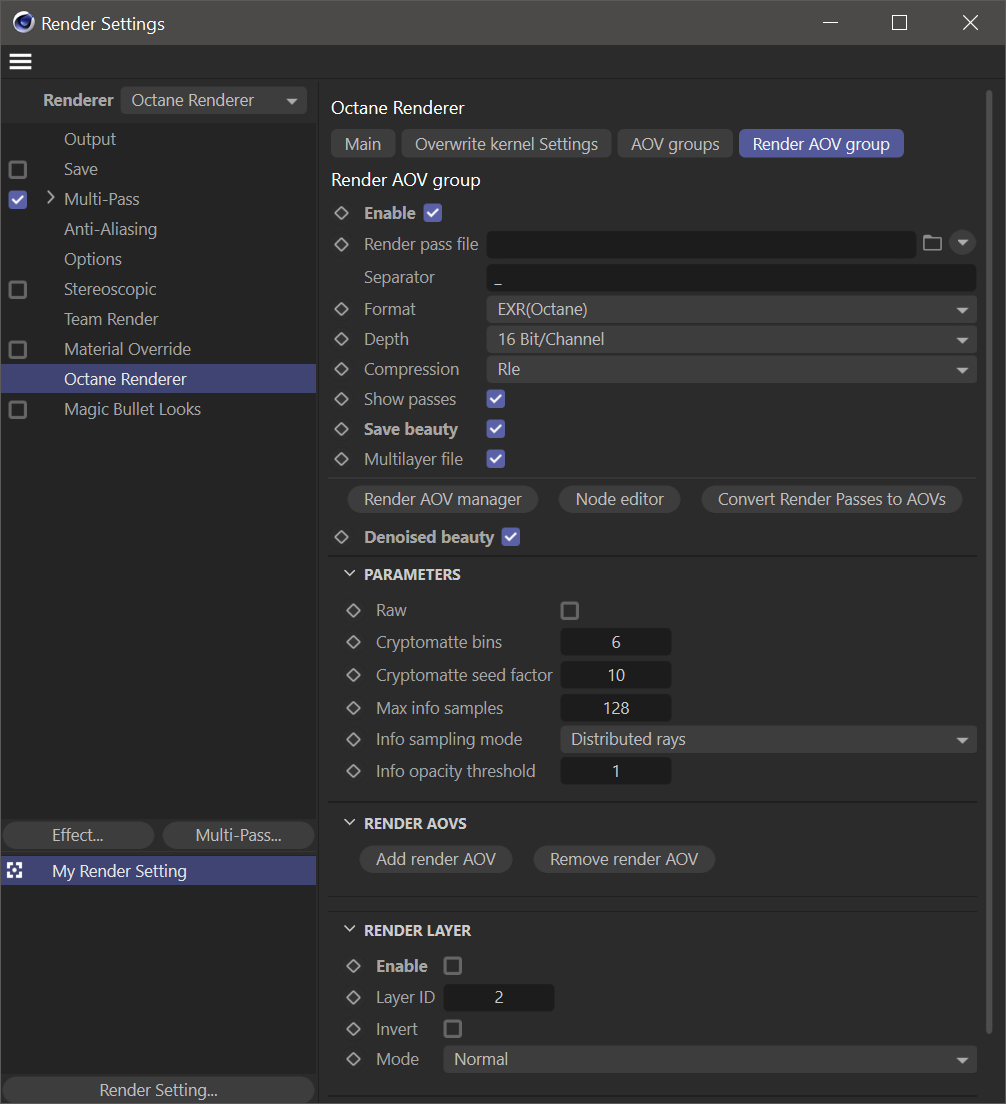
The illustration below shows the contents of the Render Settings > OctaneRenderer > Render AOV Group tab:
|
|
octane render settings — render aov group tab
|
Render AOV Group
The Render AOV Group section is broken down to five sections. The first section controls the output settings for the Render AOVs. The second section offers several control buttons for managing AOVs. The third section manages the basic output settings, the fourth section creates and manages AOVs, and the fifth section manages Render Layers. Each section or group is discussed below:
Enable
If enabled, Render AOVs will appear in real time in Live Viewer and also in the Layer tab in Picture Viewer. It is always a good idea to check the selected Render AOVs in Live Viewer committing to a final render.
Render Pass File
The Render Pass File path specifies the location of the file that is to be rendered. Select the Ellipsis button (...) to specify the name and location of the Render output file. Note that you will need to Enable the Save Beauty toggle if you are using this method for final render output of the Beauty pass, as opposed to using the Cinema 4D Save method (which Otoy does not advise). Using this method will save the renders with the proper color profiles, alpha channels, motion blur and so on.
|
Important Note if using the Cinema 4D Save Method Older versions of Cinema 4D will add an additional, unwanted response curve to some file formats that will make the frames brighter than you intend. Therefore, test before committing to full renders. |
Separator
The character(s) used to separate the file name from the frame number (if rendering an animation.) The default is the underscore character ("_").
Format
The image format of the AOV file is specified here. The chosen format will affect the availability of other options in the groups below the menu. Not all options are available to all formats. Eight different file format options are available:
- TIFF — A multi-layer option is available for the TIFF format (if disabled, the Folders option will appear).
- PSD — A multi-layer option is available for the PSD format (if disabled, the Folders option will appear).
- EXR — An additional "Compression" menu is available for the EXR format.
- RLEE
- ZIPS
- ZIP
- PIZ
- PXR24
- B44
- B44A
- DWAA
- DWAB
- JPG — A Folders option is available for JPG format.
- TGA — A Folders option is available for the TGA format.
- PNG — A Folders option is available for the PNG format.
- PSB — A Folders option is available for the PSB format.
- EXR(Octane) — An additional "Compression" menu is available for the EXR(Octane) format (see the EXR item). A multi-layer option is available for this format (if disabled, the Folders option will appear). The Render Layer Mask group is not available for this format.
Depth
This option sets the bit depth for the Render AOVs. EXR 32-bit is maximum quality, but the file sizes will be quite large.
Compression
This option sets the Compression options for the file format. These options differ based upon the chosen output format.
Show Passes
Save Beauty
This option will save the Beauty pass in the format defined in the Format section, and in the location specified in the Render Pass File slot.
Multilayer File
Certain file formats (TIFF, PSD, EXR and EXR(Octane) are capable of supporting multiple layers in a single file. If this option is disabled, the Folders option will appear.
Folders
This option appears for formats that do not support multi-layers. It is also an option that appears when the Multi-layer option is disabled. In this option, all of the selected Render Passes are saved with their respective folder names.
Denoised Beauty
This option will save the Denoised Beauty pass in the format defined in the Format section, and in the location specified in the Render Pass File slot, adding the suffix "DeMain" to the file name, before the frame number (if any). Be sure to enable the denoiser in the Camera Imager before rendering when choosing this option. Failure to do so may prevent the Denoiser from completing properly.
AOV Button Controls Section
There are three buttons in this section and are discussed below:
- Render AOV Manager — This button will activate the Render AOV Manager.
- (AOV) Node Editor — This button will activate the AOV Node Editor. The AOV Node Editor is the same Node Editor used to create materials, but focuses just on AOV specific tasks.
- Convert Render Passes to AOVs — This button will convert Render Passes from older Octane Render versions into the new AOV system.
Parameters Group
The Parameters group is used to service the attributes used for Cryptomatte and Denoiser output.
- Raw — Convert the Beauty AOVs to raw AOVs by factor out the color of the BxDF of the surface hit by the camera ray.
- Cryptomatte Bins — The amount of Cryptomatte bins to render. When a render starts, Octane collects a number of seed samples, which calculate a Cryptomatte bin distribution. These sets of bins characterize the pixel samples' properties.
- Cryptomatte Seed Factor — This is the amount of samples to use for seeding Cryptomatte. This gets multiplied by the amount of bins. Low values result in pitting artifacts at feathered edges, while large values result in artifacts in places with coverage for lots of different IDs.
- Max Info Samples — This option sets how many samples per pixel should be rendered for the info AOVs, since they are independent of the beauty AOVs and usually don't need as many samples.
- Info Sampling Mode — This option determines whether or not pixel filtering, motion blur and DOF should be taken into account. The options are:
- Distributed Rays — Enables motion blur and DOF and also enables pixel filtering.
- Non-Distributed Rays with Pixel Filtering — Disables motion blur and DOF but leaves pixel filtering enabled.
- Non-Distributed Rays with No Pixel Filtering — Disables motion blur and DOF and disables pixel filtering for all Render AOVs except for Render Layer Mask and ambient occlusion.
- Info Opacity Threshold — This is the minimum alpha value that is considered fully opaque.
Render AOVs Group
The Render AOVs group is where Render AOVs are created and managed. At the top of the group are two buttons:
- Add Render AOV — This button will add a Render AOV pin to the Octane Renderer node in the AOV Node Editor
- Remove Render AOV — This button will remove the newest Render AOV pin from the Octane Renderer node, as well as all nodes that flow into that pin.
If the scene has any Render AOVs, these AOVs will be listed below the buttons section, where the AOVs can be enabled/disabled for output, renamed as needed, changed into a different Render AOV type, and further configured via settings specific to the type of AOV.
Render Layers group
The Render Layers group activates and manages the Render Layer output. The options are discussed below.
- Enable — Enables Render Layers. This will result in only objects with the active Layer ID rendering. Note that Object Layer IDs are set in the Octane Object tag, discussed here.
- Layer ID — This sets the active layer. Only objects that conform to the active Layer ID will be rendered.
- Invert — This will invert the active Layer ID state. When enabled, ALL object but those with the active Layer ID will be rendered.
- Mode — The Render Layer's rendering mode. Your options are:
- Normal - The beauty AOVs contain just the active Layer, and the Render Layer AOVs (shadows, reflections, etc.) record the side effects of the active render layer for those samples or pixels that are not obstructed by the active Render Layer. Beauty AOVs are transparent for those pixels covered by objects on the inactive Layers, even if there is an object on the active Layer behind the foreground object.
- Hide Inactive Layers - All geometry that is not on an active Layer becomes invisible, and no side effects are recorded in the Render Layer AOVs - the Render Layer AOVs are empty.
- Only Side Effects - Similar to Normal, with the exception that the active Layer becomes invisible to the camera. The Render Layer AOVs (shadows, reflections, etc.) still record the side effects of the active Render Layer. This is useful to capture all side effects without the active Layer obstructing those.
- Hide From Cameras - Similar to Hide Inactive Layers, all geometry that is not on an active Layer becomes invisible, but side effects (shadows, reflections, etc.) are recorded in the render layer AOVs.