Portal Material
Octane Dialog/Live Viewer > Materials > Portal Material
The OctaneRender® Portal material is used to optimize the rendering of light sources in interiors by helping the render kernel find important light sources in the scene. For example, interior scenes illuminated by an outside light source that comes through windows can be difficult for the path tracer to optimize the light as it enters the interior environment. To help the path and photon tracers find these light sources, polygonal planes can be placed outside the window, with a Portal material assigned to that plane.
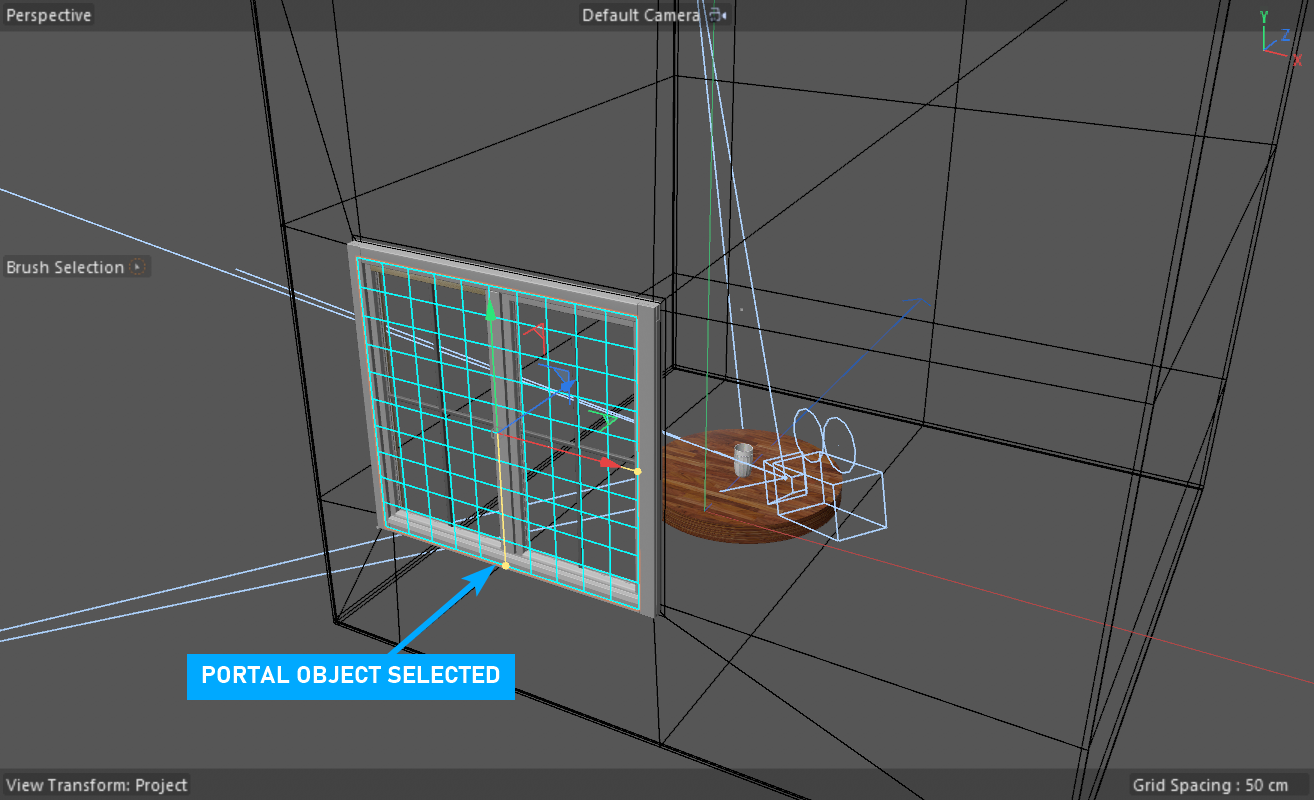
The image below consists of a room with a small, single window and is a perfect use-case for the Portal material, as this example uses only a sun/sky or HDRI file with no lighting on the room's interior. A single plane is placed over the window (highlighted in blue) with the normal for the plane facing into the room. A Portal material is applied to this plane.
|
|
object used as portal selected
|

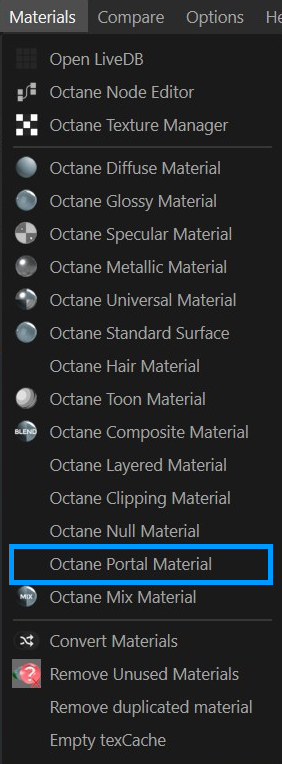
To create a Portal material, go to Live Viewer > Materials menu and select Octane Portal Material. A new Portal material will be placed into the Material manager.
|
|
portal material
|
Portal materials work best when every window or opening in the environment is covered by a portal plane. It will not work if only one window has a portal over it when all other windows do not have a portal over them. The normal direction of the portal plane should be facing inwards towards the interior, or the scene will not render properly. Don't block portal planes with other geometry like glass surfaces. Objects with the Portal material are invisible in the rendering.
Portal planes should have very few polygons. A few simple rectangular planes are best, as complex geometry used for portal planes can slow down rendering. It is possible to use a single piece of portal geometry to cover several openings such as multiple windows on a single wall. However, if the geometry is too large, that can reduce rendering efficiency. It's important to strike a balance between an opening's coverage and the size of the geometry that uses the Portal material.
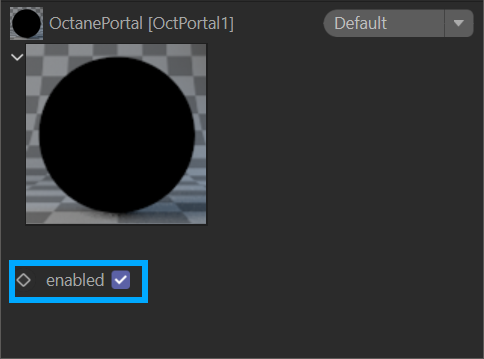
The Portal Material has no tabs; there is only one control, the Enabled toggle. This toggle needs to be on, otherwise, the portal will be ignored.
|
|
portal material — enabled
|
|
NOTE Portals will not work when rendering with the Direct Light kernel. |
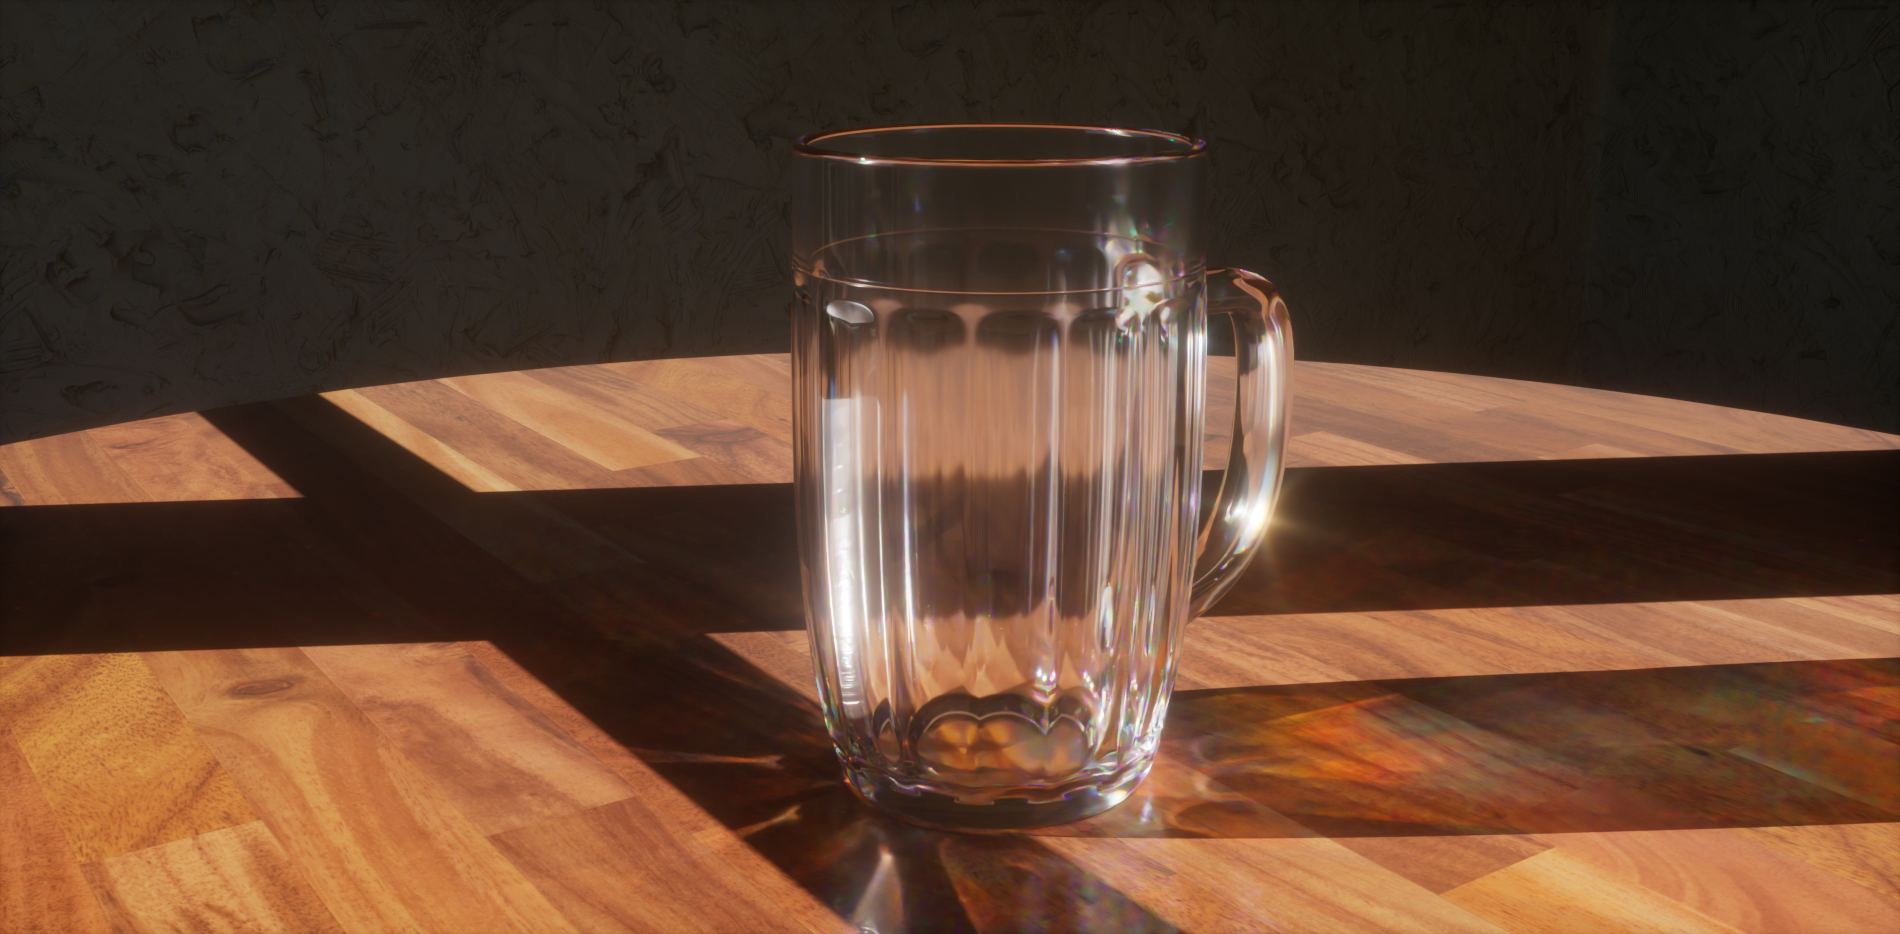
The two images below show the rendering results with and without a Portal material, as denoted by the image titles. The scene shows a glass mug rendered in a room lit by light coming through a window. The scene is rendered using 5120 samples. The first image does not have a portal plane placed over the opening, and it is noisier than the second image, which does have a portal plane. Note that the wall in the Portal image is also darker than in the non-portal image. This is because the portal is helping to contain/guide the light rays in the scene, which mimimizes the amount of light getting to the wall. Without the portal, the light is scattering in all directions, brightening up the image and also adding more noise.
|
|
No portal active — 11 min 42 seconds
|
|
|
portal active — 11 min 30 seconds
|

|
NOTE At some point, a scene with many Portal objects will offer diminishing returns — the best rule is to keep it simple. Using more than a few portals is best to be avoided (more from a scene management aspect than anything else.) |