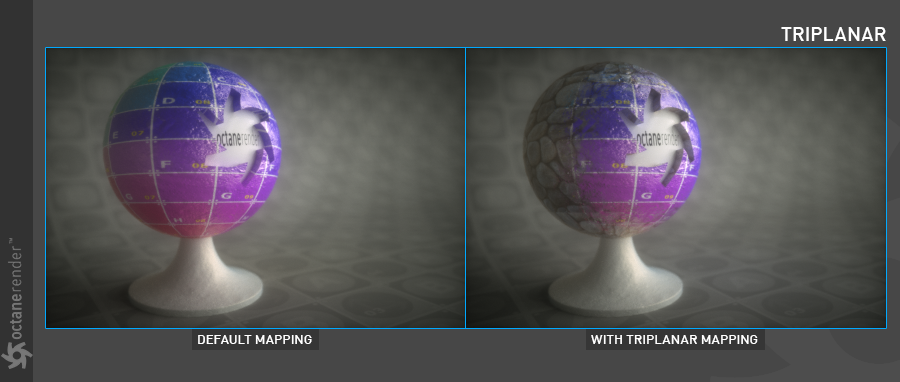
Triplanar
The Triplanar Projection node gives a quick way to map a texture on any object without UVs and presents the possibility for texture transforms local to each projection axis. The Triplanar Map node has six inputs representing the positive and negative X, Y, and Z planes. The same or different texture nodes can be mapped to each of these inputs.

This texture is used for mapping the samples of multiple textures along three planes - X, Y, and Z - in world space or object space coordinates and blending them to create one seamless texture. In most cases, it allows you to map textures without having a UV-mapped mesh.

The Triplanar Map Node divides a material map into six areas corresponding to the X, -X, Y, -Y, Z, and -Z axes. Initially, a texture would cover the entire surface of the object but the triplanar mapping confines visibility of the texture map onto the corresponding axis that are active for that texture.
This node may further depend on a Triplanar Projection node which localizes the projection of the texture to a corresponding plane and allows texture UV transforms relative to that projection axis. For example, you can assign "Projection" node to one of your textures and select "Triplanar" from the options.
How to Use
Open the Node Editor and prepare the setup as you see in the image below. Here, five different image textures used for the "Triplanar" node according to the object space coordinates. You can easily place any image or procedural textures on these axes.

Triplanar Settings
Blend Angle
This option controls the softness of the seams between each projection axis.
Single Texture
A single texture which is "positive X" axis, can be used. The result is the same with the default mapping.
Positive and Negative Axes
You can define any procedural or image texture to these axes for Triplanar mapping.
Transform
Control the position and orientation of the Triplanar node by connecting the transform node to this input.