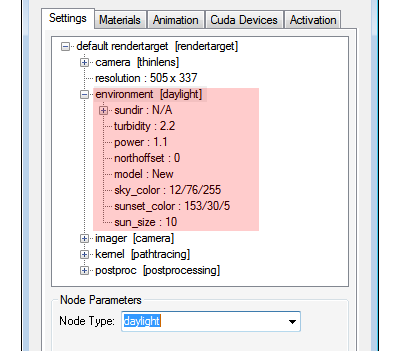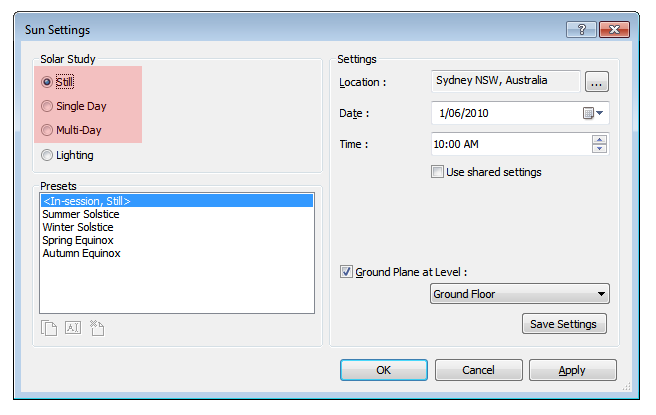
Go to the environment tree item under the rendertarget item in the Render Options List on the Settings tab, and change the default “texture environment” to “daylight”. When the “environment” is set to “daylight”, the sun position is automatically determined from the Revit sun position. So in the Revit Sun Settings screen, ensure Still, Single Day or Multi-Day as set (i.e., do not use Lighting).
Important: For night renders, Revit does not provide a sun position on the other side of the globe. Instead it leaves the sun at the horizon. So for night renders, turn the Octane sun intensity (“power”) to the minimum.
You can then control the sun position by changing the Time in the dialog above. You can also render Sun Studies (see Sun Studies). The Octane sun position will be synchronized to the Revit sun position exactly, as you can see below.
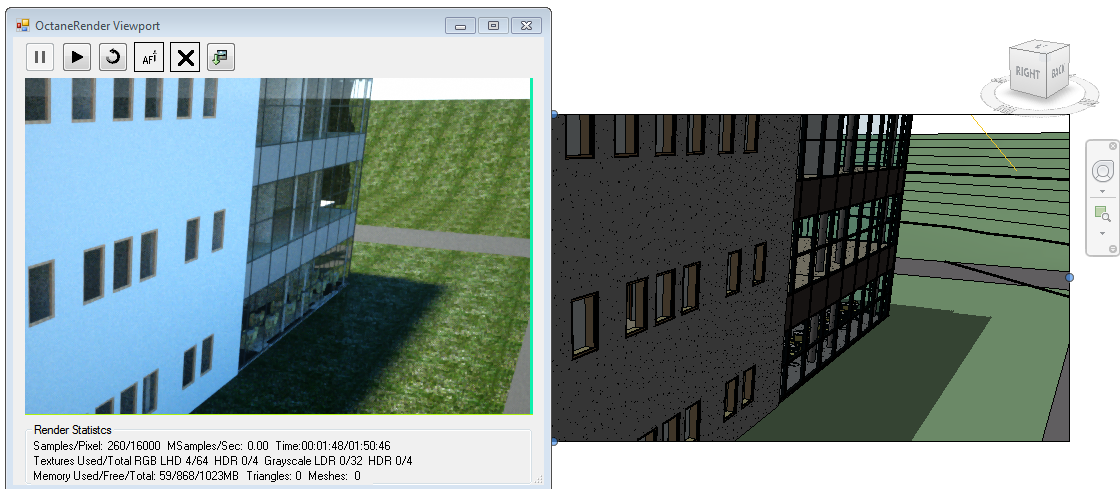
If you select “Single Day” or “Multi-Day” in the Revit Sun Settings dialog, you can preview the solar study whilst rendering to the Octane Viewport, and the Viewport sun position will be matched to the Revit sun position each frame.

The Octane “daylight” settings are as follows: