Ray Switch
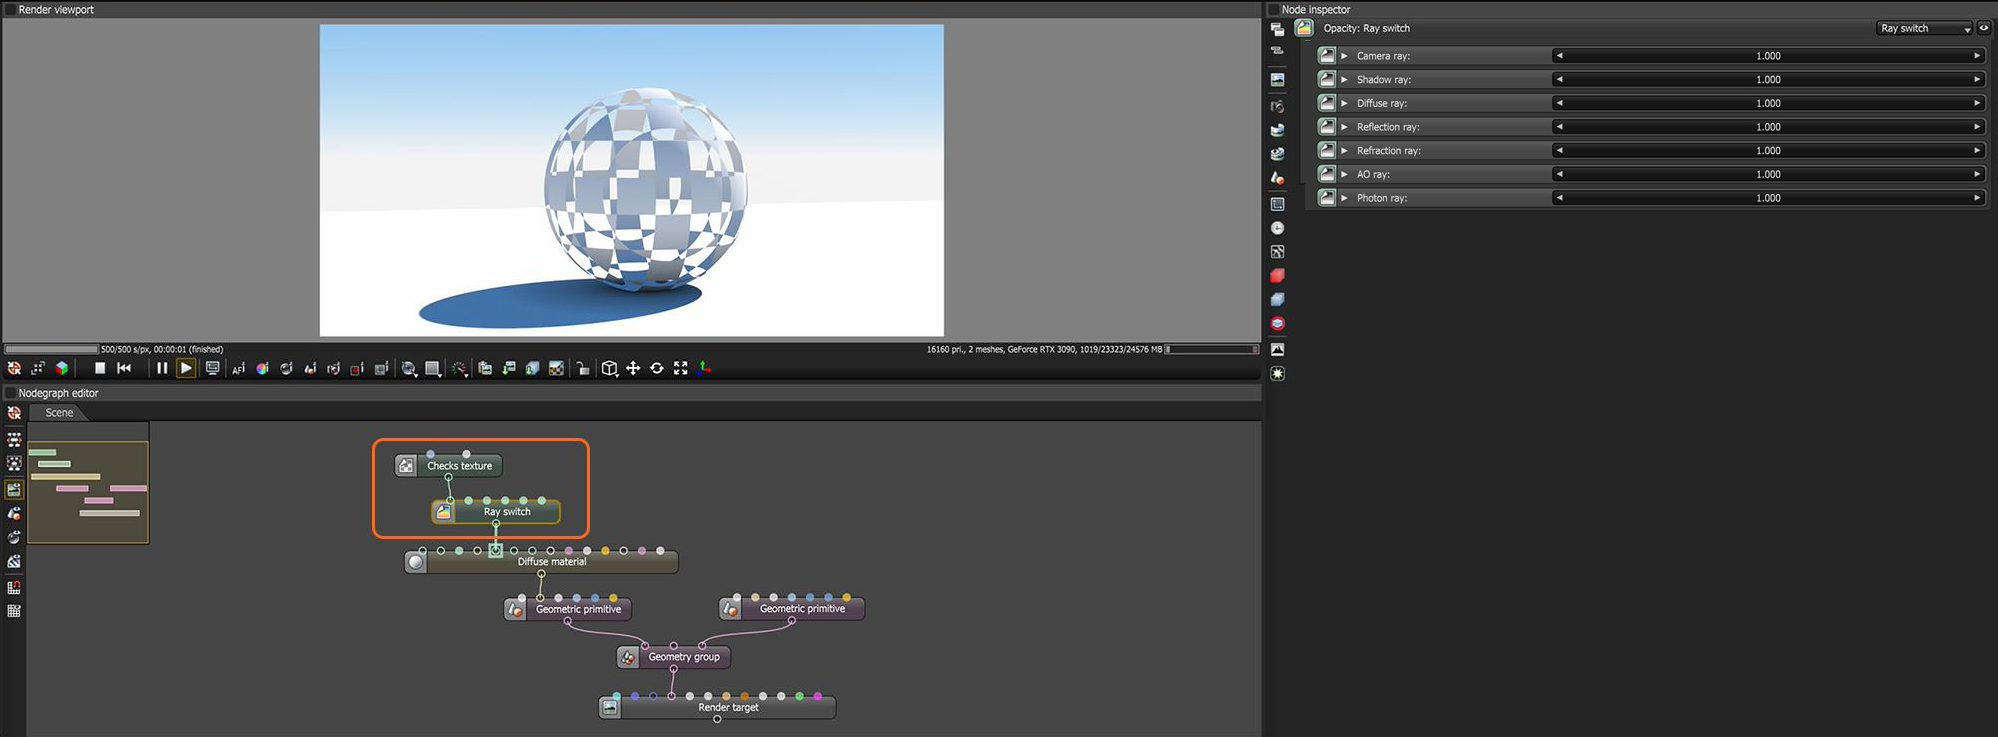
The Ray Switch node allows for different shading results on a surface, based upon the type of ray being evaluated and the direction of a given face, either front or back. This node can be used to remove unwanted reflections from inside-facing polygons, for example, or place a different material in the refracted areas of a surface. The Ray Switch node's output is typically connected to the Opacity channel on an Octane material (figure 1).
|
|
Ray Switch
|
Figure 1: The Ray Switch node with a Checks Texture node is connected to the Opacity input on a Diffuse material.
Ray Switch Parameters
Camera Ray - Determines the visibility of the object within the image itself. Reflections of the object will still be visible, as will shadows, and AO. If applied to the Diffuse channel, the material range will be black (0) to white (1). If color is desired, multiply the color by the node output, and then route the result to the diffuse pin of the material.
Shadow Ray - The shadow ray slider affects the visibility of the shadow cast from the object, when the Ray Switch node is connected to a material's Opacity pin. This slider has no effect when connected to other material channels.
Diffuse Ray - If the material has a diffuse component, it can be modulated with this slider. Specular or Metallic materials will see no effect.
Reflection Ray - Reflections from the object can be attenuated via the value slider or a suitable texture. The range would be the normal reflection (1) of the surface down to a black object reflected, as opposed to the object being invisible in the reflection.
Refraction Ray - Refractions in the material can be addenuated via this slider.
AO Ray - Any ambient occlusion contained in the shading will be attenuated by this value. This effect does not apply to the AO Render Pass.
Photon Ray - Provides an input to add a texture map to the areas where photon rays are traced.

