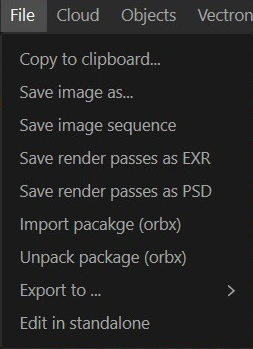
File Menu
The File Menu is used to save the Live Viewer image in several picture formats, export or import Standalone files or edit files only in Octane standalone application.
|
|
File Menu
|

Copy to Clipboard...
This command will copy the image from Live Viewer to the system clipboard.
Save Image as...
This command will save the image via the Save dialog. There are four different formats, and four different configurations of this dialog. Each dialog has options for:
OCIO Look
OCIO Look options are determined by the contents of the config.ocio file that is loaded in the Color Management tab in Octane Settings. If no Looks are defined in that file, this list will be empty.
Force Tone Mapping
Bypasses ACES tone mapping methods and uses the original Octane tone mapping when saving the image. Using this option is not recommended.
Each format, with format-specific options, are discussed below.
Save as PNG
PNG-specific Save dialog attributes are discussed below:
|
|
Save as PNG
|

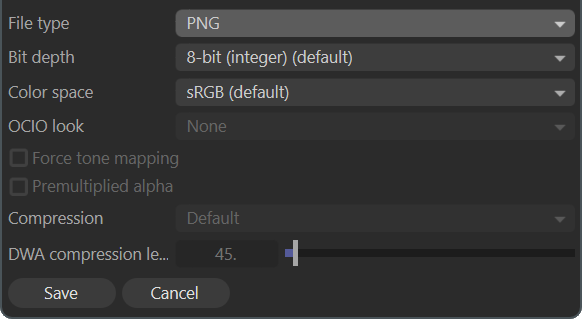
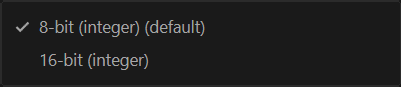
PNG has the following bit-depth options:
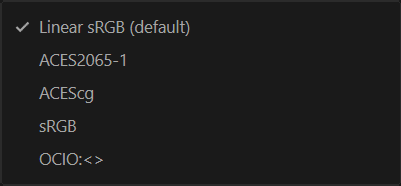
PNG offers the following color space options:
Save as JPEG
JPEG-specific Save dialog attributes are discussed below:
|
|
Save as JPEG
|


JPEG as a format is limited to 8 bit color depth only. JPEG offers the following color space options:
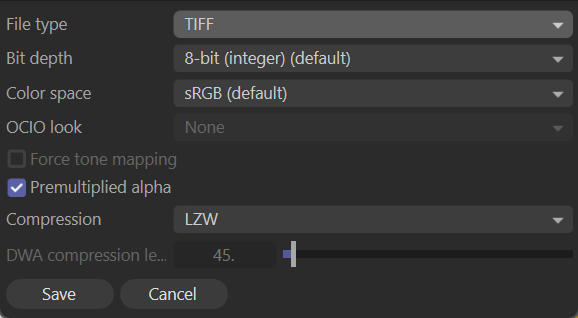
Save as TIFF
The TIFF-specific Save dialog attributes are discussed below:
|
|
Save as TIFF
|

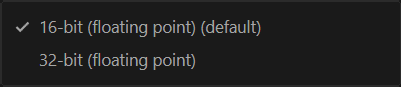
TIFF offers the following bit-depth save choices:
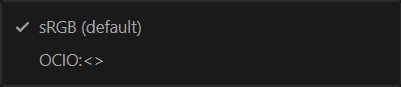
TIFF offers the following color space options:
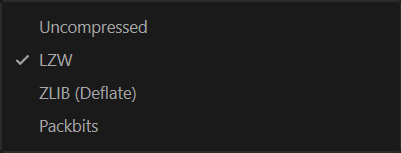
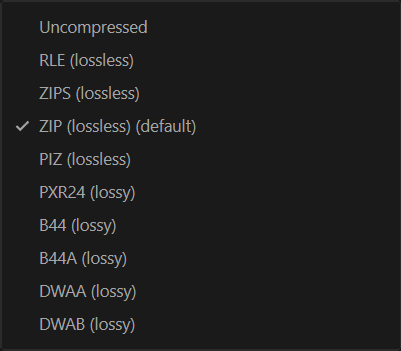
TIFF offers the following Compression options:
Save as EXR
The EXR-specific Save dialog attributes are discussed below.
|
|
SAve as EXR
|


EXR offers the following bit-depth save choices:
The following color space choices are available with the EXR format:
The EXR dialog also contains items for Compression type, which can be seen in this menu:
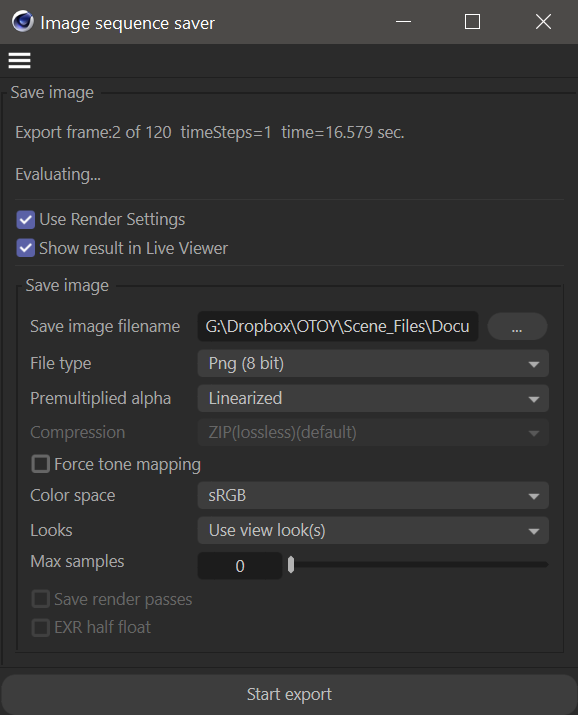
Save Image Sequence
You can save animation via the Save Image Sequence command. When this option is chosen, the following window will appear. Set up the Filename and location, enable the desired settings, and then press the Start Export button at the bottom of the window. The file will then be rendered via the Live Viewer.
|
|
save image sequence
|

|
IMPORTANT! DO NOT USE THIS OPTION FOR FINAL ANIMATION RENDERS! This option uses Live Viewer routines optimized for real-time performance, and bypasses the normal Cinema 4D evaluation process used for final renders. Items will be missing, motion blur will not be accurate, and so on. |
Save As Render Passes as EXR
Save the Live Viewer render passes in EXR format. To do this, the "Render Passes" option must be active in the Render Settings > OctaneRender > Render AOV Manager tab.
Save As Render Passes as PSD
Save the Live Viewer render passes in PSD format (Adobe Photoshop). To do this, the "Render Passes" option must be active in the render menu.
Import Orbx
This option is used to load materials in the Octane ORBX format. You can use this option if you have a scene created in Octane Standalone and you wish to import the materials only from that scene.
Export To >
Standalone Scene (ocs)
Export your current scene as an "Octane Standalone" scene. When you choose this option the file dialog appears. Choose your file location and save. You can then open and use this file in Standalone.
Package (ORBX)
This option will save your current scene in a packaged ORBX format, so that it can be opened and used in Standalone. All the data on your scene is included in this package for the current frame.
Animated Package For The Render Network (ORBX)
This option will save your current scene in a packaged ORBX format. All the data on your scene is included in this package. This is the format to use for The Render Network output and then open and use this file in Standalone to verify the results. Use Octane Standalone to initiate The Render Network jobs. Read more about The Render Network here.
Animated Package for Test (ORBX)
This option uses older export methods which will likely be deprecated in future releases. It is faster than the Export to Animated Package for The Render Network option, but it may not capture all of the elements in a very complex Cinema 4D scene.
Edit in Standalone
Sends the current scene directly to Octane Standalone. Standalone will automatically open and import the current scene into the application. The location of Octane Standalone is managed in Octane Settings > Settings > Settings > Paths.
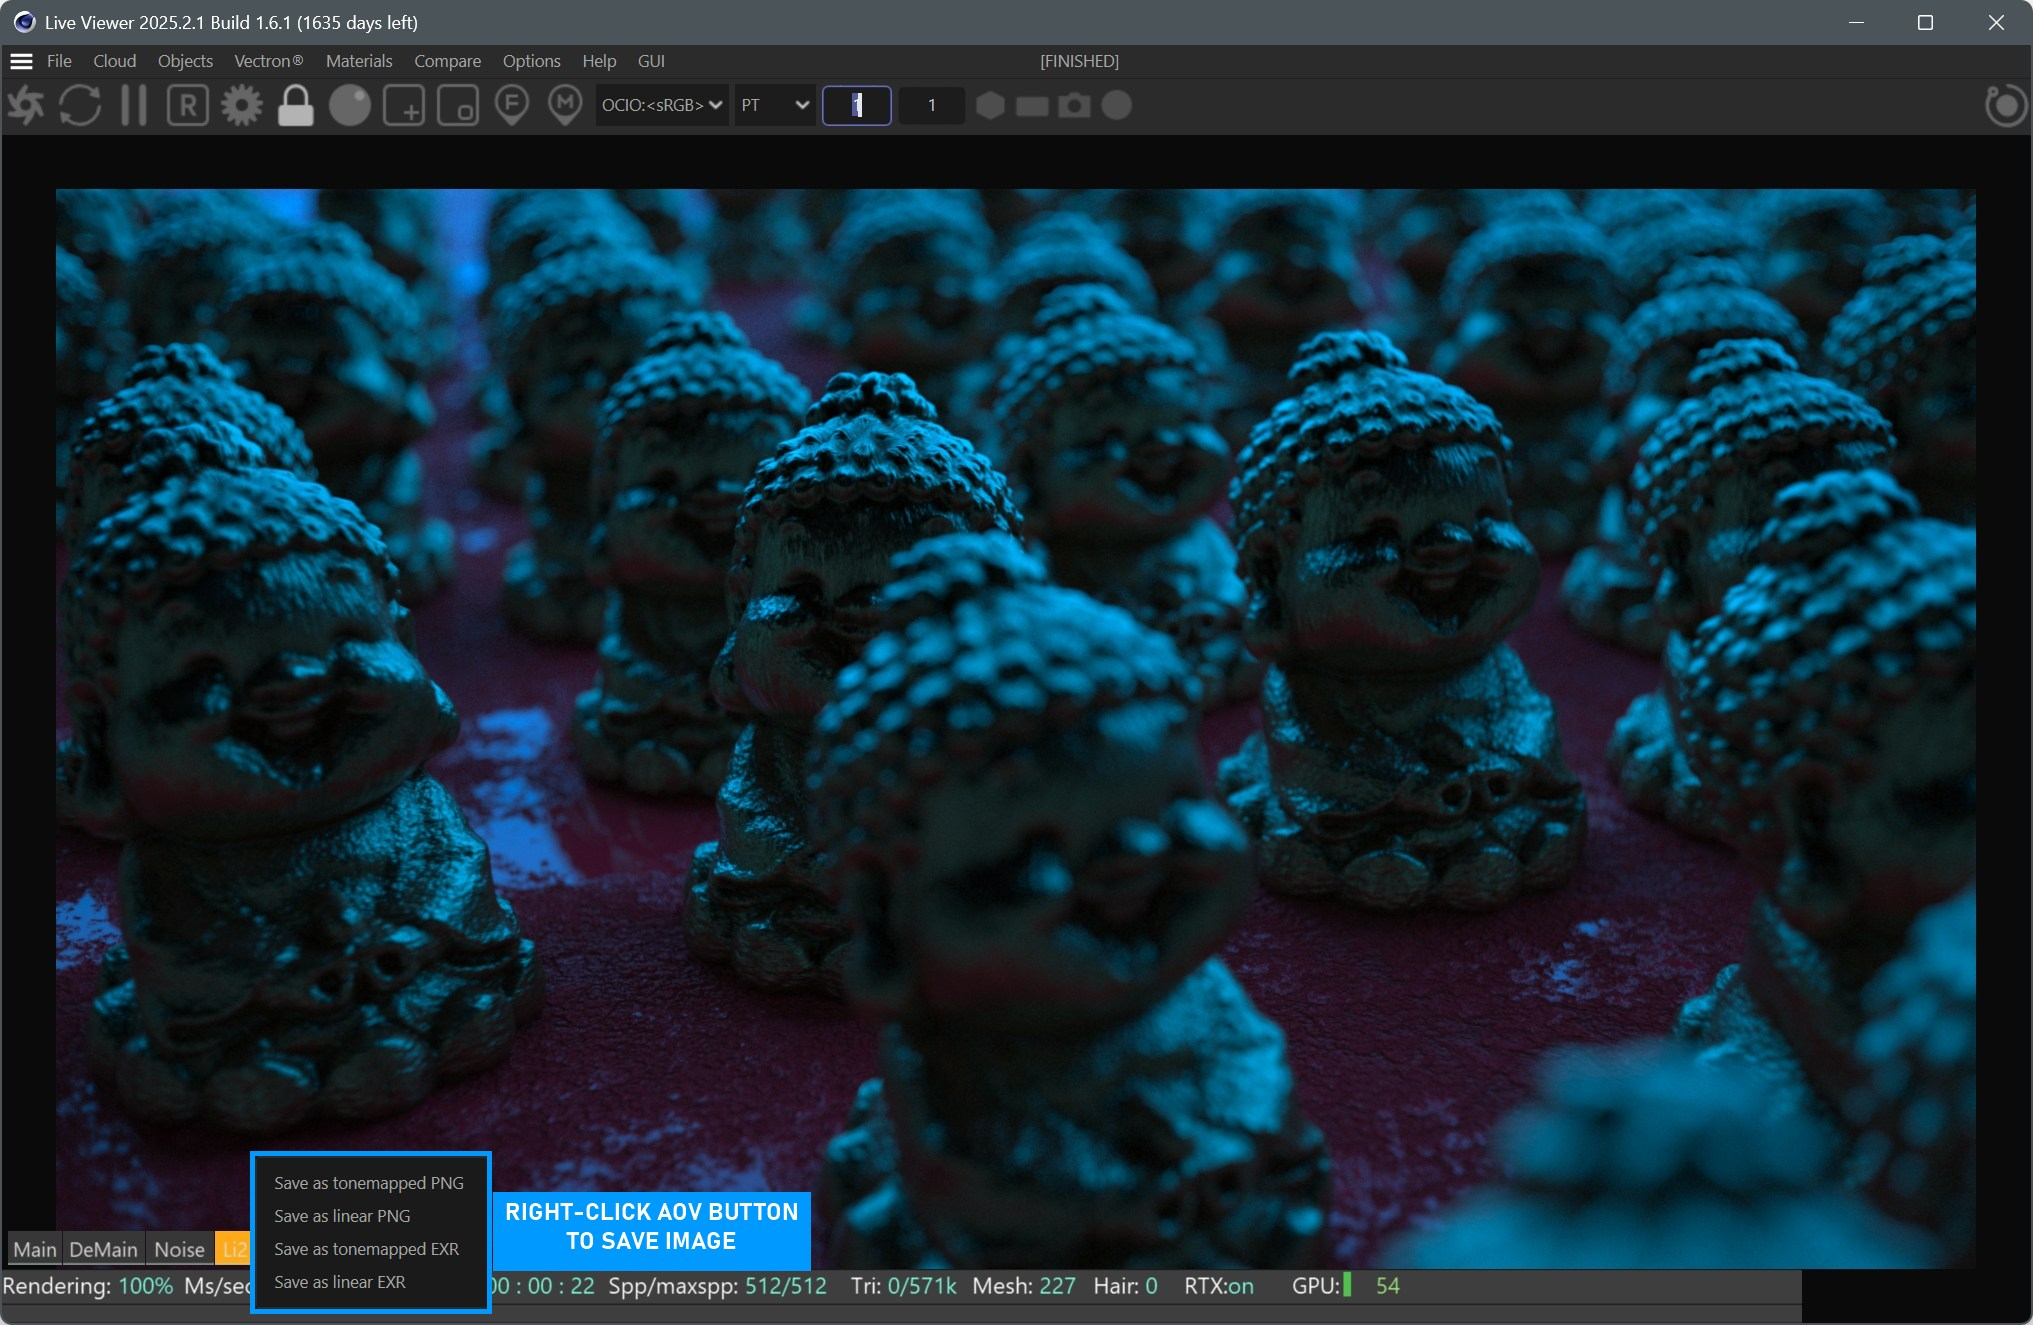
Save RENDER AOV (Passes) from the Live Viewer Window
Live Viewer can save the Render AOV (render pass) by using render AOV buttons at the bottom right of Live Viewer window. To do this, first enable the Render AOV from Render Settings > Octane Renderer > Render AOV Manager > Render AOVs.Select the desired pass and click the right mouse button to save the image.
|
|
save render AOV
|