Capture your vision
Vision. Creativity. That is what you bring. You have something in your head or a moment that you want to immortalize and manifest in some form, you use the visual language of photography and cinema to do so. Composition, motion, balance, lighting, and subject all help you to set the mood you want to achieve. The best directors of photography know this visual language intimately. They know their gear — how to use light, dark and framing to tell their stories and fulfill their vision. You want to do the same with OctaneRender®.
Once you are ready, your objects are in place, you have created your materials and set your lighting, it is time to frame your perspective and tell your story visually. Now is when you need your camera, your window into your creation.
OctaneRender will capture your scene as seen from your current viewport, either via the Live Viewer or the Picture Viewer. Typically, however, most will prefer an actual camera to work with when using Octane. Octane uses the Cinema 4D Camera object and adds an Octane Camera tag. Octane will honor the Cinema 4D Camera object settings, so once you set up the basics of the camera as needed, you will be spending most of your time with the Octane Camera tag itself.
Creating an Octane Camera
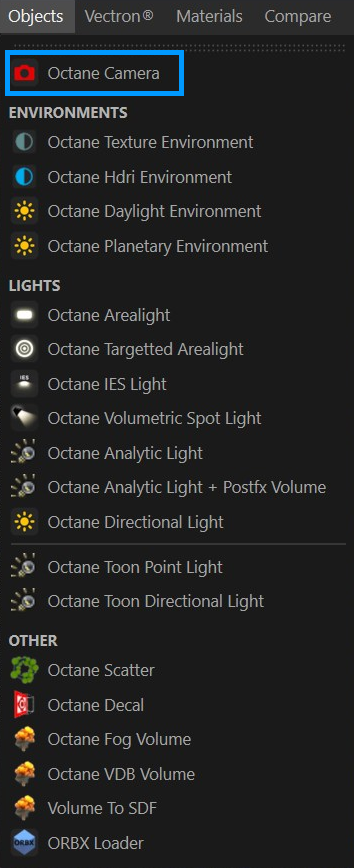
Use the Live Viewer > Objects > Octane Camera menu item to create an Octane Camera. When you choose this option, an Octane Camera will be added to the Cinema 4D Object Manager, along with an Octane Camera tag. Alternatively, you can create a native Cinema 4D camera and then add an Octane Camera tag to the camera. Either method will work.