Blackbody Emission
The Black Body emission node uses Temperature (expressed via the Kelvin scale) and Power to control the color and intensity of the light, respectively. All objects radiate energy warmer than 0 Kelvin, but this energy is not visible to human vision. The average body temperature for a human, expressed in Kelvin, is 310.15 K — too low for our eyes to register as a source of illumination (as this value is actually in the infrared spectrum), though we do perceive the warmth we generate. The lowest end of the visible spectrum is right around 700 K (embers). A match flame is 1700 K and a standard "Edison" incandescent light bulb is 2400 K. In other words, when temperature increases beyond a certain point, visible light is emitted, starting with warmer reddish values all the way through cooler blue values.
|
|
visible spectrum in kelvin
|


Source: B&H
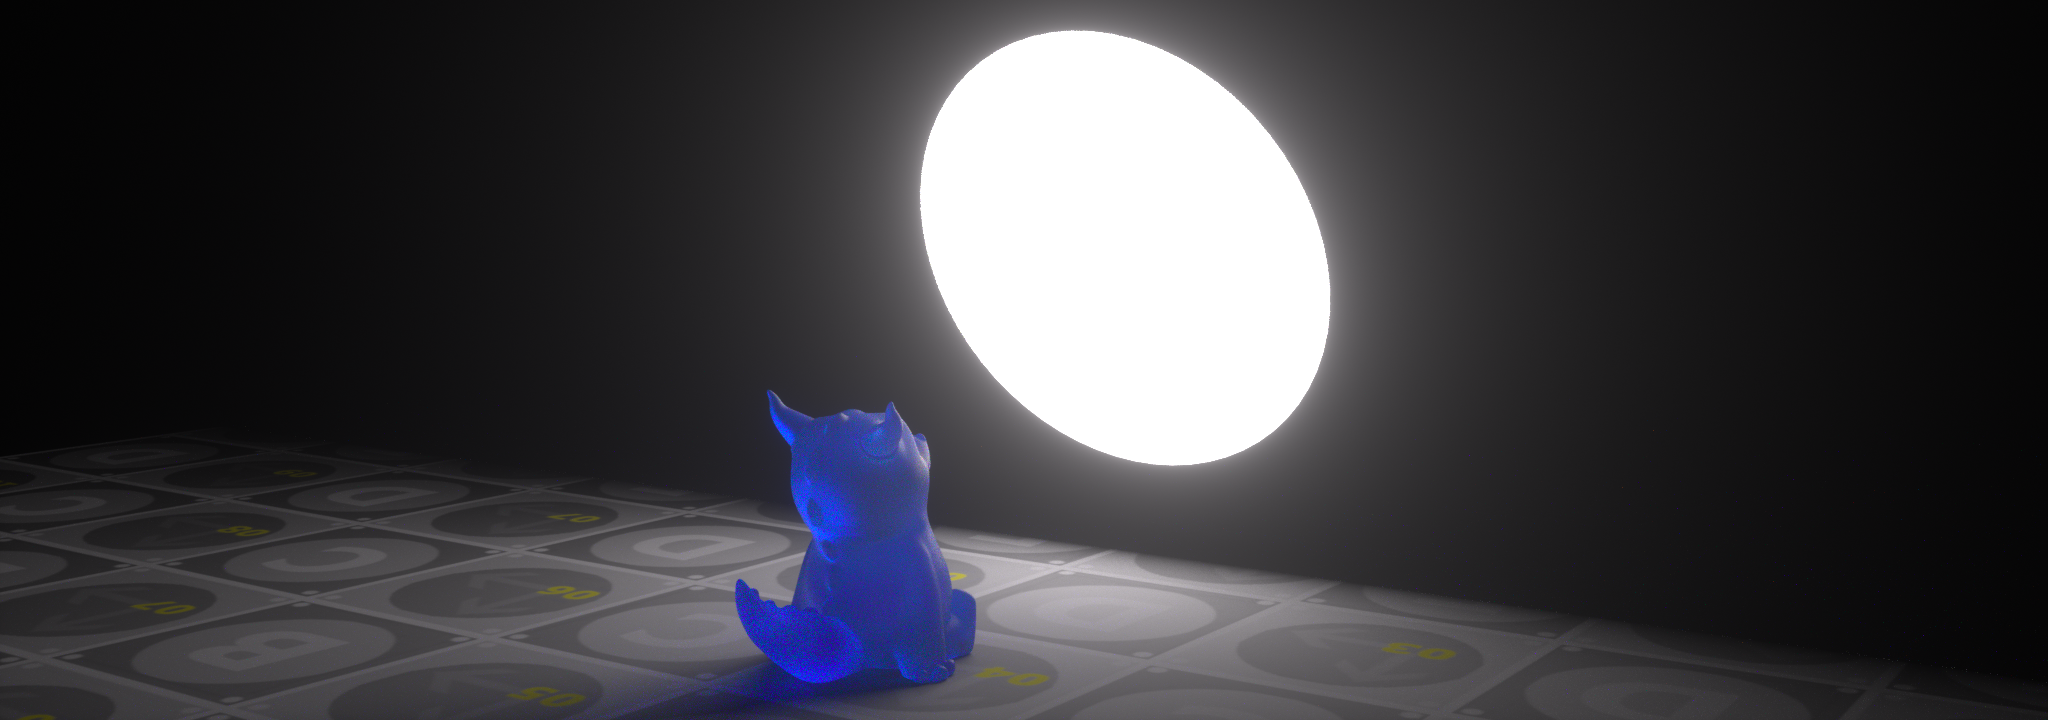
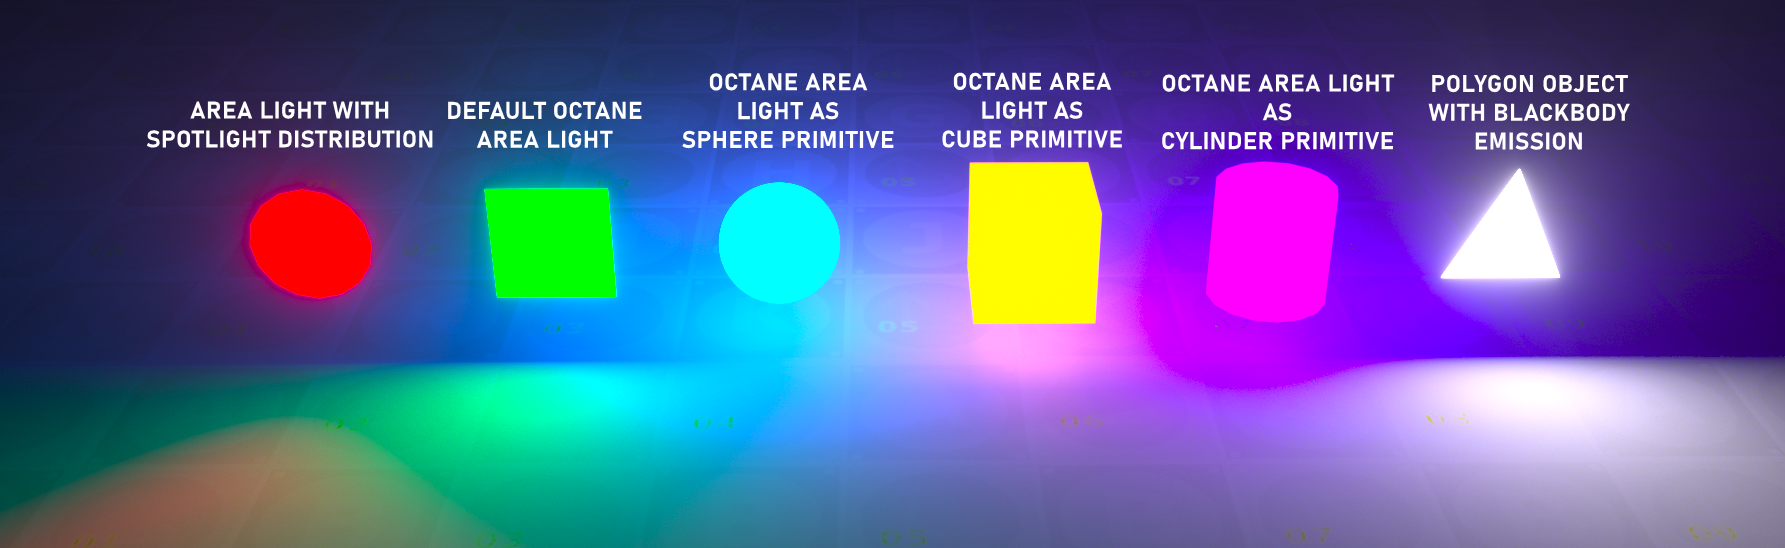
In the image below, all of the lights shown are Octane area lights, with a variety of shapes offered within the C4D light itself. Not all shapes are supported, only those shown here. In addition, a polygon object with a Blackbody Emission material is applied, showing how it can also be used to illuminate a scene.
|
|
blackbody emission
|
How to setup a Blackbody Emission for any Object
Create a disc object. Set its size as needed. Create a Diffuse material and assign this material to the Disc object. Now open the Node editor and drag and drop the Diffuse material you created in the Node editor. Then select "Blackbody Emission" from the "Texture Nodes" menu on the left side of the Node editor and connect it to the "Emission" slot of the diffuse material (setup shown below). That's it. By selecting the blackbody emission node, you can adjust your light settings in the settings window that appears on the right. For further range, you can add a Float node.
|
|
black body emission — node set up
|