Post Processing
OctaneRender® includes the ability to add effects like glow, glare, bloom to your images after rendering. These effects can be saved directly with the images or as separate layers to add in the compositing application of your choice. The Post Processing tab Is broken down into three separate turn-downs:
- Image Processing — these controls apply the original Octane Post Process effects
- Lens Effects — these controls are used to dial in Analytic Lens Flares.
- Volume Effects — these controls as used for the Analytic Light Beam and Fog effects.
|
NOTE Analytic light features are limited to a maximum of 8 analytic lights per scene. |
The options are explained below:
|
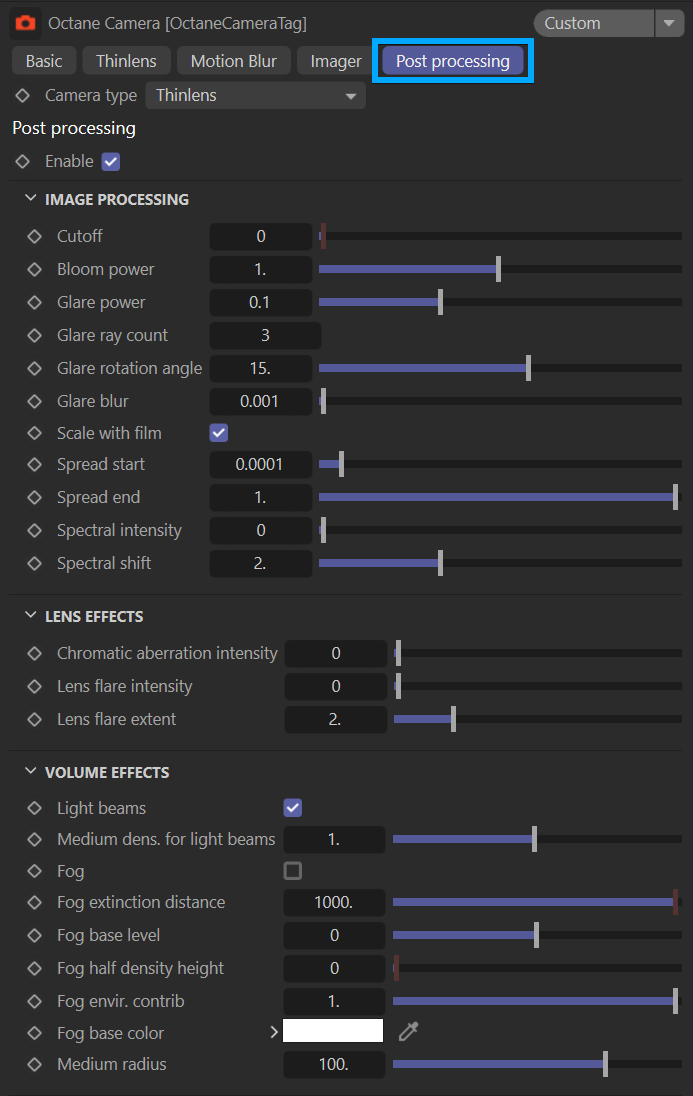
|
octane Camera tag — post processing tab
|

Enable
Enable/disable Post Processing. Disabled by default.
Image Processing
Cutoff
This slider determines when/if Image Processing effects are visible in the scene, using pixel values.
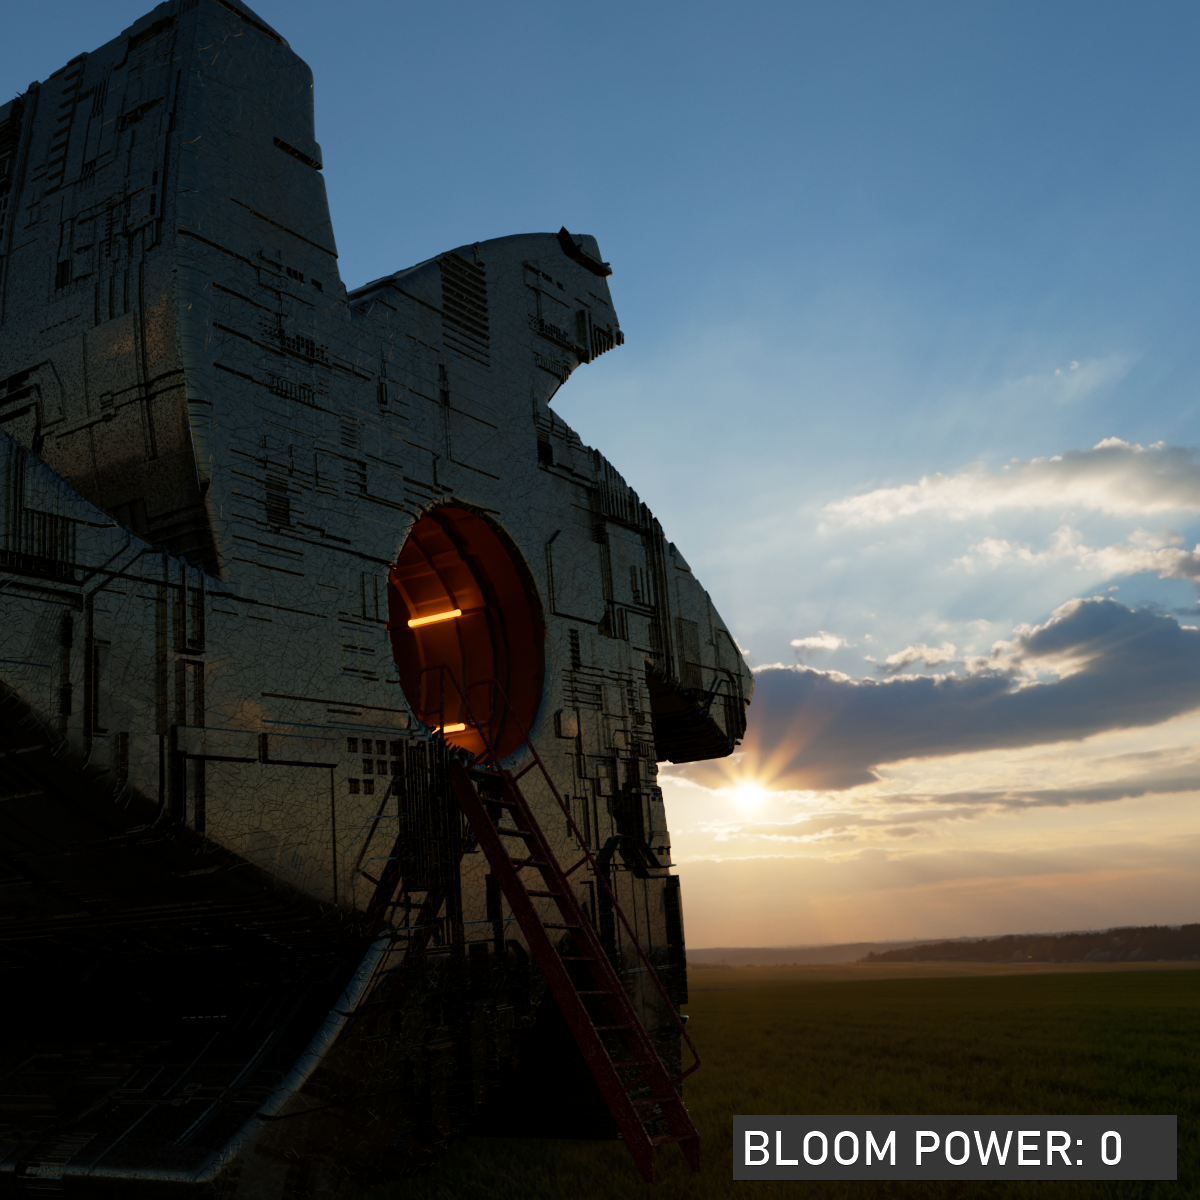
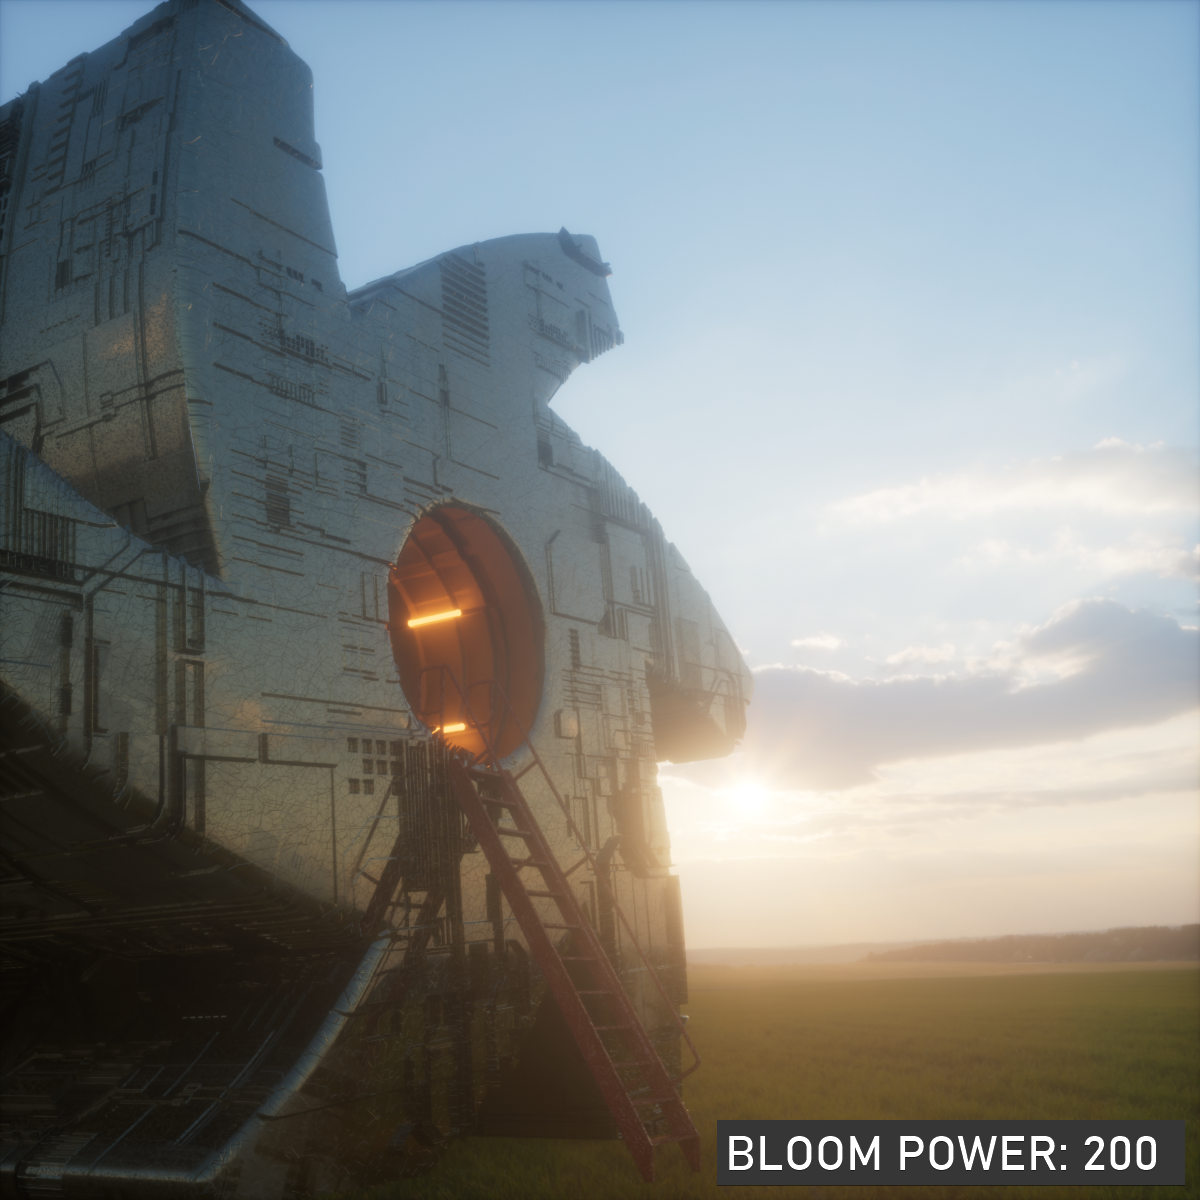
Bloom Power
Controls the size and intensity of the halo around the sun, light source, or reflective glossy materials, within the range specified by the Cutoff value. This option will also effect Lens Flares, if enabled.
|
|
post processing — bloom
|
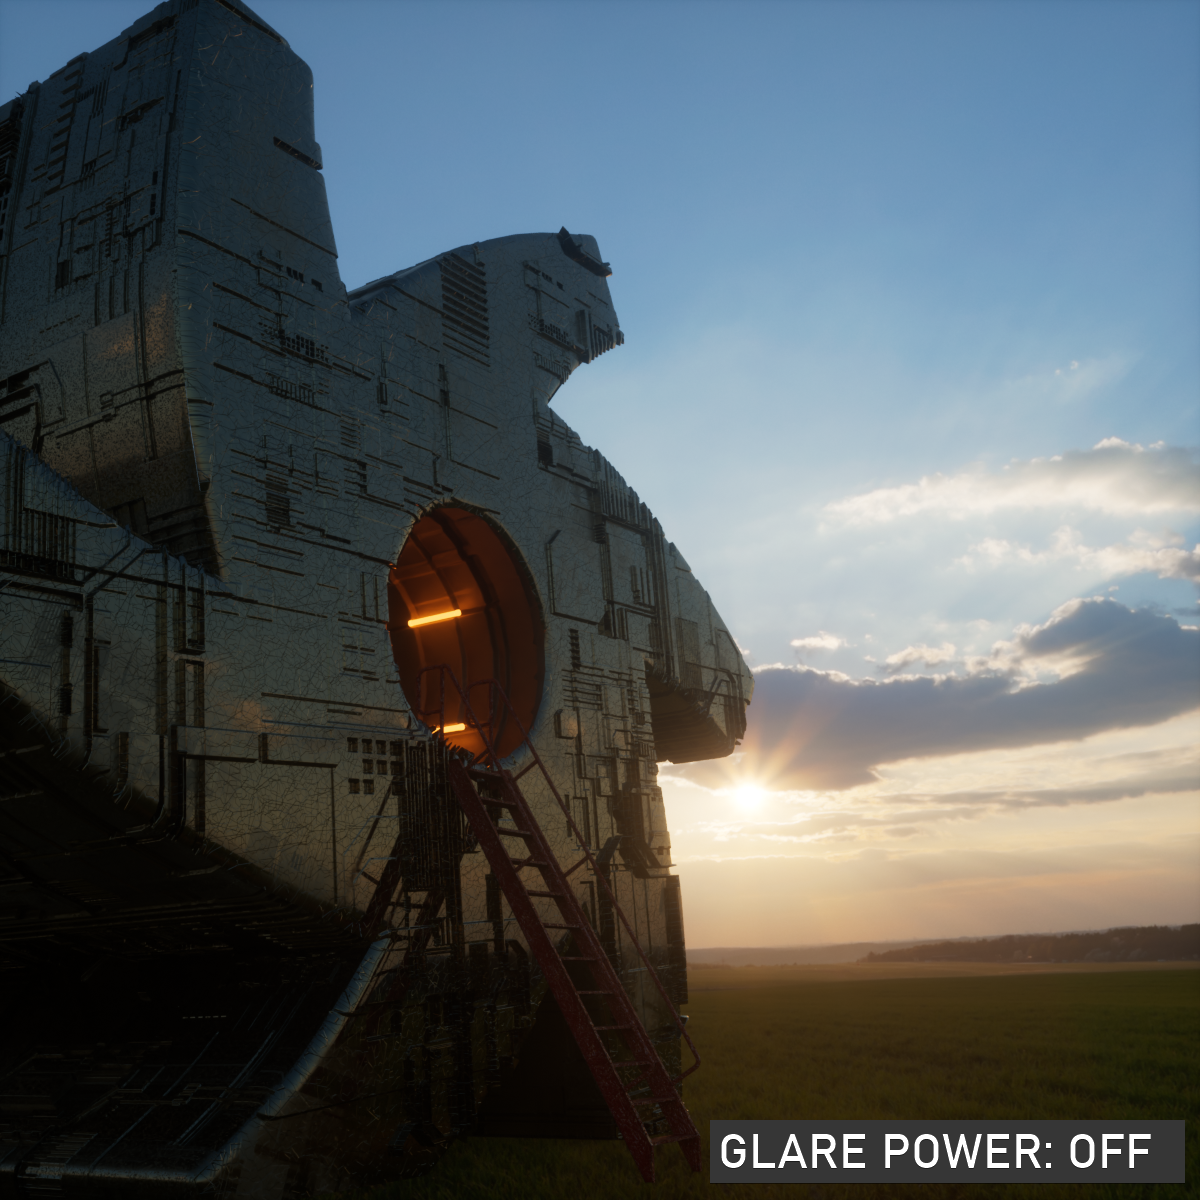
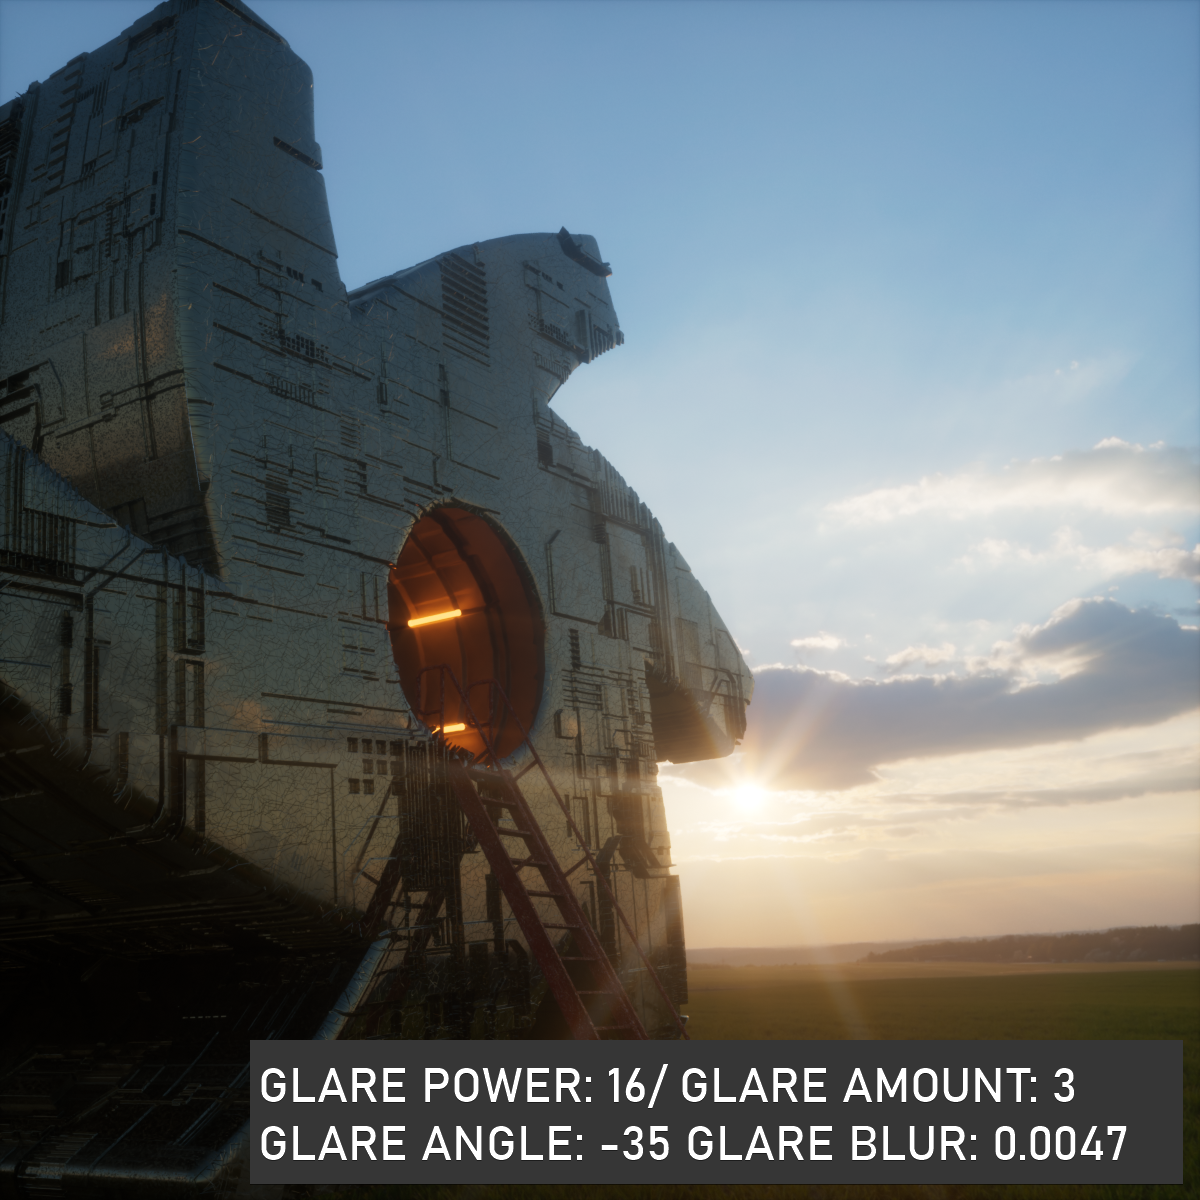
Glare Power/Glare Ray Count/Glare rotation Angle/Glare Blur
Glare power controls the size and intensity of the glare. The glare effect is more pronounced when it comes to the sun, the lights in the scene and reflective materials. Glare Ray Count Controls the number of visible rays radiated or reflected. Glare Rotation Angle is used to adjust the rotation of the glare relative to the object. A glare angle of -90 and 90 results to one main horizontal glare and a glare angle of 0 results to one main vertical glare. Glare Blur Controls the sharpness of the glare. Smaller values will result to a crisp linear glare and this is softened as the value is set higher.
|
|
post processing — glare
|
Scale with Film
If enabled, the Post Effects will correctly adapt to differing frame sizes, allowing for different resolutions in both Live Viewer and Picture Viewer, for example.
Spread Start
The minimum blur radius for Bloom/Glare, as a proportion of image width or height (whichever is larger). This is ignored if Scale with Film is disabled.
Ideally this should be set to correspond to about half a pixel (i.e. 0.5 / max(width, height) * 100%) at the maximum resolution you will be using. Too large a value will produce and overly blurry result within fine details. Too small a value will reduce the maximum possible strength of the Bloom/Glare.
Spread End
The maximum blur radius for Bloom/Glare, as a proportion of image width or height (whichever is larger). This is ignored if Scale with Film is disabled.
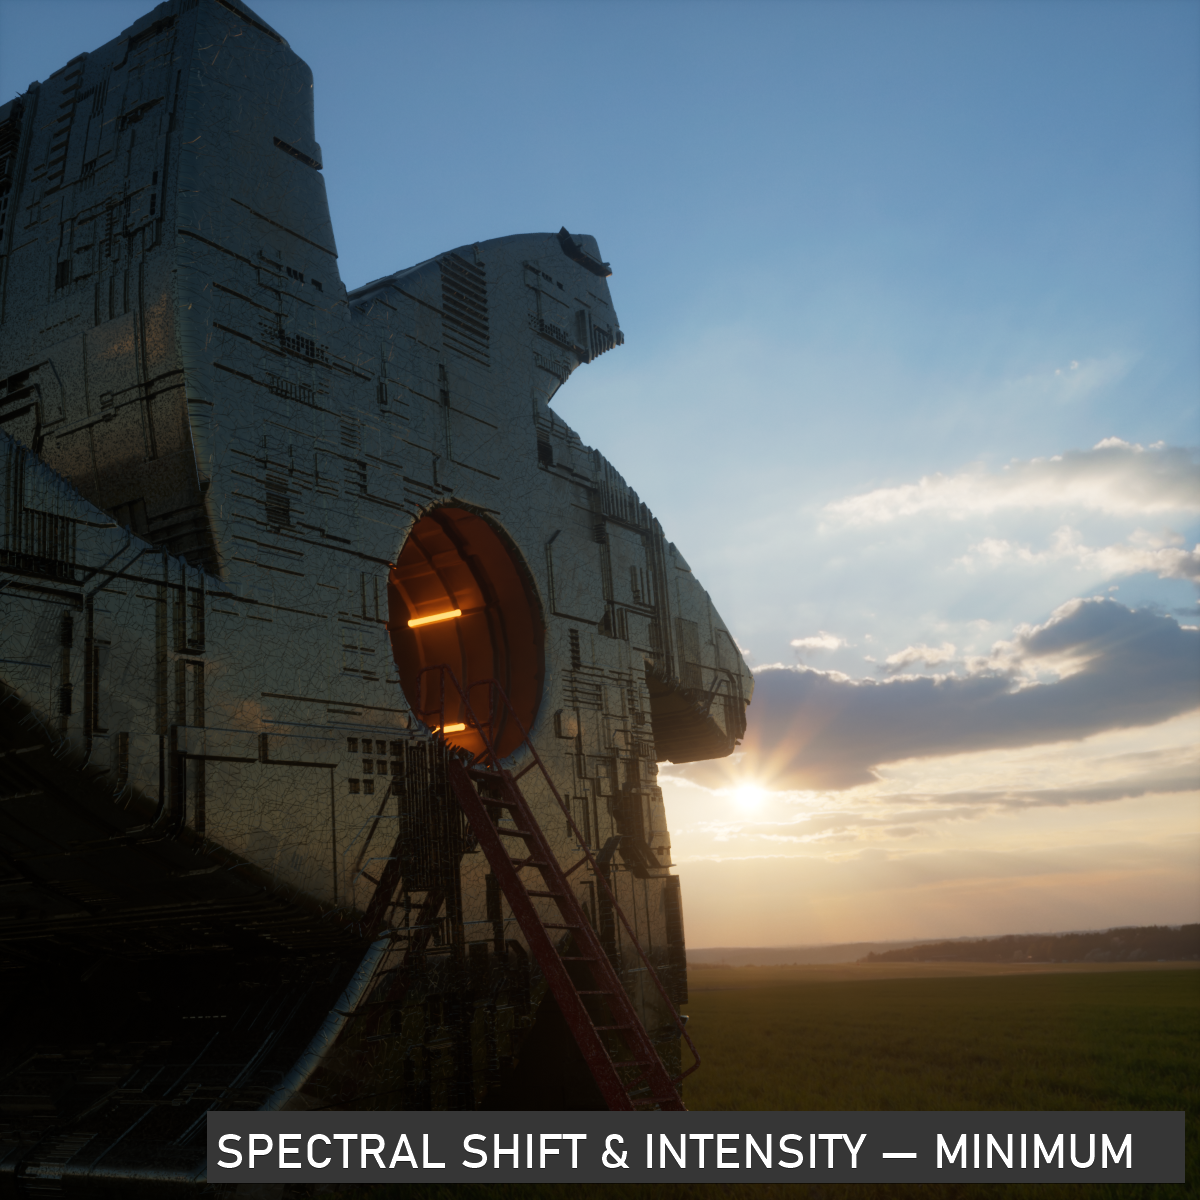
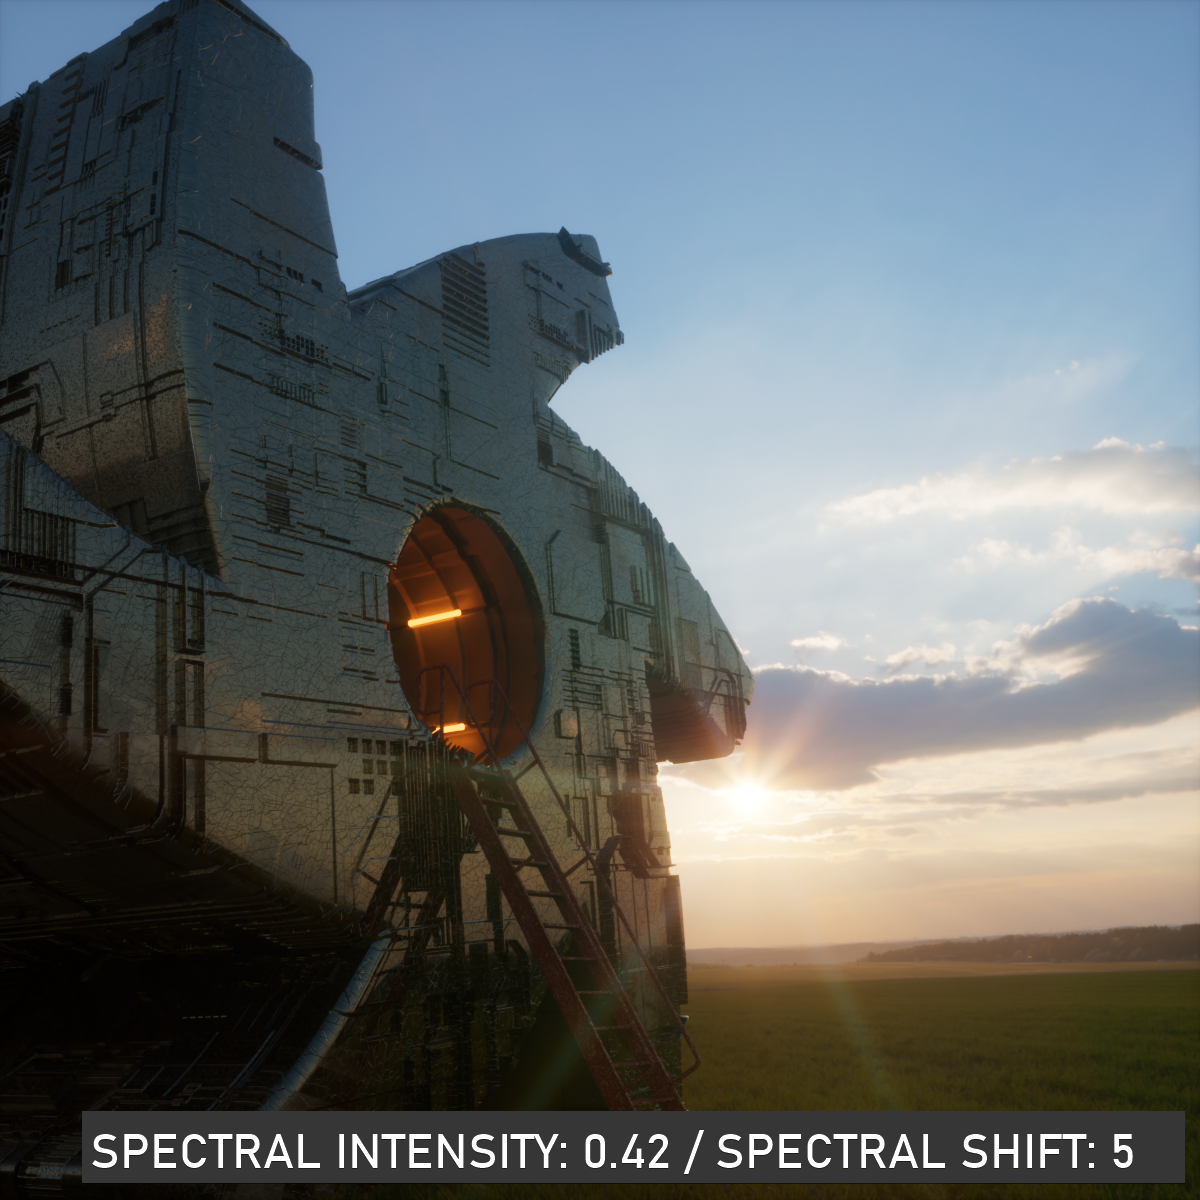
Spectral Intensity/Spectral Shift
Spectral Intensity is used to adjust the intensity distribution of the rays across a source. This affects the strength or weakness (brightness) of the radiant energy. Spectral Shift Used to adjust the displacement of the spectrum as the frequency of light emitted from a source changes.
|
|
post processing — spectral shift & intensity
|
Lens Effects
Chromatic Aberration Intensity
Determines the intensIty of the chromatic aberration effect. Higher values will distort the image from the center out, in a circular fashion.
Lens Flare Intensity
Controls the intensity of the lens flares.
Lens Flare Extent
This option controls the overall length and distances between lens flare highlights.
Volume Effects
Light Beams (enable/disable)
This flag enables/disables the Light Beam Effect.
Medium Density for Light Beams
This option controls the density of the Light Beam effect.
Fog (Enable/Disable)
This flag enables/disables the fog effect.
Fog Extinction Distance
This option determines the overall distance in which the Fog effect is visible. Smaller values will make the scene appear as if the fog is dense, while larger values will act to minimize the fog contribution.
Fog Base Level
This option sets the base level of the fog effect in world space (great for ground fog). Smaller values will lower the height of the fog and larger values will raise the height (and also affect the fog density as seen from the camera.
Fog Half Density Height
Use this option to set the height of the Fog effect.
Fog Environmental Contribution
This control blends between the Fog Base Color and the scene environment (effectively tinting the scene with the Fog Base Color). Lower values strengthen the bias towards the Fog Base Color.
Fog Base Color
Set the color of the Fog with this option.
Medium Radius
Radius of the post volume. The post volume acts as a sphere around the camera position and the radius. You may need to increase or decrease this value depending upon the scale of a given scene.