Open topic with navigation
Installation
To install the OctaneRender® for Unreal® Engine plugin:
- Download and install the OctaneRender Standalone edition. If the Standalone edition is already installed, skip this step.
- Download the OctaneRender for Unreal Engine 5 plugin and run the installer (this must be done using administrator rights).
- The installer prompts you to select the appropriate location where UE5 is installed on the system (Figure 1).
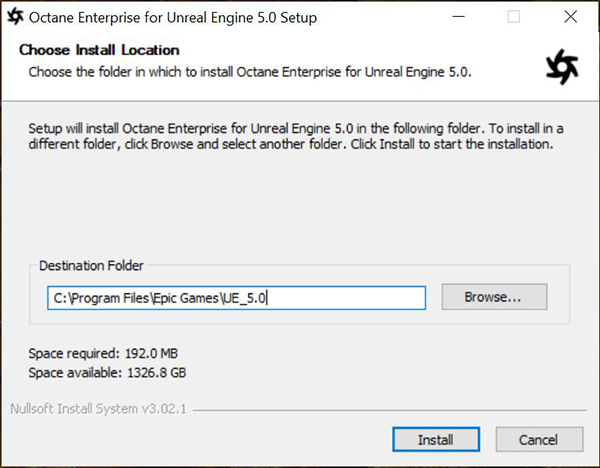
Figure 1: Installing the OctaneRender plugin to the Unreal Engine folder
Activating OctaneRender As The Render Engine in Unreal® Engine 5
- Launch UE5.
- If installed properly, there should be an Octane menu in the UE5 menu bar. Click Load Octane and this will open the Octane Viewport and add an Octane Render Target to the scene (figure 2).
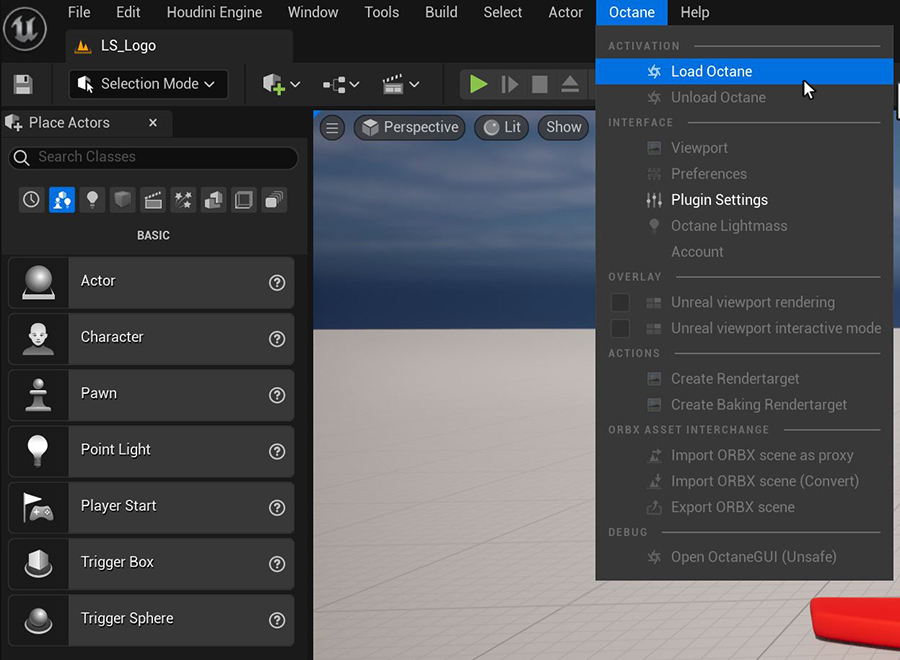
Figure 2: Launching OctaneRender from the UE5 Menu Bar
- To start rendering with the Octane Viewport, press the Render button in the Octane Render Target Actor's Details window.
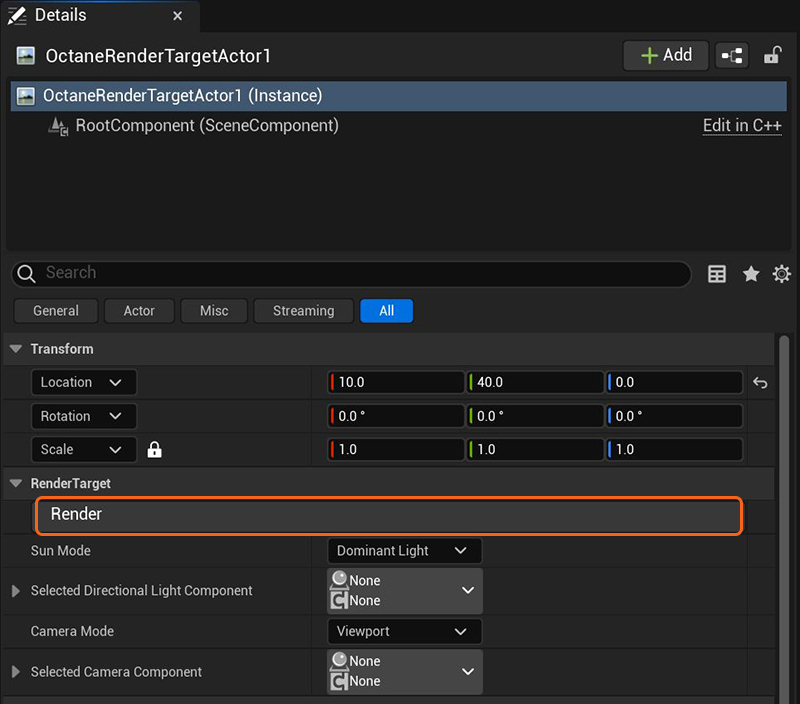
Figure 3: The Render button initiates the rendering process
If the Octane Viewport is not open, you can re-open it by going to the Octane menu, then click on Viewport.
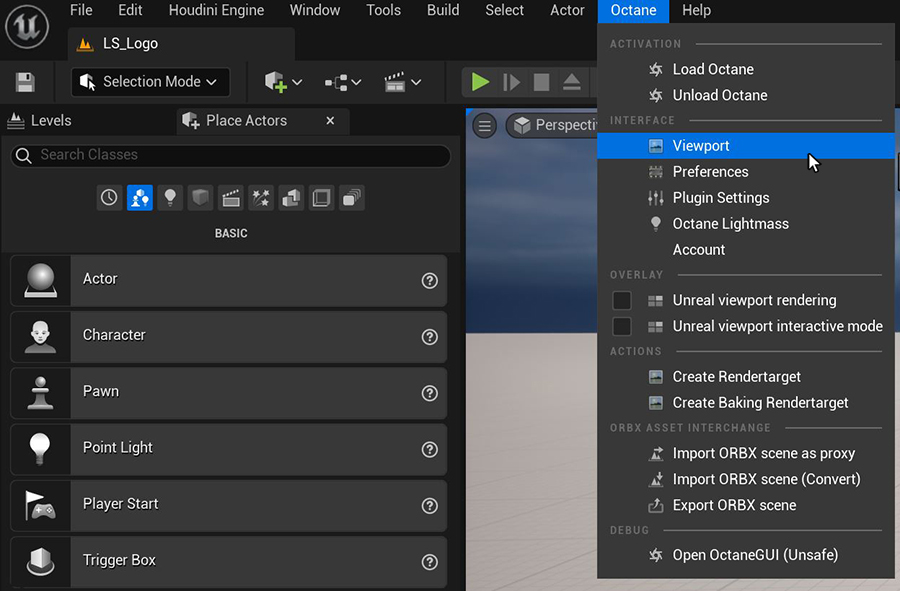
Figure 4: Accessing the Octane Viewport from the Octane menu
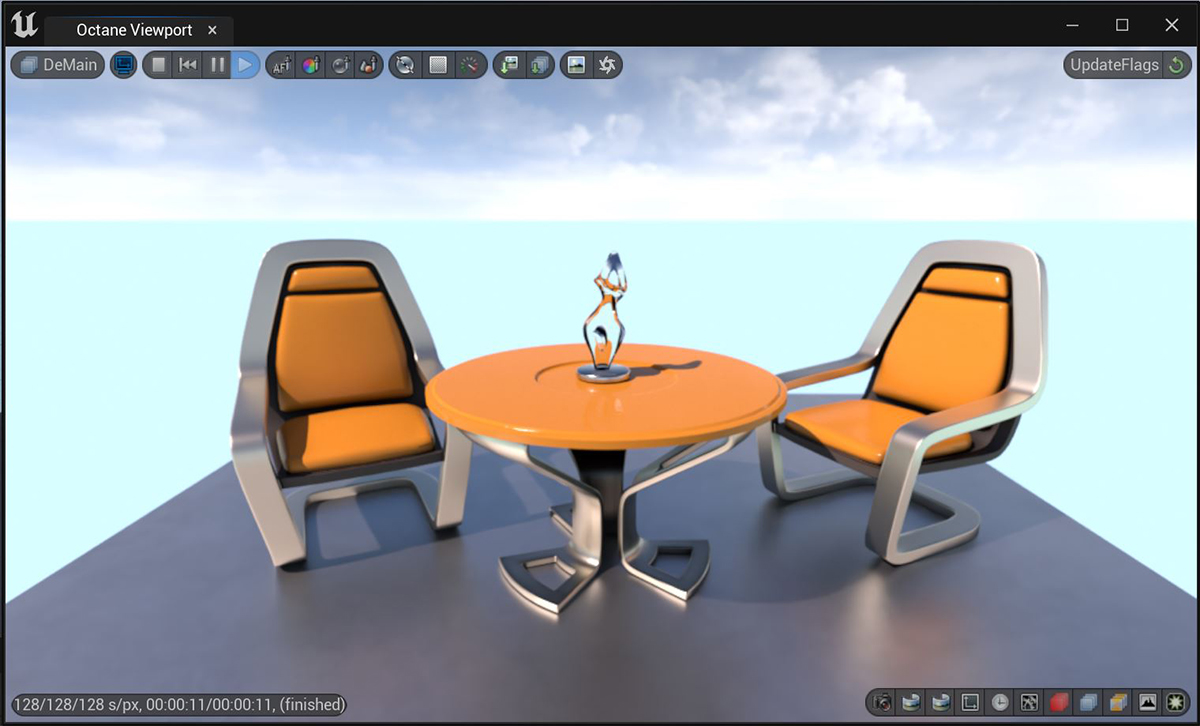
Figure 5: The Starter Content scene rendered in the Octane Viewport
Open topic with navigation