Open topic with navigation
Timeline
in OctaneRender® is a batch render feature similar to batch renders in 3D applications such as Maya®. The purpose is to render out a frame sequence at a specific resolution, quality, and format. Each frame renders until they meet specified samples. It is not real-time, and it is best used for creating cinematic renders.
Note that OctaneRender’s Timeline is NOT the same as the Unity®Timeline window (Figure 1). The Unity Timeline window adds keyframes to animate scene elements. It is not a rendering feature.
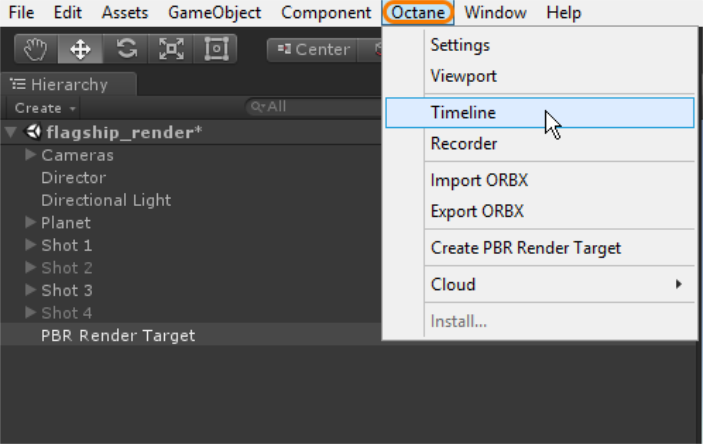
Figure 1: The OctaneRender Timeline window accessed from the Octane menu
To use the OctaneRender PBR Timeline:
- Start with a scene that has animated elements. Make sure OctaneRender is installed and loaded.
- Add a PBR Render Target and adjust the render settings accordingly.
- Go to the Octane menu and choose Timeline to open up the settings window.
- Click the Add Job button to choose a Playable Director (Unity Timeline asset) from the scene. You can add any number of Playable Directors to the render jobs, allowing for batch rendering multiple animations.
Note: You must open the OctaneRender PBR Viewport at least once before clicking the Render button in the PBR Timeline window, otherwise an error message displays at the bottom of the PBR Timeline window.
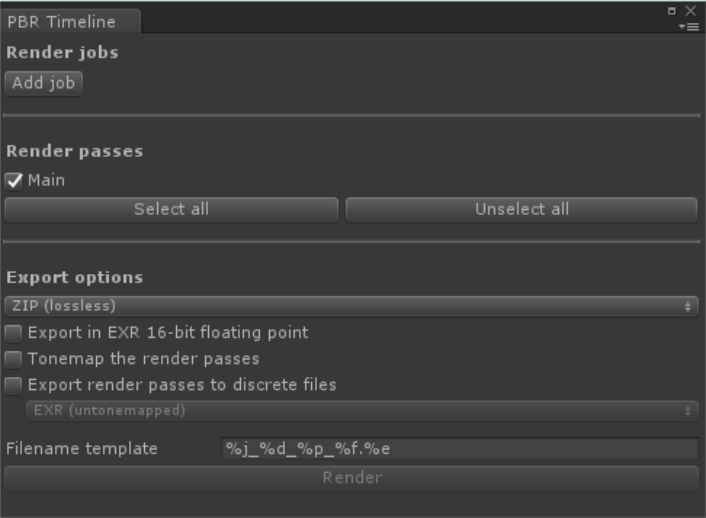
Figure 2: The OctaneRender PBR Timeline window
OctaneRender PBR Timeline Parameters
- Add Job - Specifies the Playable Director from the scene to add to the render queue.
- Render Passes - If render passes are active in the PBR Render Target, you can select or deselect them here for batch rendering.
- Export Options - Provides various options for exporting the image sequence:
- Export In 16-Bit Floating Point - The EXR files export in 32-bit by default, but this parameter enables exporting in 16- bit instead.
- Tonemap The Render Passes - This enables render passes to export in their native linear format, and applies tonemapping to the exported render pass files.
- Export Render Passes To Discrete Files - EXR files are rendered out with all render passes contained in a single EXR file, but this parameter allows each render pass to render to separate EXR files.
- Filename Template - Provides naming conventions for the rendered sequence.
- Render - Activates the rendering process.
Open topic with navigation