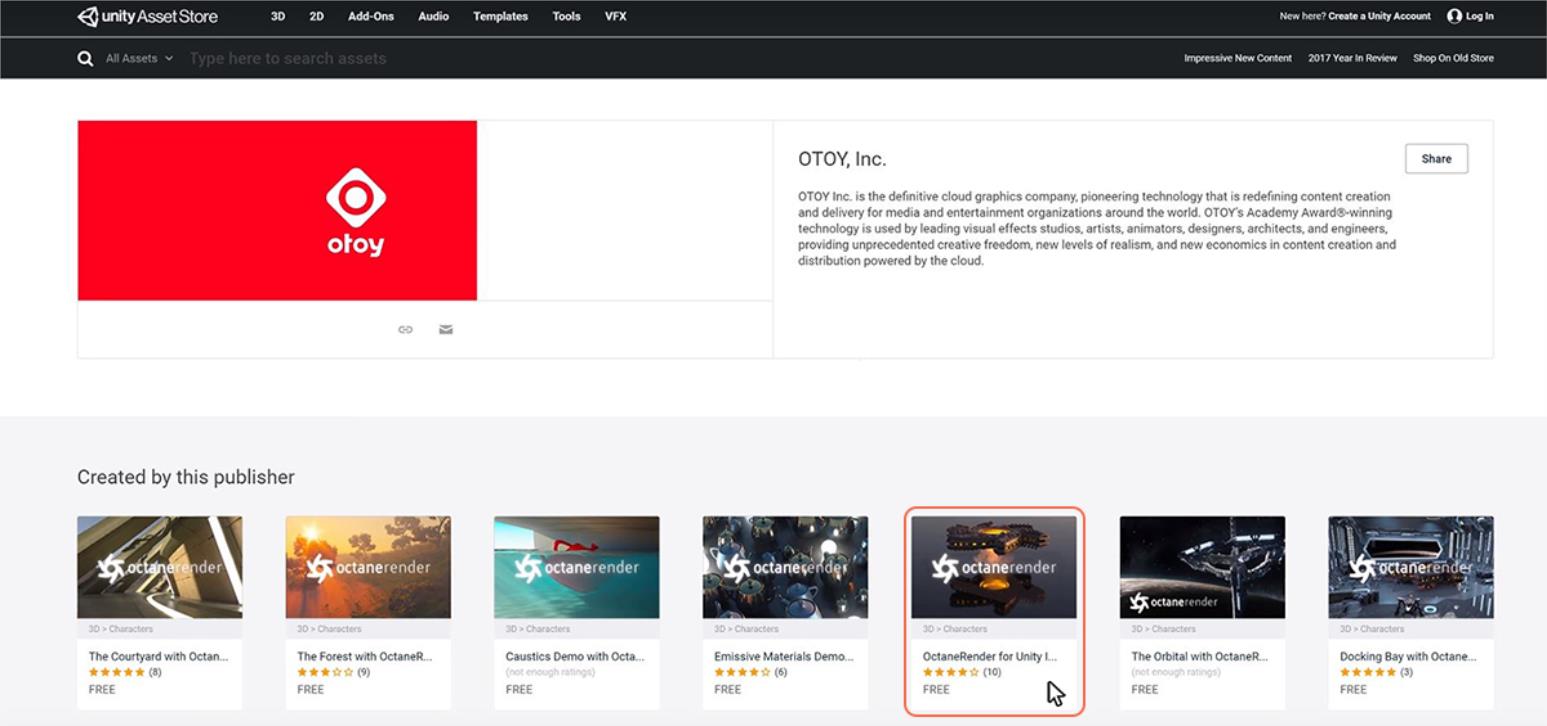
You can install the OctaneRender® for Unity® integration by downloading one of the scenes OTOY® provides in the Unity Asset Store. The Installer Scene is built to be lightweight and friendly, so we recommend it for getting started (Figure 1).
Figure 1: Selecting the Installer Scene from the Unity Asset Store
You can also import the Installer Scene directly from Unity's Asset Store and into a project (Figure 2).
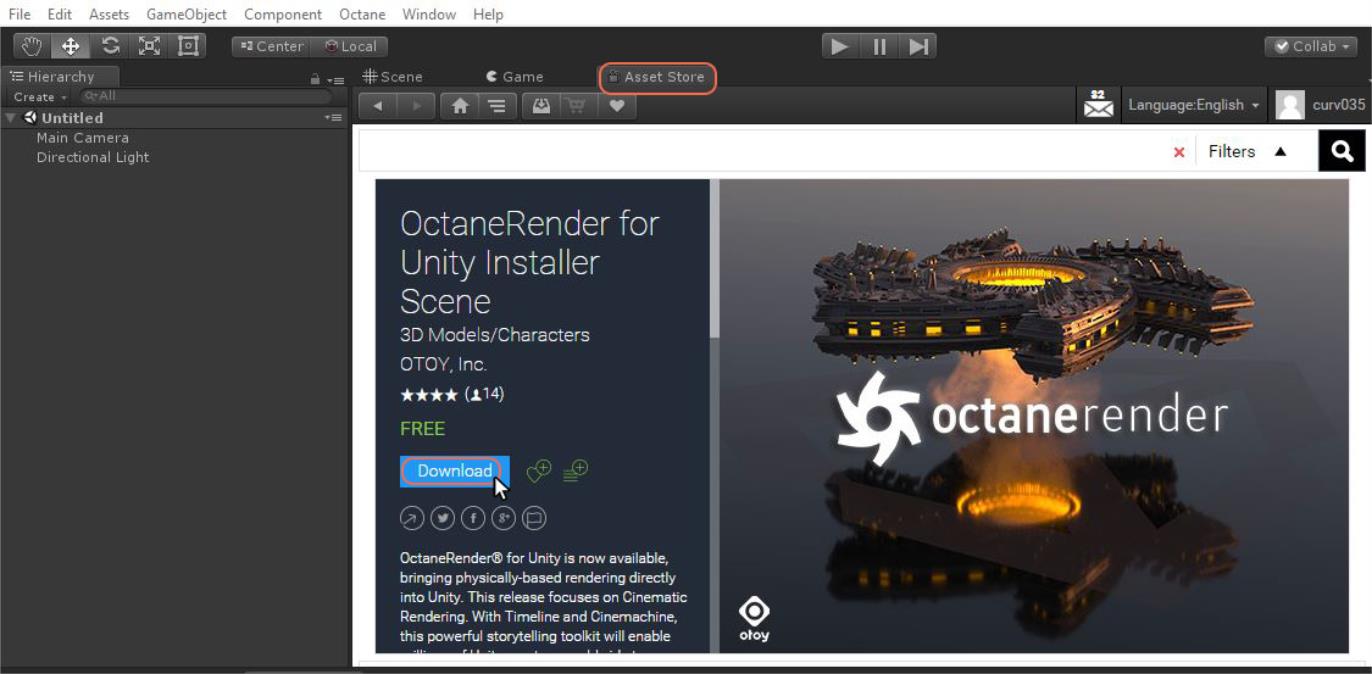
Figure 2: Adding the Octane Installer scene directly in Unity
After the download is complete, the Import Unity Package window opens. Click the Import button to import all the contents from the Installer Scene into the current Unity project (Figure 3).
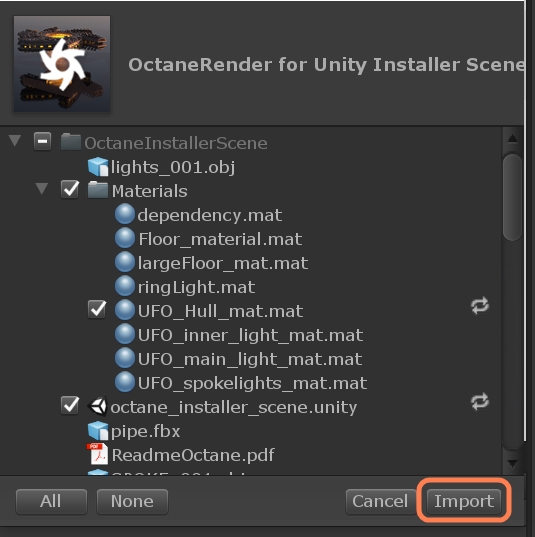
Figure 3: Importing the contents of the Octane Installer Scene into Unity
Once the Installer Scene is imported, select the PBR Render Target in the Hierarchy window (Figure 4).
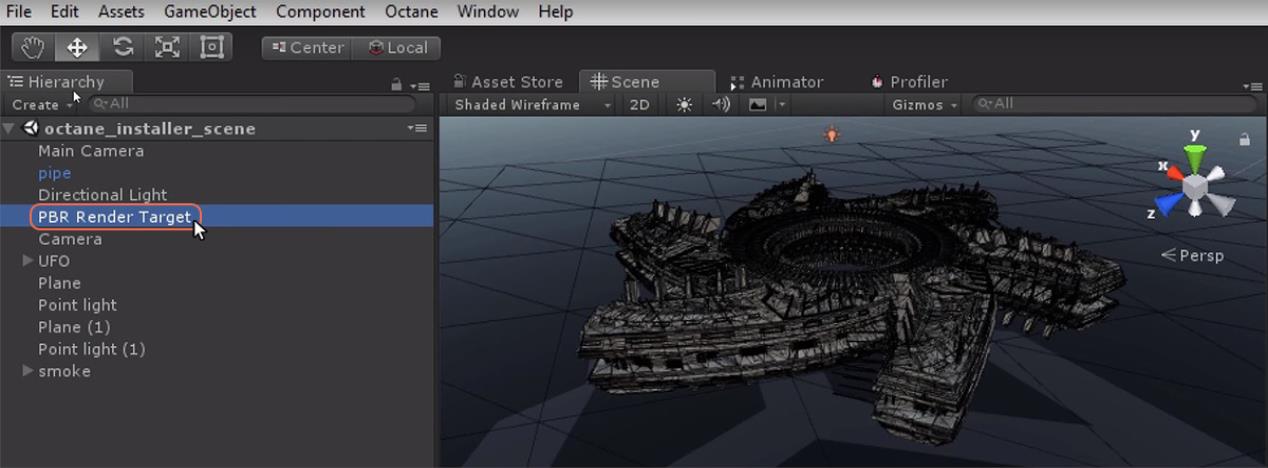
Figure 4: Selecting the PBR Render Target in the Hierarchy window
From the Inspector window, click the Load Octane button (Figure 5).
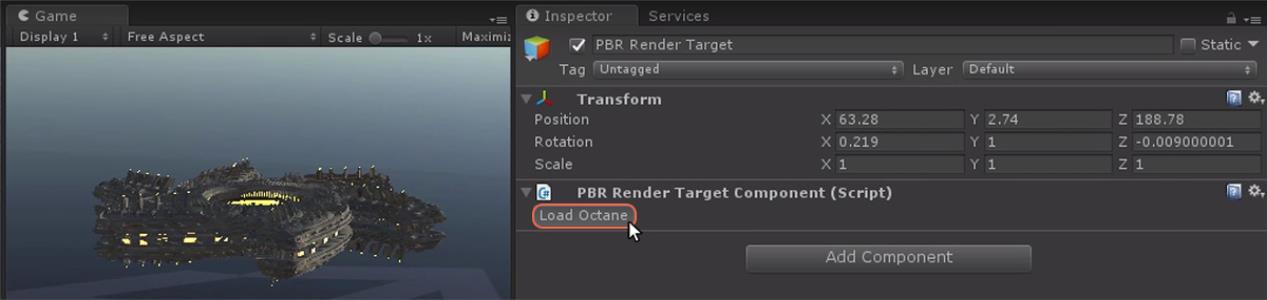
Figure 5: Activating the Octane plug-in from the PBR Render Target’s Inspector window
After clicking the Load Octane button and activating the Octane render engine, the Inspector window provides many rollouts for controlling the render process. To start the rendering process, click the Render button (Figure 6).
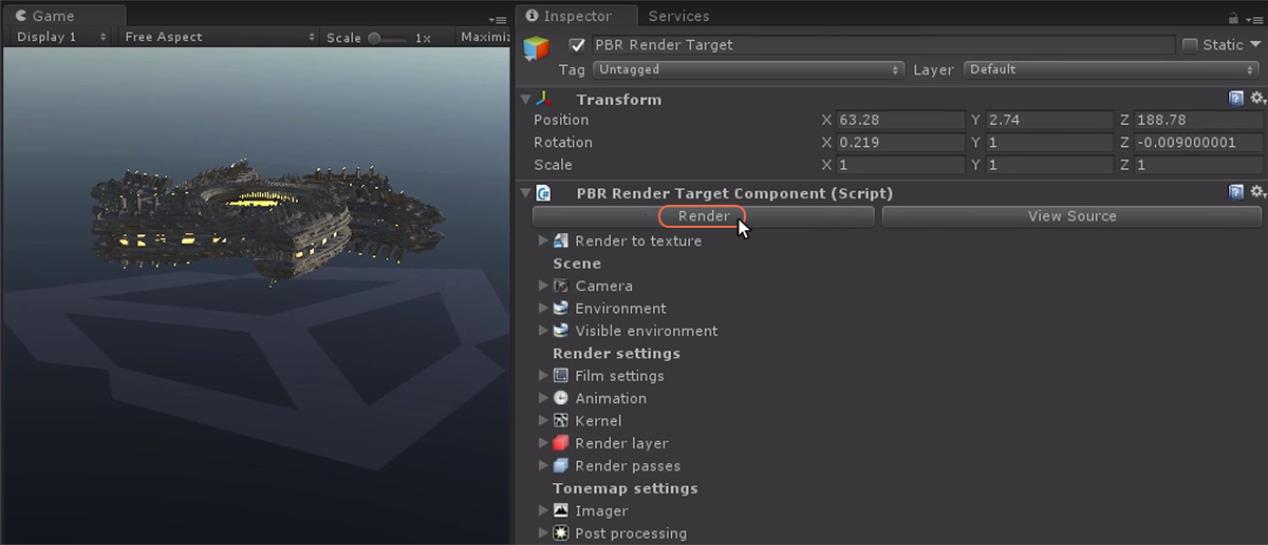
Figure 6: Clicking the Render button to start the rendering process
Clicking the Render button opens the PBR Viewport window, where the rendering process continuously updates until OctaneRender reaches the specified sampling level (Figure 7).
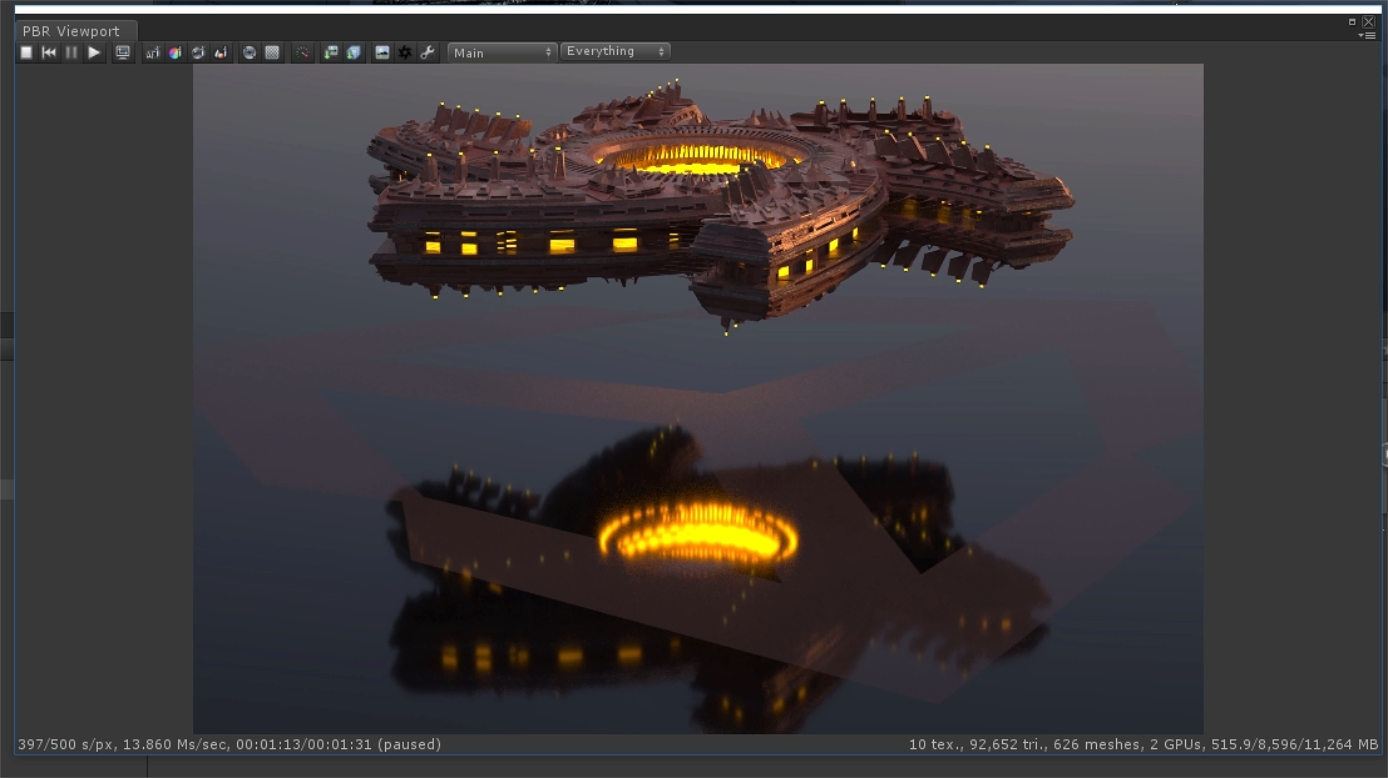
Figure 7: The Octane Installer Scene rendering in the PBR Viewport
The Installer Scene contains the OctaneRender for Unity plug-in, which you can import into any Unity scene as a custom package without the additional assets contained in the Installer Scene. To accomplish this:
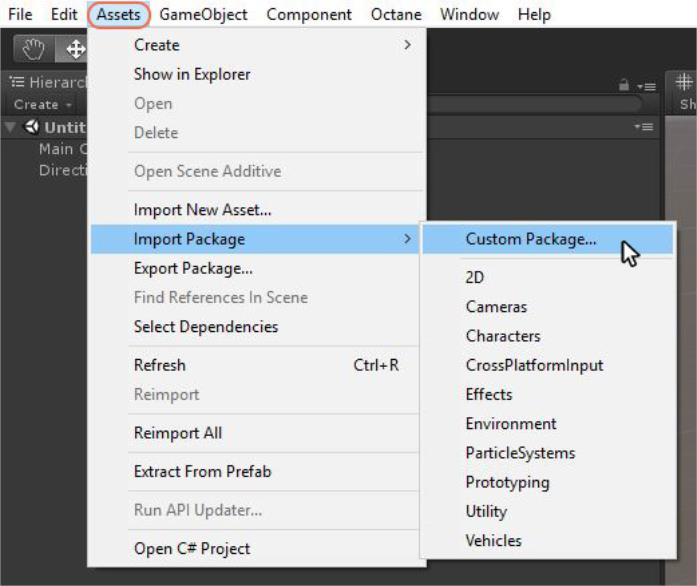
Figure 8: Importing the Octane Custom Package
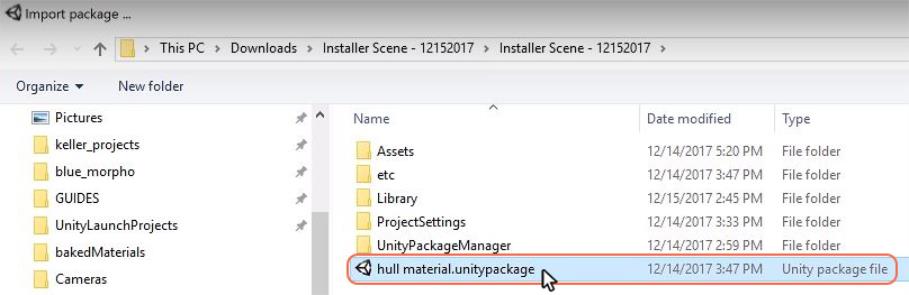
Figure 9: Importing the Hull Material custom package
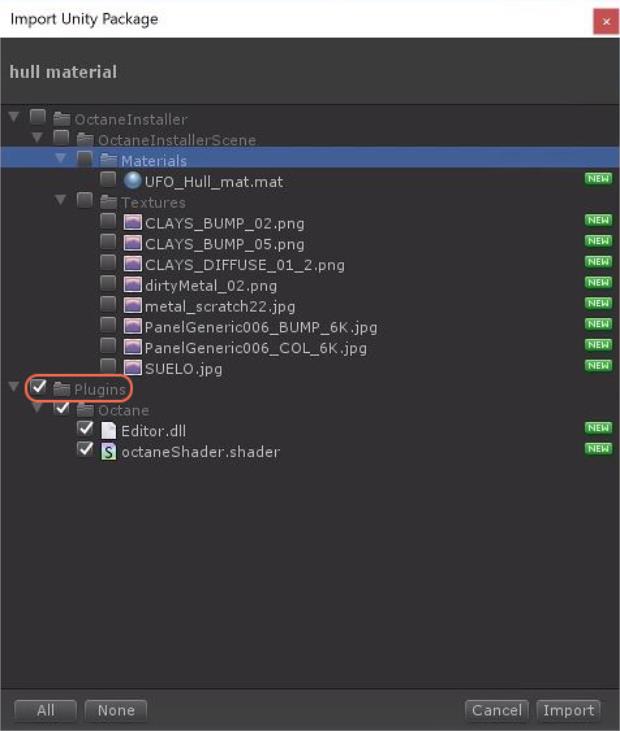
Figure 10: Deselecting all the assets except for Plugins in the Import Unity Package window
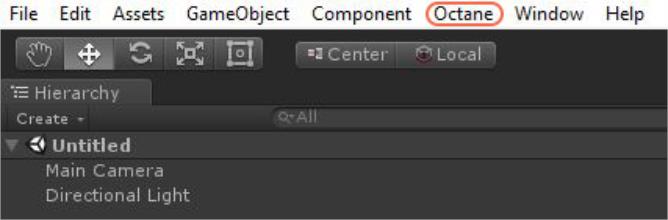
Figure 11: The Octane menu in Unity
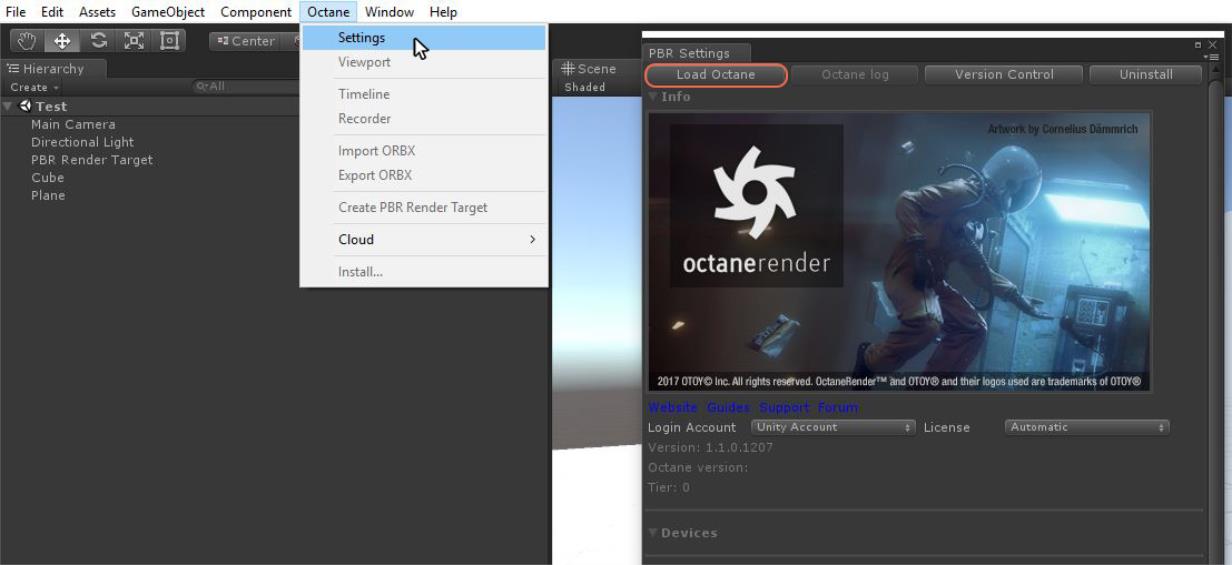
Figure 12: Opening the PBR Settings window from the Octane menu