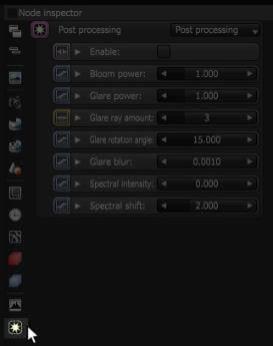
The Post-Processing parameters are accessible from the Node Inspector window without adding and connecting a specific Post-Processing node to the scene.
Figure 1: Right-clicking the Post-Processing icon next to the Node Inspector
You can add a Post-Processing node by right-clicking in the Nodegraph Editor, navigating to the Render Settings category, and clicking on Post ProcessingEffects such as Bloom and Glare that are applied after a scene has been rendered..
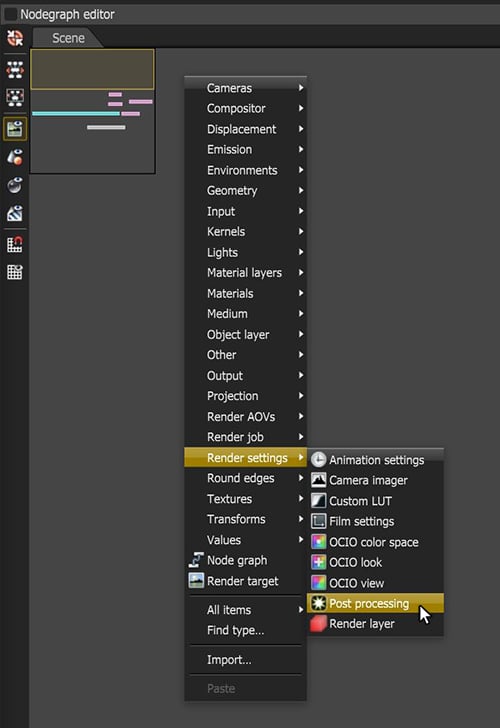
Figure 2: Add a Post-Processing node using the context menu in the Nodegraph Editor
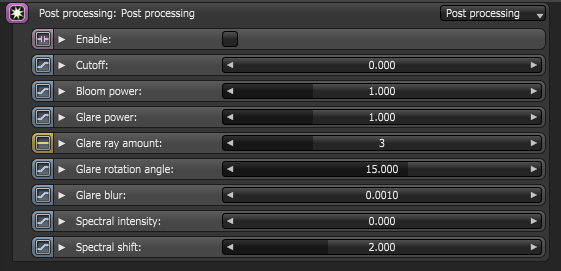
Figure 3: The Post-Processing parameters
Enable - Enables post-processing effects on the render. Post-processing is disabled by default.
Cutoff - Applies bloom/glare to pixel values above the Cutoff value.
Bloom Power - Controls the size and intensity of the halo around the sun, light source, or reflective GlossyThe measure of how well light is reflected from a surface in the specular direction, the amount and way in which the light is spread around the specular direction, and the change in specular reflection as the specular angle changes. Used for shiny materials such as plastics or metals. materials.
Glare Power - Controls the size and intensity of the glare originating from reflective Glossy materials.
Glare Ray Amount - Controls the number of visible rays radiated or reflected.
Glare Rotation Angle - Adjusts the glare rotation relative to the object. A glare angle of -90 and 90 results to one main horizontal glare, and a glare angle of 0 results to one main vertical glare.
Glare Blur - Controls the glare sharpness. Smaller values result in a crisp linear glare, and this is softened with higher values.
Spectral Intensity - Adjusts the intensity distribution of the rays across a source. This affects the radiant energy's brightness.
Spectral Shift - Adjusts the spectrum displacement as the source's emitted light frequency changes. The shift is evident by a color change, similar to the doppler effect.
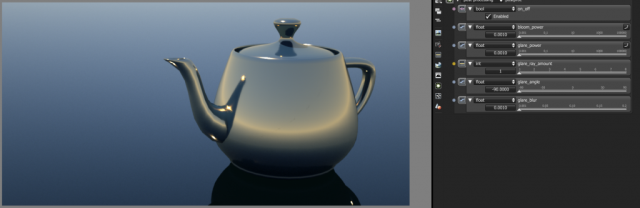
Figure 4: Bloom Power: 0.0010; Glare Power: 0.0010; Glare Ray Amount: 1; Glare Rotation Angle: -90; Glare Blur: 0.0010
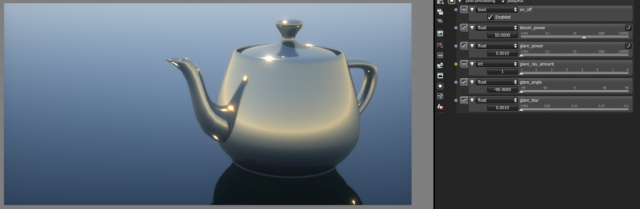
Figure 5: Bloom Power: 50; Glare Power: 0.0010; Glare Ray Amount: 1; Glare Rotation Angle: -90; Glare Blur: 0.0010
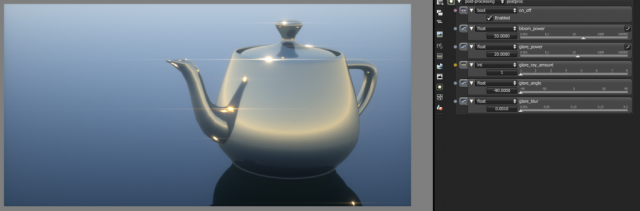
Figure 6: Bloom Power: 50; Glare Power: 20; Glare Ray Amount: 1; Glare Rotation Angle: -90; Glare Blur: 0.0010
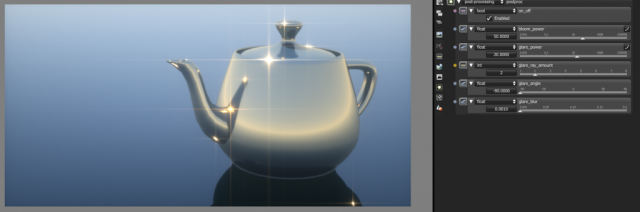
Figure 7: Bloom Power: 50; Glare Power: 20; Glare Ray Amount: 2; Glare Rotation Angle: -90; Glare Blur: 0.0010
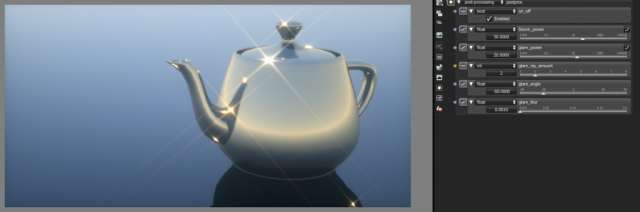
Figure 8: Bloom Power: 50; Glare Power: 20; Glare Ray Amount: 2; Glare Rotation Angle: -50; Glare Blur: 0.0010

Figure 9: Bloom Power: 50; Glare Power: 20; Glare Ray Amount: 2; Glare Rotation Angle: -50; Glare Blur: 0.0900
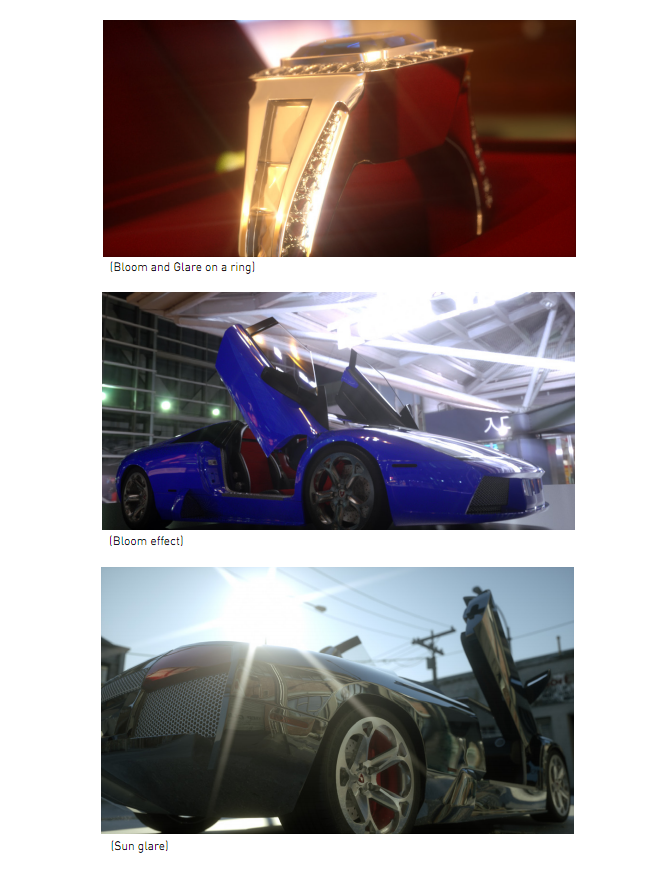
Figure 10: Renders using post-process effects