
The Film Settings parameters are accessible from the Node Inspector window without adding and connecting a specific Film Settings node to the scene. Click on the Render Target node, then click the Film Settings icon in the Node Inspector to bring up the parameters.
Figure 1: Clicking on the Film Settings icon in the Node Inspector
You can add a Film Settings node by right-clicking in the Nodegraph Editor, then navigating to the Render Settings category and clicking on Film Settings.
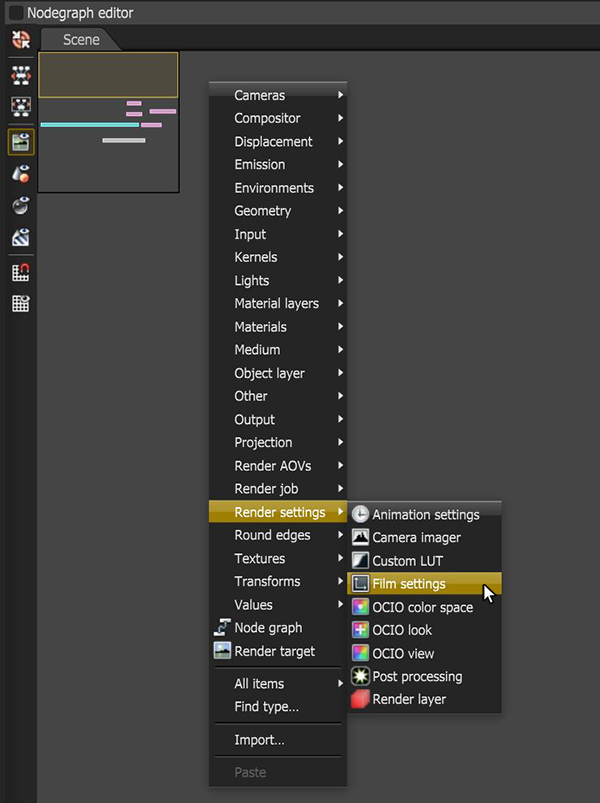
Figure 2: Add a Film Settings node using the context menu in the Nodegraph Editor
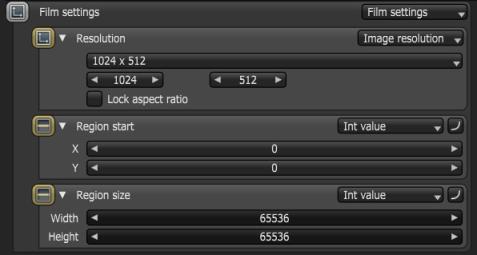
Figure 3: The film settings parameters in the Node Inspector
Resolution - Determines the scene's rendering resolution.
Region Start - These are the coordinates for where the rendering region begins.
Region Size - The Render Region's size.
You can start Interactive region rendering at any time during the course of rendering a scene, even after reaching the maximum number of samples per pixel. Rendering continues up to 256000 region samples per pixel, or when you stop rendering. Any samples calculated for the interactive render region are counted separately in squared brackets, and are not added to the film's samples statistics.
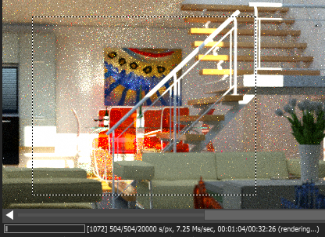
Figure 4: Interactive region rendering
Sometimes you may need to re-render a subsection of a whole frame, and up to the maximum samples settings of the Kernel node. You can use the Region Start and Region Size parameters to define a region where everything else renders to black and stops at the maximum samples setting.

Figure 5: Non-interactive region rendering