InstancingInstancing an object means taking a single imported mesh object, such as an OBJ or an FBX and making multiple copies, each of which can be placed in different parts of the scene. This saves an enormous amount of computational resources because only a single object is loaded into the scene. an object means taking a single imported mesh object, such as an OBJ or an FBX.fbx (Filmbox) is a proprietary file format developed by Kaydara and owned by Autodesk since 2006. It is used to provide interoperability between digital content creation applications. As of Octane 3.07, a scene node will also be available as an FBX file, allowing for quick and easy transport of assets from industry standard DCC applications, and then making multiple copies, each of which can be placed in different parts of the scene. This saves an enormous amount of computational resources because only a single object is loaded into the scene. The relative position, rotation and scale of each instance can then be altered by specifying parameters using a Placement node.
The Placement node creates the instance of its input geometry and any number of placement nodes can be connected to a single piece of geometry. The instances can then be re positioned throughout the scene using the Position node's translate, scale, and rotate parameters.
A Geometry Group node can be used to group all of the instances which is then connected to the Render Target to be rendered in the scene. Geometry Group nodes can also be instanced using Placement nodes.
Instancing Example
To instance an object first use the pop-up menu in the node graph to load in a geometry file using a Mesh node (Figure 1).
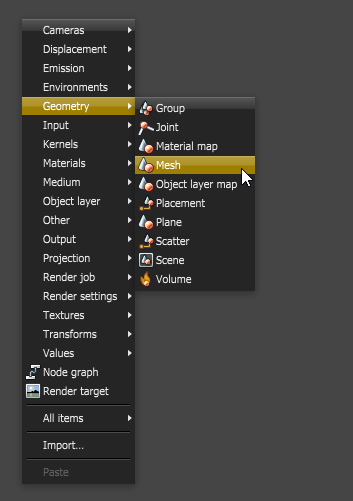
Figure 1: Use the pop-up menu to import a mesh object
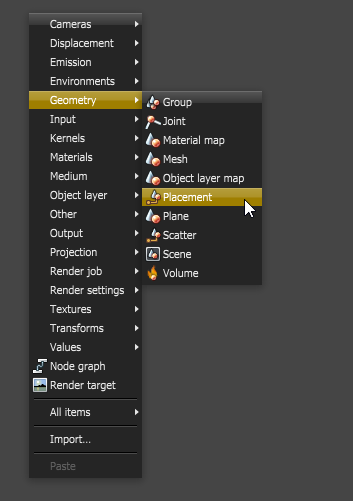
Next add a placement node to the scene as shown in Figure 2.
Figure 2: Add a Placement node to the scene
Connect the output of the Mesh node to the input of the Placement node, then connect the Placement node to the Render Target as shown on the left side of Figure 3. You can copy and paste the Placement node to make several instances of the Mesh node as shown on the right side of Figure 3.
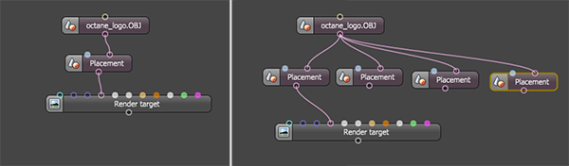
Figure 3: Connect the mesh node to the Placement node (left). Copy and paste the Placement node to make instances (right)
The Render Target node has a single input for the geometry, so the instances must be grouped. Use the pop-up menu to create a Group node (Figure 4).
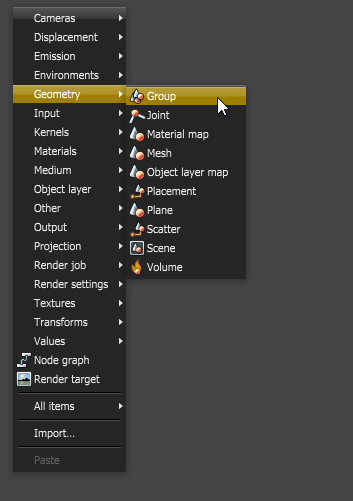
Figure 4: Add a Group node to the scene
To group all of the Placement nodes you'll need to add inputs to the Geometry group node. To do this, select the Geometry group node and click on the Add input button in the Node Inspector (Figure 5).
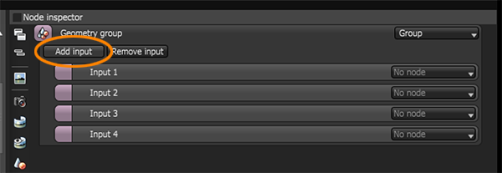
Figure 5: Click on the Add input button to add input pins to the node
Add as many input nodes as you need to accommodate the instances created by the Placement nodes. To place the instances in the scene use the Rotate, Scale, and Translate settings in the Node Inspector for each Placement nodes (Figure 6).
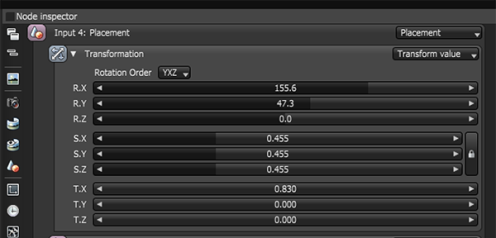
Figure 6: The parameters for the Placement node
Rotation - is used to rotate the instance of the mesh on a specified axis.
Scale - is used to scale the instance of the mesh on a specified axis. To scale an instance in a non-uniform way press the padlock button to unlock the three scale axis.
Translation – is used to move the instance of the mesh on a specified axis.
Figure 7 shows a graph of the geometry group, and Figure 8 shows the result after the translate, rotate, and scale settings for each placement node has been adjusted.
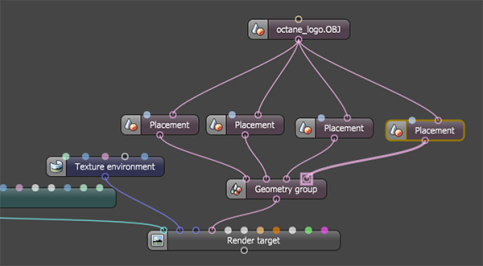
Figure 7: The graph of the Placement nodes and Geometry group
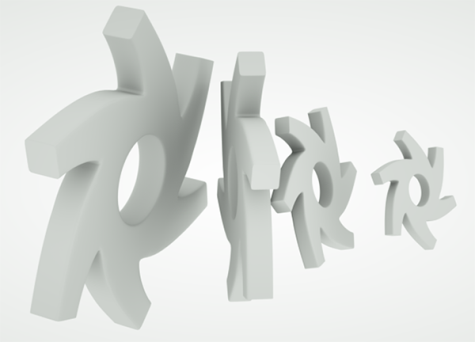
Figure 8: The geometry is instanced and positioned using Placement nodes
To assign a different material to the instance add a MaterialThe representation of the surface or volume properties of an object. Map node between each mesh node and the Placement node, materials can then be connected to the Material map as shown in Figure 9. The Material map node is found in the Geometry section of the pop-up menu. Figure 9 shows an example of different materials applied to the instances. The Material map node overrides any materials applied to the original mesh object.
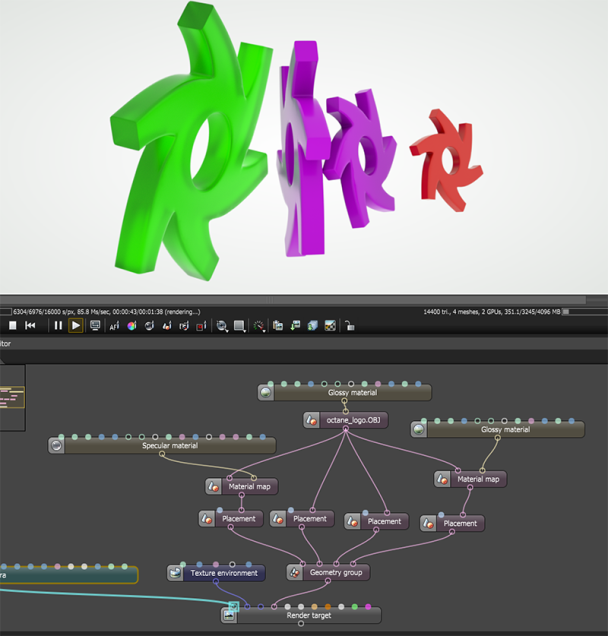
Figure 9: The Material Map node can be used to assign materials to instances of the geometry