An entire scene is actually just a group of nodes where each node has some attributes. In turn, each attribute holds a value parameter depending on the type of data the attribute requires which may either be numerical, boolean, modal, or even another node. You manipulate these attributes with the Node Inspector.
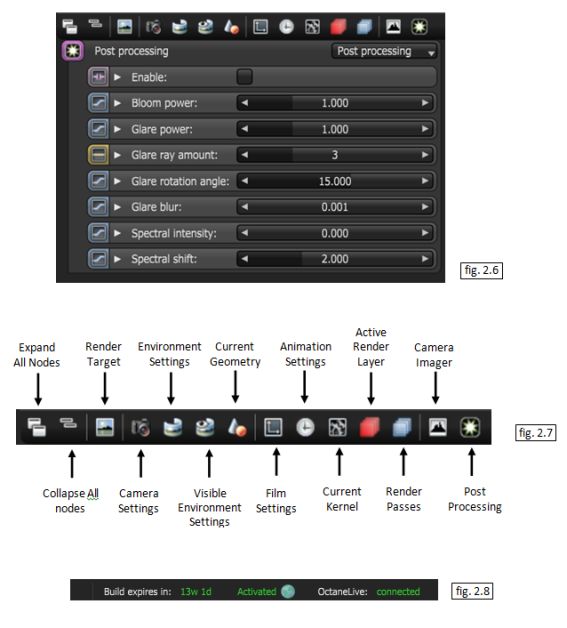
The Node Inspector (fig. 2.6) can change nearly every aspect of the render/scene in OctaneRender™. Nodes that are selected in the Graph Editor are displayed in the Node Inspector where their values can be adjusted or changed. When using the MaterialThe representation of the surface or volume properties of an object. Picker, the currently selected material will also be displayed in the Node Inspector. To reduce the clutter, this pane also provides a compact view of uncollapsed node pins.
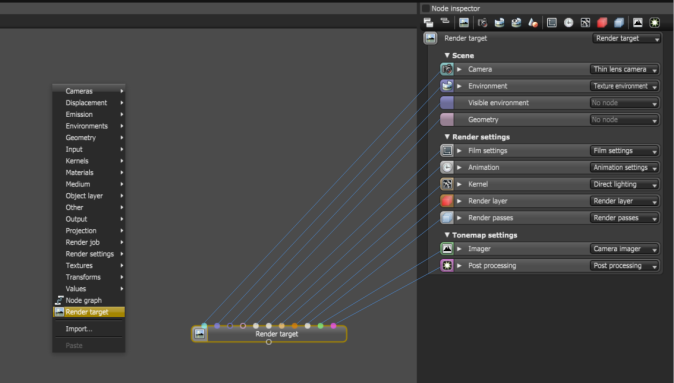
The Node Inspector also includes quick buttons (fig. 2.7) that allow the user to quickly jump to the most commonly used nodes (RenderTarget, Camera, Resolution, Environment, Imager, Kernel, and Current Mesh). It also has context menus allowing to copy, paste, and fill empty node pins.
The bottom of the Node Inspector window hosts the OctaneLive and Online status. (fig. 2.8).
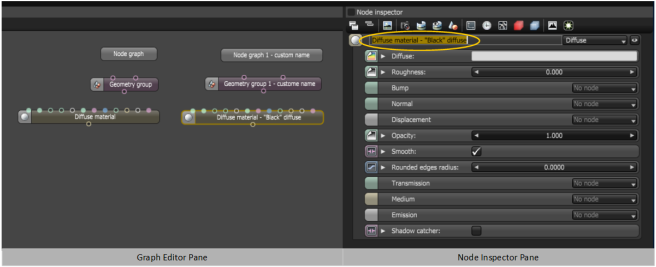
Renaming Nodes
Individual nodes and node groups can be renamed through their respective node equivalent in the Node Inspector pane.
Quick material previews
It is possible to enable quick previews of materials and textures inside the Node Inspector. These will be rendered without interrupting the main render, and will update automatically when the material or texture is changed. The scale of the material can be updated as well.
There is a choice of a preview on a sphere and a flat 2D preview. The scale of the object shown is customizable, and users can choose default settings in the settings dialogue.
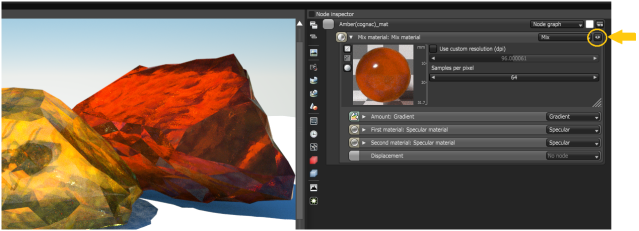
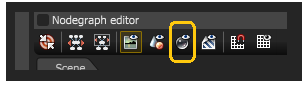
So as not to disrupt the current render, the material render icon on the nodegraph editor must be toggled off.