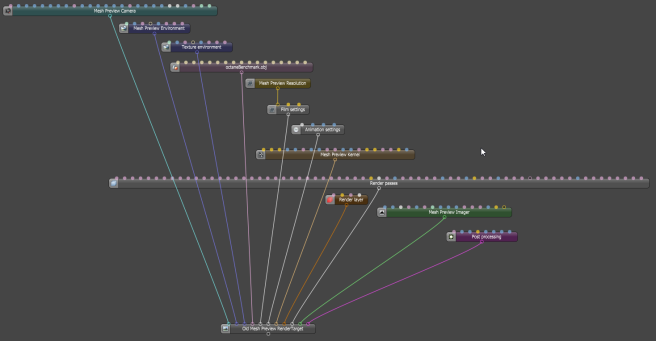
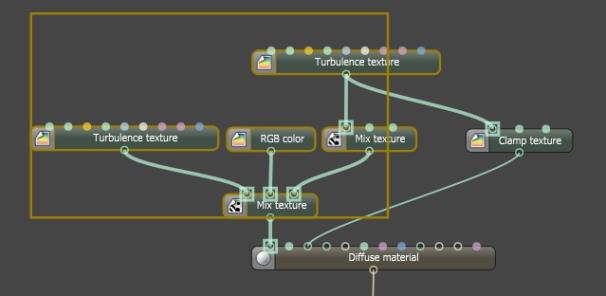
The Graph Editor allows the user to view the nodes associated with the current scene. The Render Target encompasses all of the scene-related nodes: Camera, Environment, Visible Environment, the Geometry, Film Settings which specifies the Resolution, Animation Settings, Kernel, Render PassesRender passes allow a rendered frame to be further broken down beyond the capabilities of Render Layers. Render Passes vary among render engines but typically they allow an image to be separated into its fundamental visual components such as diffuse, ambient, specular, etc.., Render Layer, Imager, and Post ProcessingEffects such as Bloom and Glare that are applied after a scene has been rendered. Nodes. Selecting a node in the Graph Editor will bring that node's settings up in the Node Inspector along with its empty node pins. The user can fill empty node pins in the Graph Editor or the Node Inspector. Placing the mouse cursor over a node pin will show the name of the material contained by that pin.
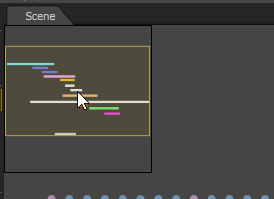
The user can pan the node graph editor with the mouse by click-dragging the yellow area on the thumbnail preview at the top left corner of the Graph Editor, likewise zooming can be adjusted by using the middle mouse auto-scroll button.
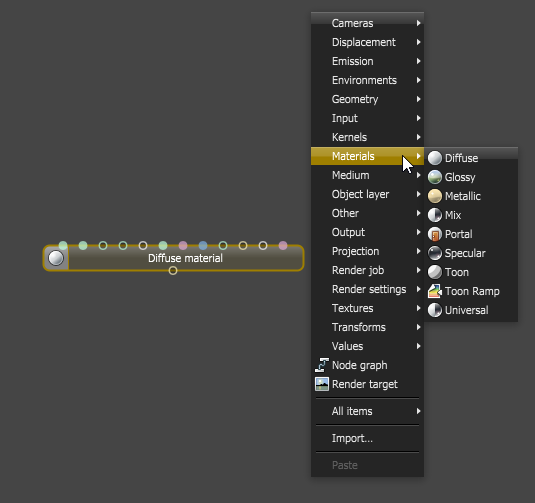
Adding nodes in the graph editor
To add more nodes, right-click on an empty area to invoke the context menu with the node options list. After selecting, the new node is placed on the cursor location.
 _
_
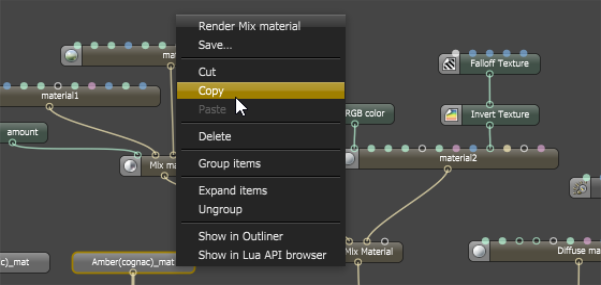
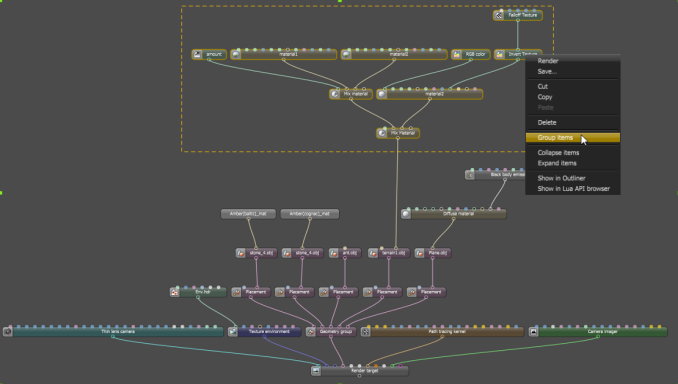
Right-click on a node for a context menu
Right-clicking on a node invokes a context menu including the options ‘delete’ allowing you to delete all selected nodes, ‘save’ which saves the selected nodes as a macro file or in LiveDB, and ‘render’ (if available) which will render the node under the cursor. The Group items option allows you to create a single group node that will represent the nodes that were selected. Grouping nodes can be useful if you want to hide complex node systems. Node pin connections are saved when saving multiple nodes. The context menu also includes Show in Outliner which will quickly pick and select the respective node’s corresponding element in the Outliner.

Selecting multiple nodes
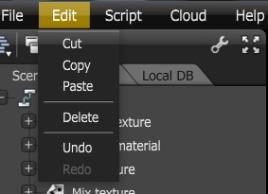
Start dragging in an empty area of the node graph editor to select multiple nodes with a box. Hold down the <Shift> key to add the selection to the current selection. You can also add and remove nodes from the selection by holding Ctrl and clicking on a node. The node graph editor supports copy/paste operations with right clicking on selected nodes to invoke a context menu of command options or by simple keyboard shortcuts <Ctrl+C> for copy and <Ctrl+V> for paste. There are also application-wide shortcuts for cut, copy, paste and delete commands which are placed in the application menu. Copying and pasting nodes will also duplicate connections coming from other nodes to the copied nodes. Dropping of macro and mesh files on the nodegraph editor is also possible.
Disconnecting nodes
Hold down the <Ctrl> key, then click with the left mouse button and cut between nodes to disconnect that group of nodes.
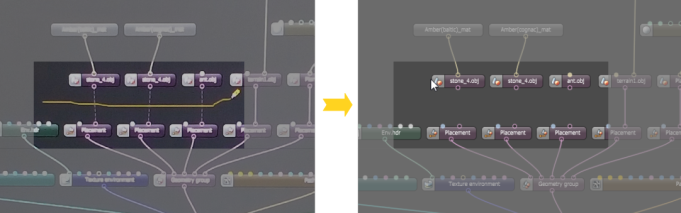
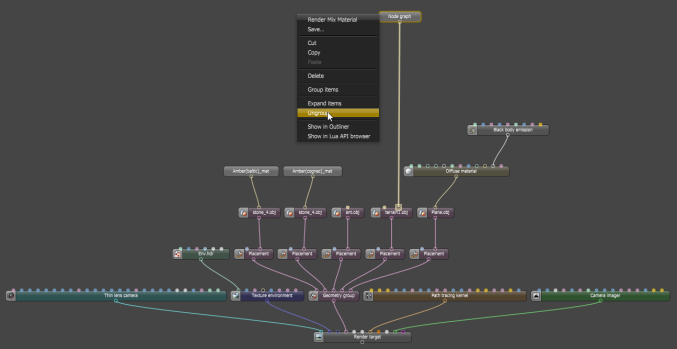
Hiding complex node systems
For a clean and organized graph, nodes can be grouped together and represented by a single node initially named “Node Graph”, this can be renamed through its node entry in Node Inspector pane. Double clicking on a grouped node opens a new tab in the Graph Editor which will specifically show the graph of the constituent nodes for that group. Grouped nodes can be further grouped together to create nested groups.
Internal graph and material previews
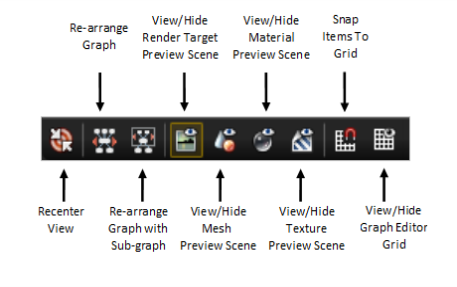
The Graph Editor also has buttons that allow the display of the internal material preview scene when a node is selected.