Import a scene by moving the mouse over the Graph Editor. Right-click to bring up the context menu with the node options list. Select Geometry >Scene to import an alembic file, or Geometry > Mesh to import a wavefront obj file (Figure 1).
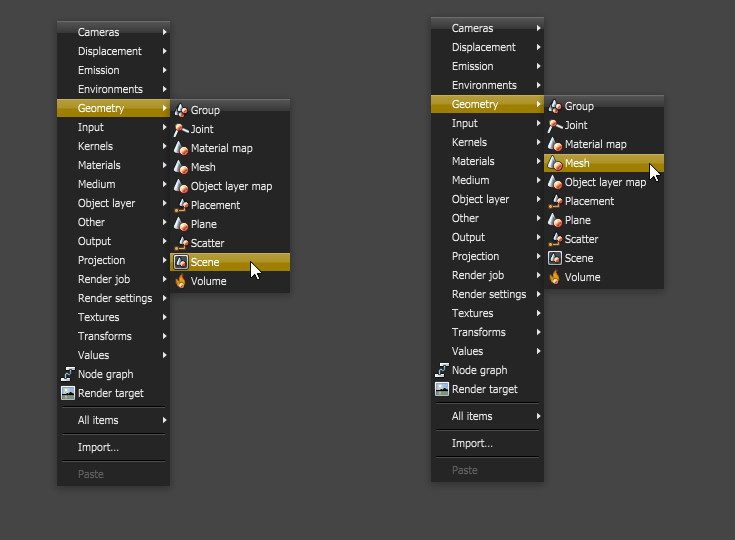
Figure 1: Import geometry into the Octane scene
Or if you have downloaded sample .orbx scenes, right-click on the Nodegraph Editor, select Import and choose the ORBXThe ORBX file format is the best way to transfer scene files from 3D Authoring software programs that use the Octane Plug-in such as Octane for Maya, Octane for Cinema 4D, or OctaneRender Standalone. This format is more efficient than FBX when working with Octane specific data as it provides a flexible, application independent format. ORBX is a container format that includes all animation data, models, textures etc. that is needed to transfer an Octane scene from one application to another. file to load into OctaneRender (Figure 2).
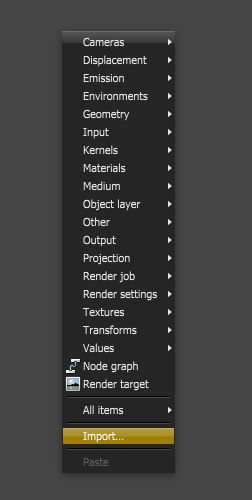
Figure 2: Alternatively you can import an Octane ORBX file
Place a Render Target node to the scene node by invoking the Graph Editor’s context menu again. This time select Render target (Figure 3).
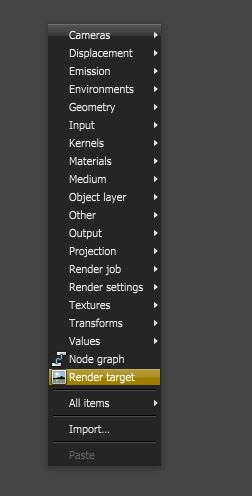
Figure 3: Add a Render Target node
Connect the scene node to the Render Target node by click-dragging with the right mouse button from output pin of the scene node to the geometry input pin of the Render Target node.
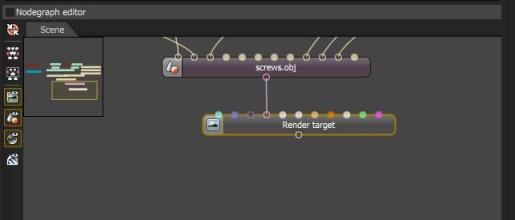
Figure 4: Connect the output of the scene into the Render Target node
To start rendering and seeing previews in the render Viewport, select the Render Target node in the Graph Editor or in the Outliner (Figure 5).
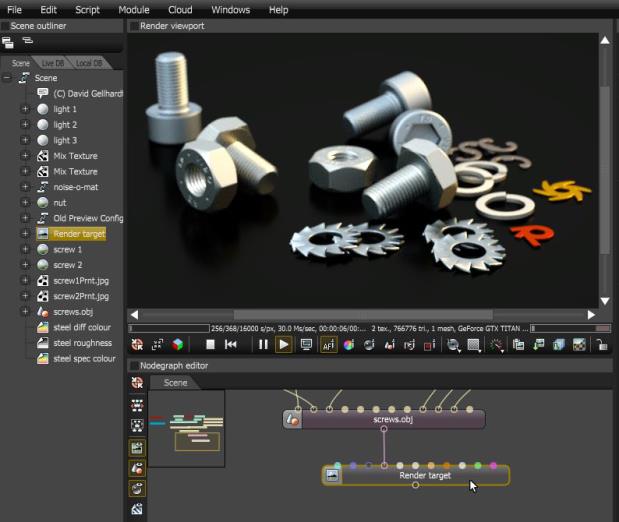
Figure 5: Rendering in the Viewport begins when the Render Target node is selected