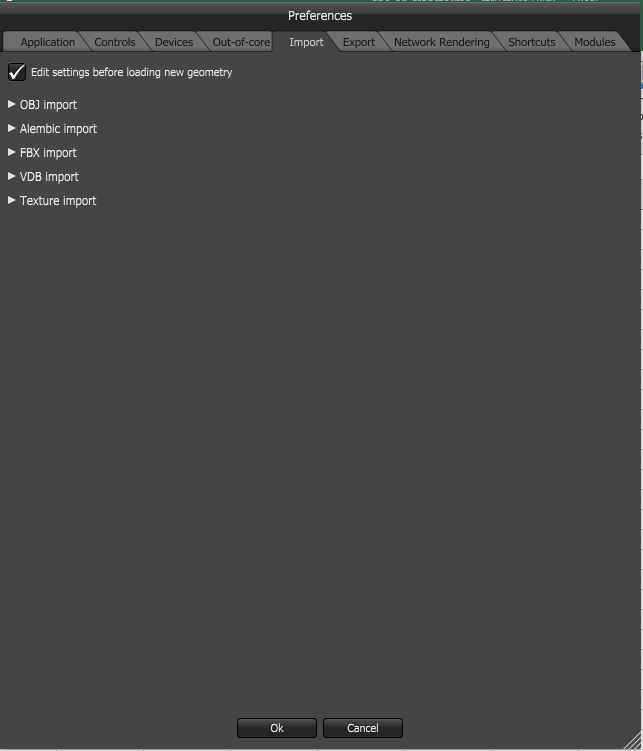
Prior to import, it is necessary to customize the default settings for importing the geometry modeled from various 3D applications. This can be done through the OctaneRender’s Preferences > Import Settings tab (Figure 1).
Figure 1: The Import tab in the Octane preferences
Importing The Scene
To import a scene into OctaneRender, move the mouse over the Graph Editor and right-click on it. This will bring up the context menu with the node options list. Select Geometry >Scene to import an alembic file, Geometry > Mesh to import an .obj file, or Geometry > Volume to import a .vdb file. Locate the exported file using the file dialog box. The scene will then be loaded and voxelized. Note that the appearance of the file dialog box will differ depending on the operating system used (Figure 2).
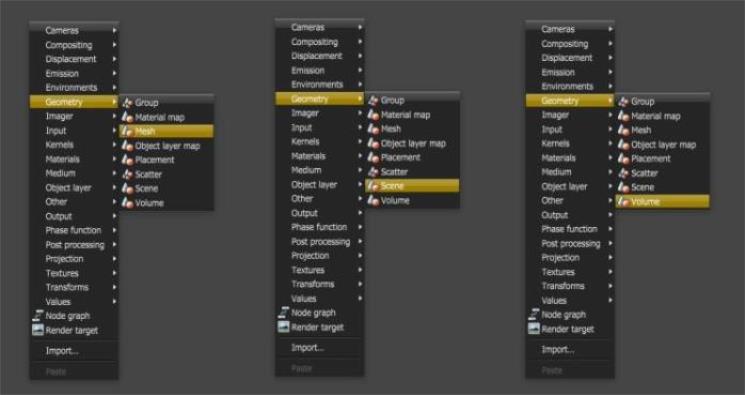
Figure 2: Use the context menu on the Octane Graph editor to import scenes, geometry, or volume files
If the scene has been previously loaded and saved as an .ocs file, select Geometry > Import to load the .ocs file, this can also be used to load .ocm files which are material macros stored as individual files in the local drive.
When the scene is loaded, it will be represented by a new node in the Graph Editor. Clicking on this new node will start the scene rendering in the Render Viewport and will display all the materials associated with the scene in the Node Inspector. Working with the nodes involves connecting the nodes to materials, camera and render output nodes.
Each dot shaped connection pin at the top of the geometry node corresponds to a material in that scene. Likewise for all nodes, the identification of the node pins can be determined by hovering the mouse over the pin connection (Figure 3).

Figure 3: Hold the mouse over the input pins to reveal the input type