Master
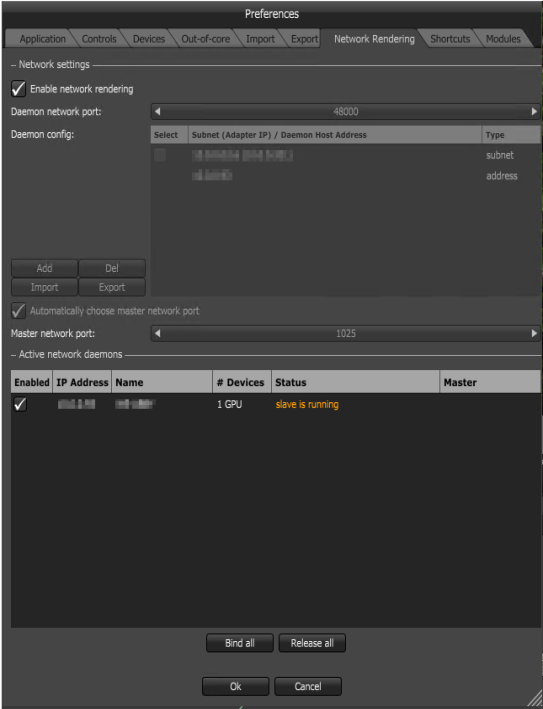
To enable network rendering, go to File -> Preferences -> Network RenderingThe utilization of multiple CPUs or GPUs over a network to complete the rendering process. and tick the Enable Network Rendering box.
The network settings dialog includes an option which turns automatic port configuration on the master on or off. If enabled, multiple masters can be used on the same computer.
What then happens is that the master opens a socket at the specified “Master Network Port” and listens at that port for slaves trying to connect to the master. It starts scanning the specified subnet in the local network for daemons and as soon as a slave with the correct version connects, the Octane Standalone status bar will show the additional GPUs and slaves:

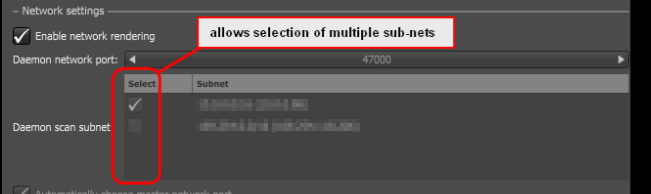
Multiple subnets may be scanned. The Network Render Feature is also applicable if the Master machines and the Slave machines are not on the same subnet.
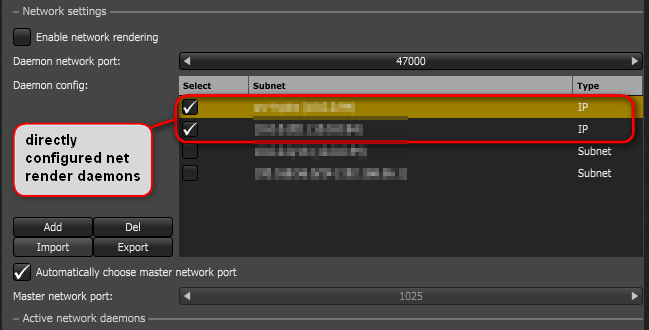
Host names or IP addresses of net render daemons may also be specified directly, which is helpful if they are located outside of the subnet where the net render master is connected with:
To avoid having to enter all the daemons on every master computer, users can export/import this daemon list and share it between computers, for example:
{
"Version": 1,
"AddrList": ["server1", "192.168.0.103"]
}
If you are currently rendering an image, the render data will be automatically sent to the new slave and it starts contributing to the image. The render data update on the slave is driven by the master and you can see the progress in the status bar:

Slaves
The slave version of OctaneRender is just a console build and requires a standalone license. The console build slave is released as a Windows build but it is designed to work across platforms (i.e. master and slaves can be on different platforms).
To launch a slave, either manually launch it via the command line or let a daemon do the job. To launch a slave via the command line, run it via:
Code: octane_slave.exe --net-master-address --net-master-port
For example:
Code: octane_slave.exe --net-master-address xxx.xxx.xxx.103 --net-master-port 21000
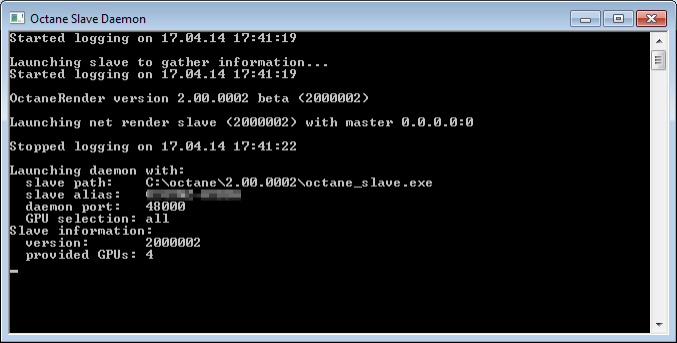
This what it says on the console:
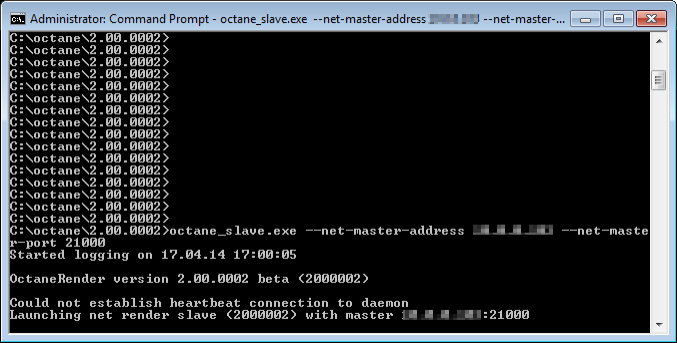
The line Launching net render slave (2000002) with master xxx.xxx.xxx.103:21000 indicates that the slave of version 2000002 successfully connected with the master at IP address xxx.xxx.xxx.103 on port 21000.
To stop the slave, press CTRL-C and it will gracefully shutdown the process.
Obviously it would be quite painful if users would have to manually start/stop slaves on several computers, which is where the daemons come into the picture.
Daemons
The daemon is a little lightweight program that is launched after login and runs all the time unless manually shutdown. It fulfills various roles:
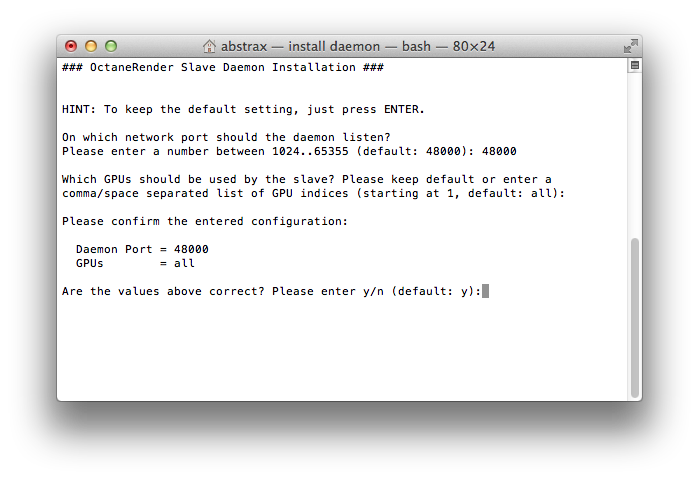
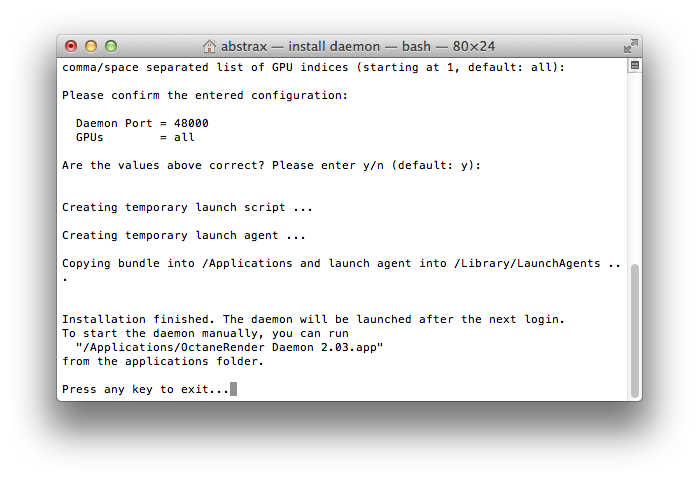
To set up the daemon, you run the little batch script _install_daemon.bat on the slave computer. It will ask you which port the daemon should listen for master requests (if you want to keep the default settings in the brackets, you can just press RETURN):
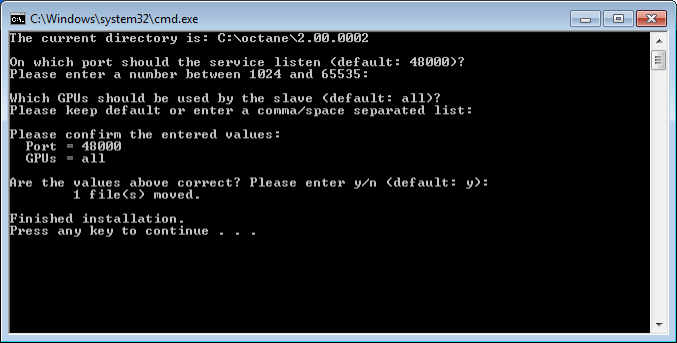
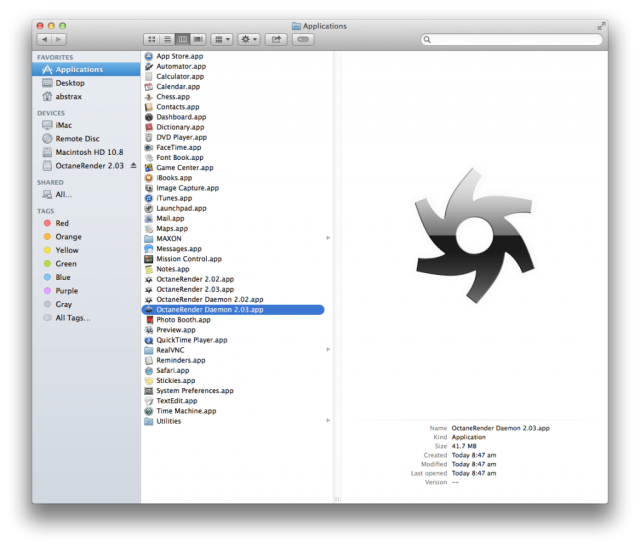
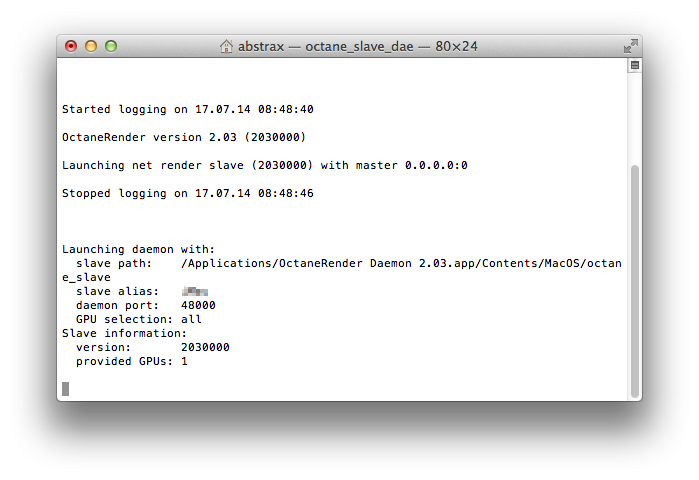
After confirming your selection, a batch file run_octane_slave_daemon.bat is created in the startup folder of your start menu (Start -> Programs -> Startup …). It will be launched the next time you log into your Windows account. A new terminal window will be in your task bar. When you open it, you can see the daemon starting up. At first it tries to launch the slave process to gather some information, which is then displayed:
On the Mac, the concepts are exactly the same as on Windows.