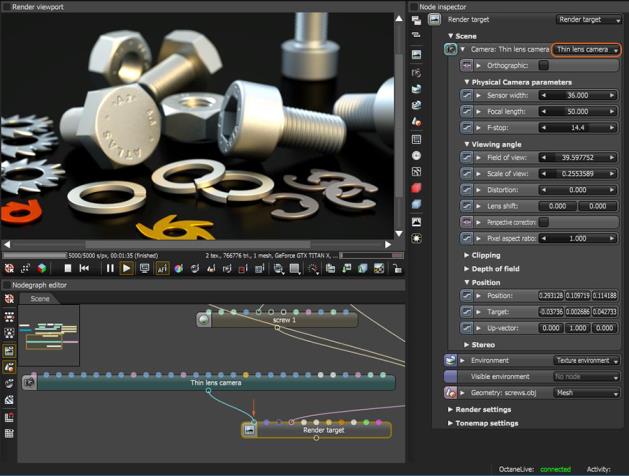
In OctaneRender, a default camera is always present in a scene. Additionally, there are three types of camera nodes that can be added to the Nodegraph Editor. The primary camera node type is the Thin Lens Camera. Camera nodes are connected to the Camera input pin on a Render Target node (Figure 1). There can be multiple camera nodes present in the Nodegraph Editor thus allowing for multiple camera locations from which to render a scene.

Figure 1: A Thin Lens Camera node is connected to the Camera input pin on a Render Target node
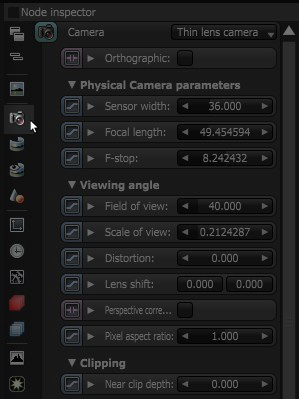
Camera node attributes can be accessed without adding a Camera node to the scene by clicking on the Current Camera icon in the Node Inspector (Figure 2).

Figure 2: Access camera settings by clicking on the camera icon in the Node Inspector
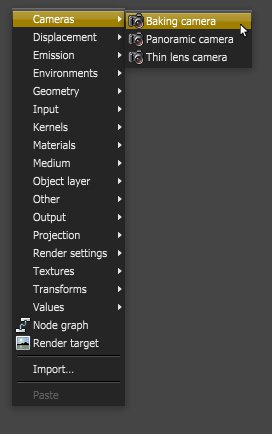
Otherwise, Camera nodes can be accessed by right-clicking in the Nodegraph Editor and choosing Cameras. These nodes can then be connected to the Camera pin of a Render Target node (Figure 3).

Figure 3: Use the pop-up menu to add Camera nodes
There are three types of camera nodes available for adjusting the camera settings: Thin Lens Camera, Panoramic Camera, and the Baking Camera (Figure 4).

Figure 4: There are three types of cameras available in OctaneRender