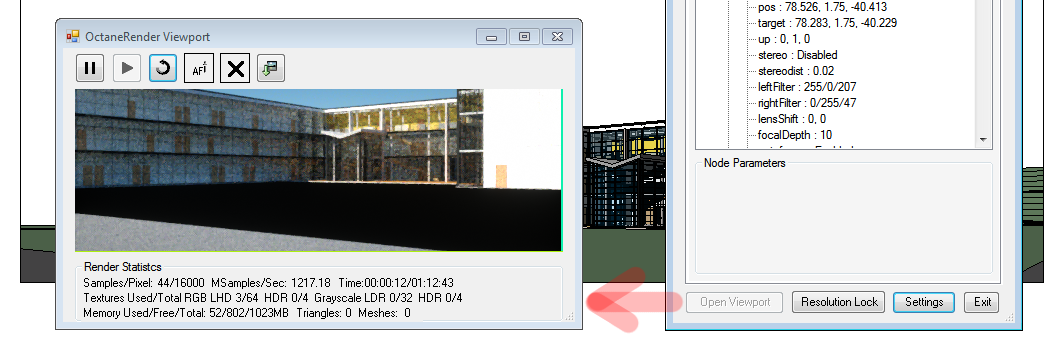
To display the OctaneRender™ Viewport, click the Open Viewport button in the main plugin Setup window. This will open a new window, load the scene geometry into Octane, and start rendering the scene in the Viewport.
The speed with which the scene geometry load into Octane is dependent on two factors:
Scene loading will be fastest when Triangulation Level of Detail is set to 0 in the Settings, and slowest when it is set to 1. When Triangulation Level of Detail is set to 0, the smoothness of curved surfaces and quality of UV mapping will be low quality, whilst at 1 these will be at the highest quality.
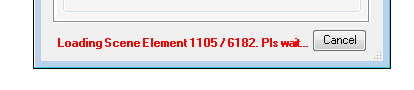
Whilst the scene is loading, you can click the Cancel button to abort loading.
Whilst rendering the scene in the Viewport, you can move the Revit camera around, and this will be immediately reflected in the Viewport.
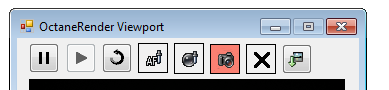
The Viewport contains the following buttons at the top of the window:
Pause
Pauses the render.
Continue
Continues the render (after it has been paused).
Refresh
Reloads all scene geometry and materials from Revit to OctaneRender. This is used after changing elements in the Revit scene.
Focus Pick (AF)
Click the toggle button to enable the setting of the Octane camera focal depth by clicking on an item or elements in the Viewport.
Lock Scene (X button)
Clicking this toggle button will means that NO changes to the scene, camera position or Octane node setup will propagate to the Viewport (means the render will continue whilst you work on the underlying scene). NOTE. Imager and Postprocessing settings changes will not be applied whilst the Lock Scene button is ON.
Save
Saves the current render in the Viewport to file. The file type is determines by the Image Save Format in the Configuration screen.
The Viewport contains a range of render metrics at the bottom of the window, including render time (elapsed and estimated), memory usage and texturemap usage.
Viewport Navigation
Clicking the “Viewport Navigation” button will put the plugin in a mode where the Revit camera is no longer used to position the Octane camera. Instead, navigation via the mouse buttons in the viewport.
The mouse controls are set in the Configuration.

In both navigation system above, scrolling the mouse wheel with Zoom.
If you select an object in the Revit scene, that object will be the center of rotation. Otherwise the scene position 0, 0, 0 will be used as the center of rotation. The “camera” “up” vector in Octane is also set to 0, 1, 0 when you enter Viewport Navigation mode to remove any Revit camera tilt.
Once the Viewport is in Viewport Navigation mode, you can save the rendertarget to the view to retain the current (Octane) camera position.