 .
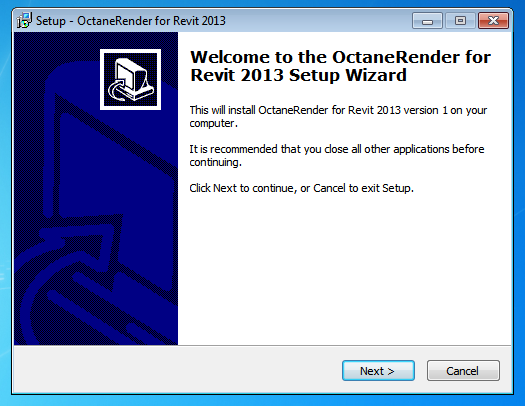
.Ensure Revit is not currently running on your PC, and then run the provided installation file (OctaneRender for Revit [year] Setup [version number].exe). Select the install directory of your Revit installation. The installer will copy all the plugin files into the appropriate place.
.
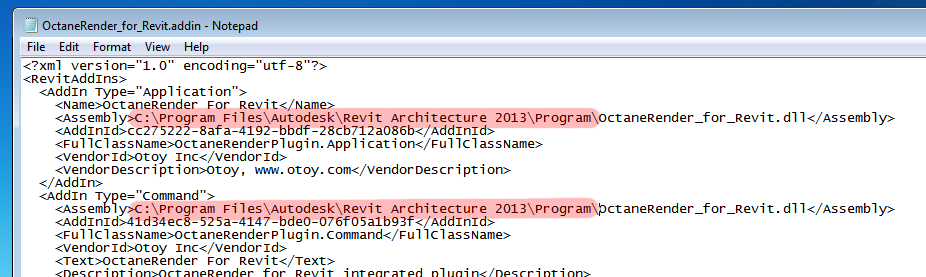
If you want the plugin to load in Revit when you open .rvt files by doubleclicking them from the desktop (ie. when Revit is not already running), edit the OctaneRender_for_Revit.addin file (in the C:\ProgramData\Autodesk\Revit\Addins\2013 folder). Place your Revit.exe path in front of the dll name in the <Assembly> lines. For example:
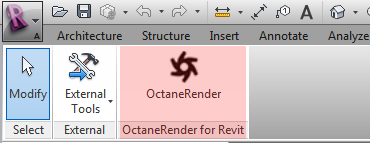
Once installed, when you next run Revit, the plugin will be available from the Addins Tab.
You will need to activate the plugin prior to using it for the first time. Enter your OctaneLive User ID and Password and click the Activate button. Once activated, the other tabs (ie “Settings”, “MaterialsA set of attributes or parameters that describe surface characteristics.”, etc.) will be selectable and you can start using the plugin to render.