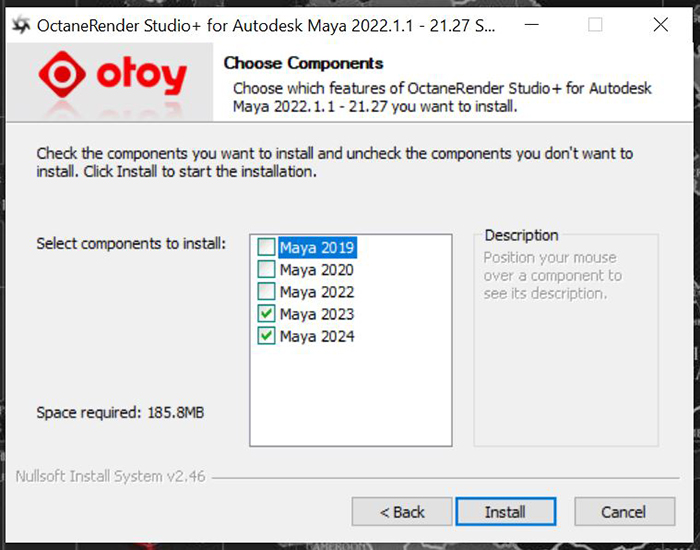
Note: Make sure that Maya is not running in the background during the installation process.
Figure 1: Choosing the appropriate version of Maya® installed on the system
Click on the Windows tab, click Settings/Preferences, and then click Plugin Manager. This will open the Plugin Manager, where you can load the plugin and click on the Auto Load option, which automatically loads the plugin each time you boot up Maya®.
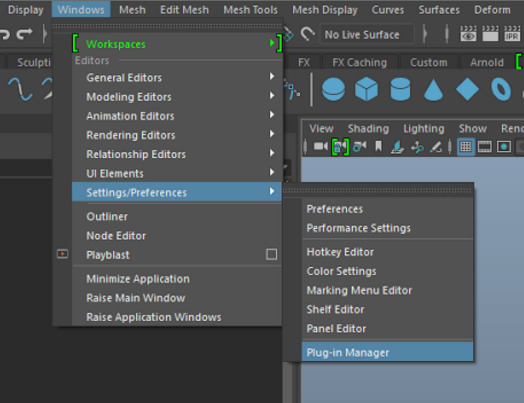
Figure 2: Accessing the Plugin Manager
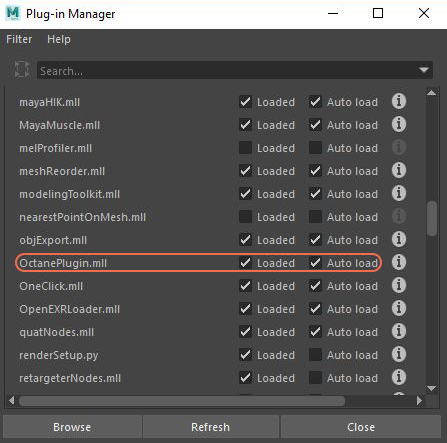
Figure 3: Selecting the OctaneRender plugin from the Maya Plugin Manager
Once you activate the OctaneRender plugin in the Plugin Manager, you can select OctaneRender in the Render Settings window.
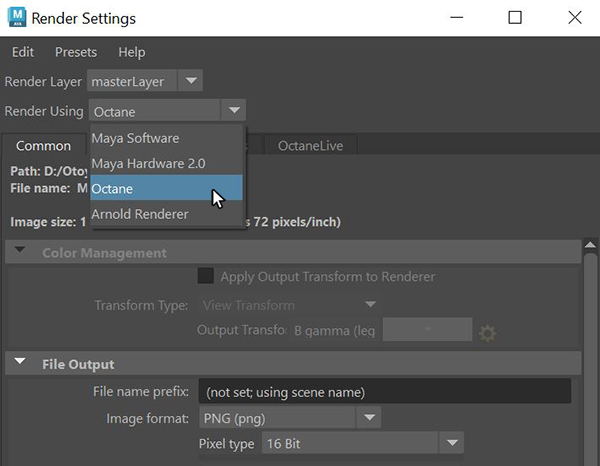
Figure 4: Selecting OctaneRender in the Render Settings window
If the system has more than one GPUThe GPU is responsible for displaying graphical elements on a computer display. The GPU plays a key role in the Octane rendering process as the CUDA cores are utilized during the rendering process., you can select the available GPUs from the GPU Devices tab in the Render Settings window.
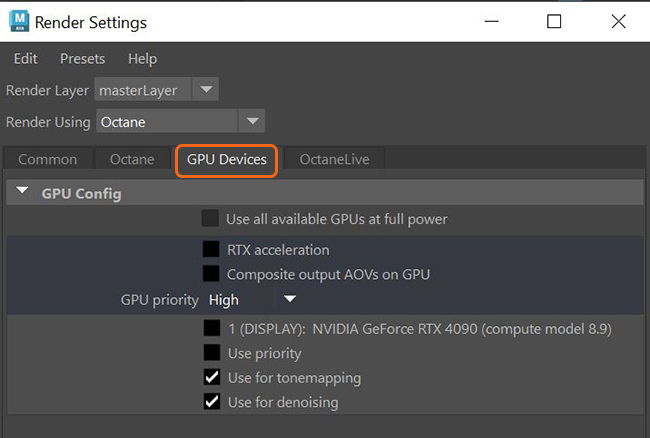
Figure 5: Choosing GPUs from the GPU Devices tab