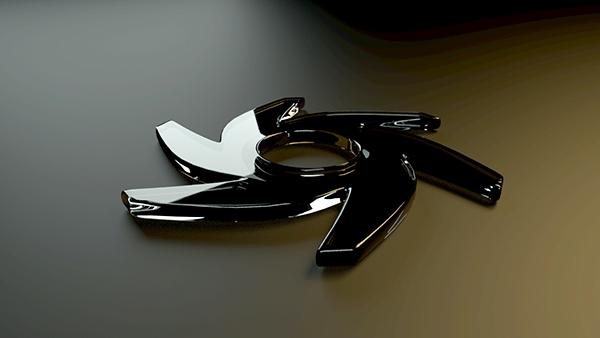
The SpecularAmount of specular reflection, or the mirror-like reflection of light photons at the same angle. Used for transparent materials such as glass and water. material is used for transparent materials such as glass and water.
Figure 1: Specular materialUsed for transparent materials such as glass and water.
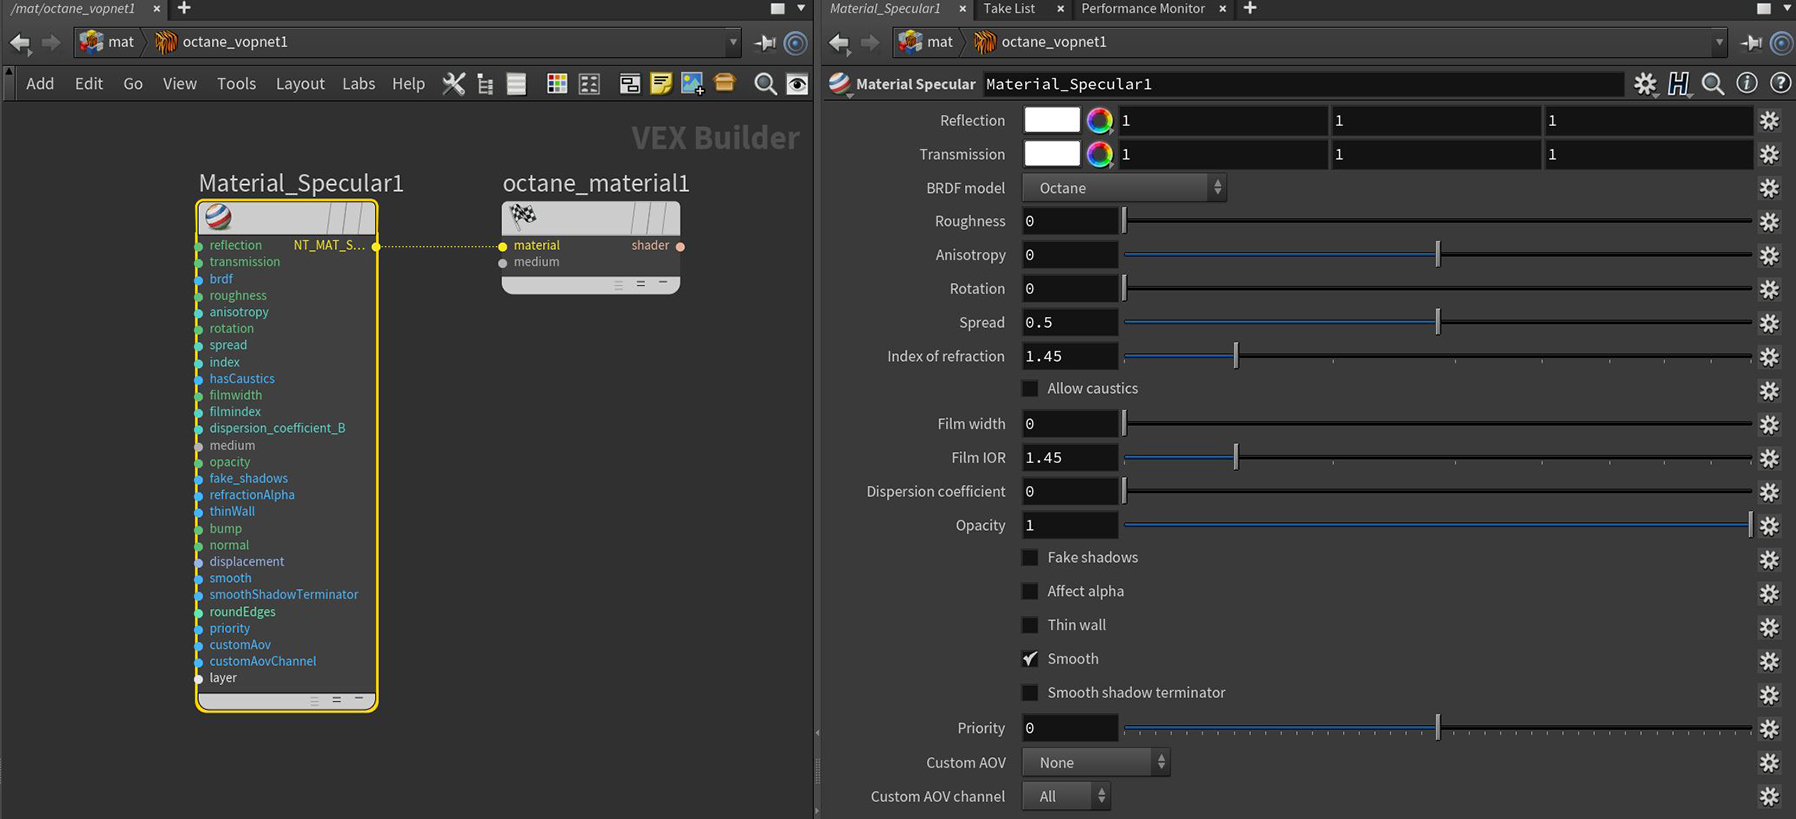
Figure 2: Specular material parameters
Reflection - Determines the glossy finish of the mesh. Reducing this value increases its ability to transmit light through the object volume. Reflectivity of specular materials is also affected by the Index Of Refraction. For example, with TransmissionA surface characteristic that determines if light may pass through a surface volume. set to black or a value of 0 and an Index Of Refraction set to 0, the material produces a mirror result.
Transmission - Controls the light passing through the surface of the material via refraction.
BRDF - The BRDF (Bidirectional Reflectance Distribution Function) determines the amount of light that a material reflects when light falls on it. For GlossyThe measure of how well light is reflected from a surface in the specular direction, the amount and way in which the light is spread around the specular direction, and the change in specular reflection as the specular angle changes. Used for shiny materials such as plastics or metals. materials, you can choose from six BRDF models. Specific geometric properties (the micro-facet distribution) of the surface affects each BRDF, which describes the surface's microscopic shape (i.e. micro-facet normals) and scales the brightness of the BRDF's reflections. Refer to the topic on BRDF Models in the Standalone documentation for more information.

Figure 3: Examples of the BRDF types
Roughness - Determines the sharpness of the reflection present on the surface. The reflection becomes more blurry as the Roughness value increases. The lowest value, 0.0, produces the sharpest and mirror-like reflection. It accepts a value, color, or image-based texture.
Anisotropy - Adjusts the amount of change in a surface's reflectance, depending on viewing direction.
Rotation - Controls the orientation of the Anisotropy effect.
Spread - Determines the tail spread for the specualr BSDF (Bidirectional ScatteringDefines how fast light gets scattered when traveling through the medium. Distribution Function) model of the specular layer.
Index of Refraction - Controls the Fresnel effect of the reflection and refraction of light when it enters or exits the material. You can find standard values of Index Of Refraction (IOR) by searching the internet. Glass has a value of 1.53, and water has a value of 1.33.
Allow Caustics - If enabled, the photon tracing kernel will create caustics for light reflecting or transmitting through the object.
Film Width - This controls the thickness of the optical, thin film on the material. This is useful in creating rainbow or oil slick effects.
Film IOR - This controls the Index Of Refraction of the thin film.
Dispersion Coefficient B - The dispersion in Octane is based on Cauchy’s equation which has two terms: A, which is the index of refraction; and B, which is the dispersion coefficient. Increasing the value increases the amount of coloration and dispersion in the object and in caustics.
Medium Input - OctaneRender® for Houdini® has four types of mediums:
Opacity - Opacity sets the material's transparency. Although this parameter has the option to accept values and colors as inputs, a texture map is the most appropriate input parameter. You can use the Alpha Image map to extract alpha information from a connected Texture map.
Fake Shadows - Sets the architectural glass option for all meshes sharing that material. This setting is off by default. When enabled, the Specular material exhibits the characteristics of architectural glass with its transparent feature allowing light to illuminate enclosed spaces or frame an exterior view.
Refraction Alpha - This option makes refractions affect the alpha channel. This parameter has an effect if the Alpha Channel is enabled in the Kernel settings.
Thin wall - When enabled, the geometry becomes very thin, so the ray bounce exits the material immediately, rather than entering the medium.
Bump/Normal Input - Both the Bump and Normal parameters can load images to control the amount of bump mapping and normal mapping. Although both parameters have the option to accept values and colors as inputs, a Texture map is the most appropriate input parameter.
DisplacementThe process of utilizing a 2D texture map to generate 3D surface relief. As opposed to bump and normal mapping, Displacement mapping does not only provide the illusion of depth but it effectively displaces the actual geometric position of points over the textured surface. Input - Adjusts the height of points on a surface based on an image value. Displacement differs from Bump or Normal mapping by providing true displacement of an objects surface. Displacement mapping is covered in more detail under the Texture Overview category.
Smooth - Refers to normal smoothing, which smooths the normals of all meshes sharing that material. When disabled, the materials are faceted and polygonal.
Smooth Shadow Terminator - If enabled, self-intersecting shadows for low polygon objects is smoothed according to the polygon's curvature.
Round Edges Input - This creates a shader effect at render time that rounds the sharp edges of objects without modifying and reloading the geometry. Higher values will round the edges more. This is useful to bevel hard edges during render time, like when using low-polygon models. This node is located under the Procedurals section.
Priority - Used to resolve the ambiguity in overlapping surfaces, the surface priority control allows artists to control the order of preference for surfaces. A higher number suggests a higher priority for the surface material, which means it is preferred over a lower priority surface material if a ray enters a higher priority surface and then intersects a lower priority surface while inside the higher priority surface medium.
Custom AOV - Writes a mask to the specified custom AOV.
Custom AOV Channel - Determines whether the custom AOV is written to a specific color channel (R, G, or B) or to all the color channels.
Layer Input - Adds a Material Layer above the base material. See the Material Layers topic in this manual for more details.