
Render PassesRender passes allow a rendered frame to be further broken down beyond the capabilities of Render Layers. Render Passes vary among render engines but typically they allow an image to be separated into its fundamental visual components such as diffuse, ambient, specular, etc.. can be accessed from the Render Settings window (figure 1). Activate the Enable check box and select desired passes. Then select appropriate file formats and a saving location. It’s also possible to use Cinema 4D multi-pass system.
Figure 1: Accessing the Render Passes from the Render Settings window.
Default options are optimized for 32bit linear output. Be sure that the render buffer and passes are float(linear) for achieving correct results when you combine the output images in post.
When passes are activated, you’ll see selection buttons in the Live Viewer (figure 2).
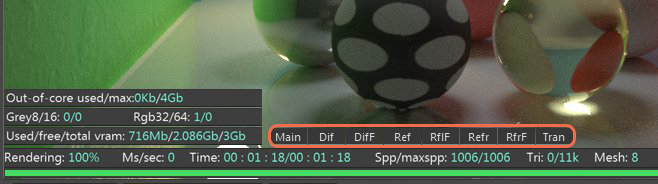
Figure 2: Buttons in the Live Viewer correspond to the activated Render Passes.
Enable
If you enable it, you will see both Render Passes in real time in Live Viewer and also enable export option in Picture Viewer. It will be very convenient for you to check the passes at the Live Viewer before you get the final render. In the final render, the options you select will be exported.
File
Here you specify where you will save the Passes.
Seperator
You can put a seperator at the end of the file. Sometimes the pass names are mixed with the main file name. For example, you can put a underscore (_) sign here to separate the file name and the pass name.
Format
You can select the image format of the passes from here. The format you choose according to Tonemap or Linear workflow is also important. For example, the most logical choice for the linear workflow is the EXRAlso known as OpenEXR. This image file format was developed by Industrial Light & Magic and provides a High Dynamic Range image capable of storing deep image data on a frame-by-frame basis. format. You can also choose 8 bit formats such as Jpeg, Png or Targa.
Depth
You can adjust the bit depth from here and for the final compositing you have to choose according to the quality you need. EXR 32-bit is the maximum quality, but the file sizes will be quite large. You also need a good computer configuration to do compositing with 32 bit-depth. We recommend that you determine your needs first.
Multilayer File
It will save the selected render passes into a single layer file. Think like a Photoshop file. If you open this file in any compositing software, you can see your Passes layer by layer.
Folders
It is an option that appears when you disable the Multilayer. In this option, all of your selected Passes are saved with their folder names. It is useful if you render a lot of passes.
Image Color Profile
There are 2 options:
Tonemap Type
The previous description also applies to this option. Maximum quality and control are always at Linear outputs. In addition, the most suitable workflow for color grading is Linear Workflow.
The individual pass types are covered in the following dedicated sections.