This section will examine the Render Settings associated with the Octane Renderer. Overall, the settings here are similar to the settings found in the Live Viewer but you can do fine adjustments from here that are not in Live Viewer. Options such as resolution, picture format, aspect ratio, or frame number are in the classic cinema 4D render output section.
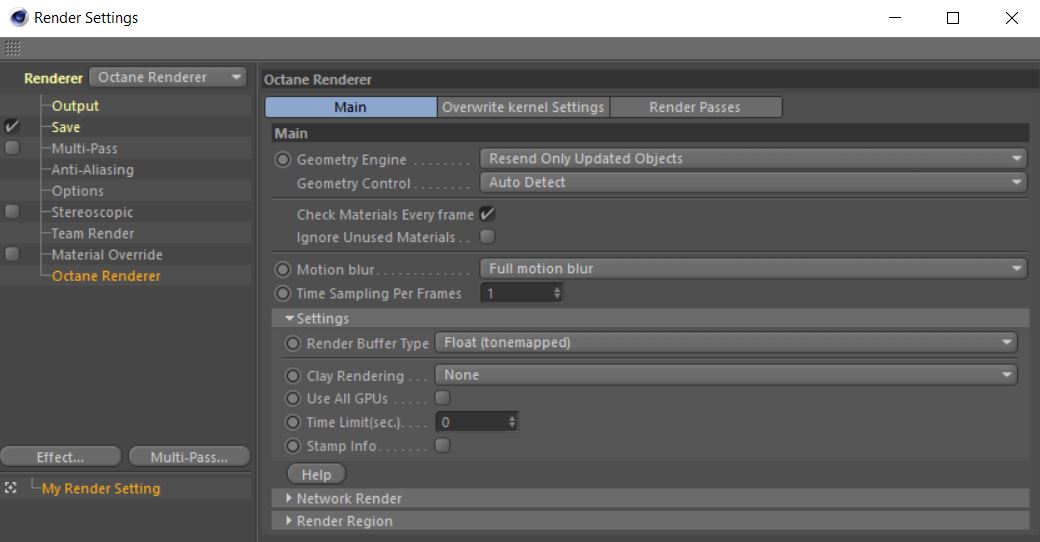
The Octane Renderer settings can be accessed in the Render Settings window of Cinema 4D (figure 1). Select Octane Renderer from the renderer menu in the upper left corner. The window contains 3 main tabs: Main, Overwrite Kernel Settings and Render PassesRender passes allow a rendered frame to be further broken down beyond the capabilities of Render Layers. Render Passes vary among render engines but typically they allow an image to be separated into its fundamental visual components such as diffuse, ambient, specular, etc... There is a separate section that covers Render Passes.
Figure 1: The Octane Renderer settings.
Geometry Engine
There are 2 options here:
Geometry Control
Checks the behavior of objects in the scene on the data transfer to the Octane Renderer. There are 3 options here:
Check MaterialsA set of attributes or parameters that describe surface characteristics. Every Frame
Controls the material in the scene for each frame. Default is recommended.
Ignore Unused Materials
The materials not used the scene are not checked.
There are 3 options:
When motion blur is added to a scene with fast moving objects, the results may not render correctly in Live Viewer. Extra data is required for motion blur in fast movements. It produces sub-key frames for motion blur objects. For example the value 4 will create 4 sub-key frames between the two frames. Thus, increasing the quality and accuracy of motion blur.
Render Buffer Type
Consists of 3 parts: Float (Tonemapped), 8-bit (Deprecated) and Float (Linear). Default is Float (Tonemapped). Float (Linear) is for linear workflow.
Clay Rendering
It consists of 3 parts as None, Gray and Color. Clay render is useful for fast output, or you can use this option again if you just want to see the animation and light shadow distribution.
Use All GPUs
If you have more than one GPUThe GPU is responsible for displaying graphical elements on a computer display. The GPU plays a key role in the Octane rendering process as the CUDA cores are utilized during the rendering process. and have switched off some GPUs in the Octane LV settings, you can use them all for rendering with this option. Default is off.
Time Limit (sec.)
Maximum time (second) to rendering for each frames. Default is recommended.
Stamp Info
Stamps "render Info" for final render output. This render info includes information such as sample count, Vram usage, duration etc. It is useful for comparisons.
Network Render
This option is covered in the Network RenderingThe utilization of multiple CPUs or GPUs over a network to complete the rendering process. section.
Render Region
Renders only a specified area of the render window.
Enable
Overwrites any Kernel settings from the Live Viewer options.
Toon Shadow Ambient
Adjusts the ambient color for Toon shadows.