All Octane camera controls are under the “rendertarget” tree in the Settings tab of the plugin.
The Octane camera “pos” and “target” are taken from the current AutoCAD view camera position and view direction, and are always kept in sync. Panning, zooming and rotating the AutoCAD camera will result in the same movement in the Octane camera. So to move the Octane camera, simply move the AutoCAD camera.
To have the Octane camera sync to the AutoCAD camera, it is important to:
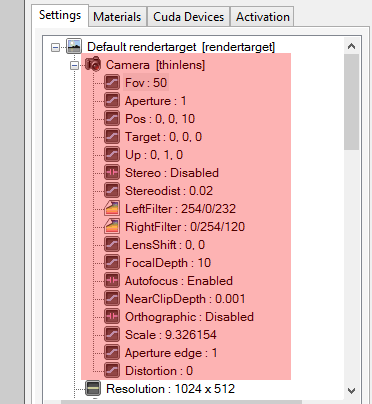
The Octane camera “fov”, “aperture”, “up” vector and “lensShift” are NOT connected to the AutoCAD camera. These parameters can be adjusted in the plugin Settings tab under “camera”. The default AutoCAD field of viewThe area that is visible to a camera lens usually measured in millimeters. A wide angle lens provides a larger field of view and a telephoto lens provides a narrow field of view. is approximately 50 degrees, so the plugin also defaults to 50.
If the “A/F” button (focus pick) is enabled on the Viewport, you can click in the Octane Render Viewport to set the Octane “focalDepth” pin to the element distance that you clicked on. Doing so will also disable the “autofocus” pin.
For interior renders, there may be situations where the camera is positioned inside a wall. In this case, increase the “nearClipDepth” to remove the wall from the rendered geometry.
It is not recommended that you adjust the “scale” pin unless you are in “othographic” mode, since the “fov” value will override the “scale”.