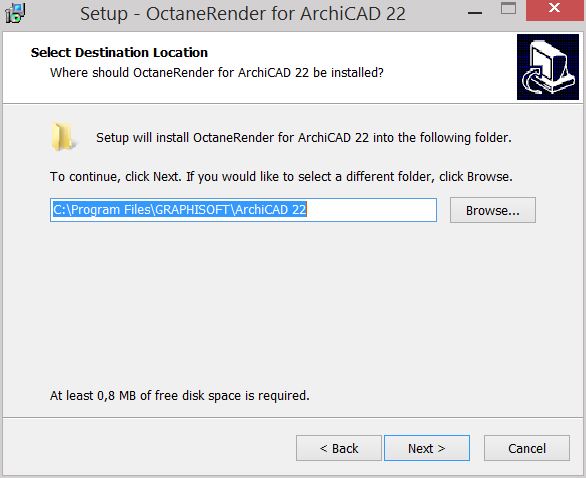
Ensure ArchiCAD is not currently running on your PC then run the plugin installation file (OctaneRender for ArchiCAD Setup [version number].exe).
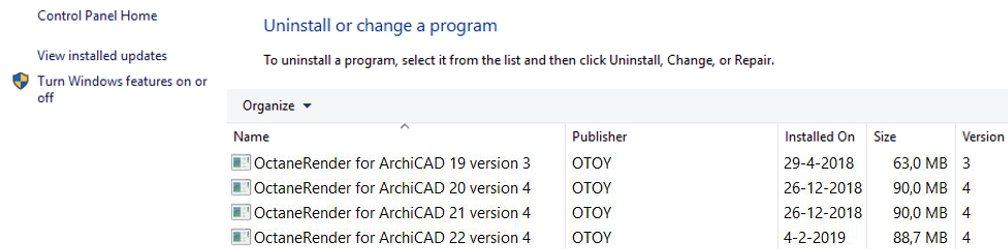
Note: When updating the plugin, you must uninstall the previous version before installing the new version.
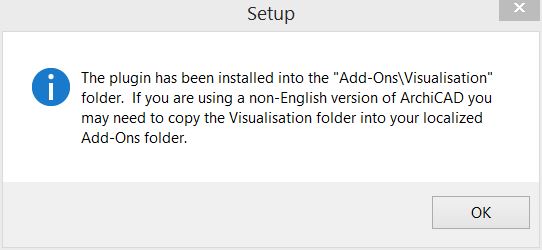
Select the install folder of your ArchiCAD installation. The installer will copy all the plugin files into the appropriate place.
Following the Step-by-step Installation Instructions several windows will appear.
For each ArchiCAD version installed (i.e. ArchiCAD 21 and ArchiCAD 22), the plugins can be installed simultaneously.
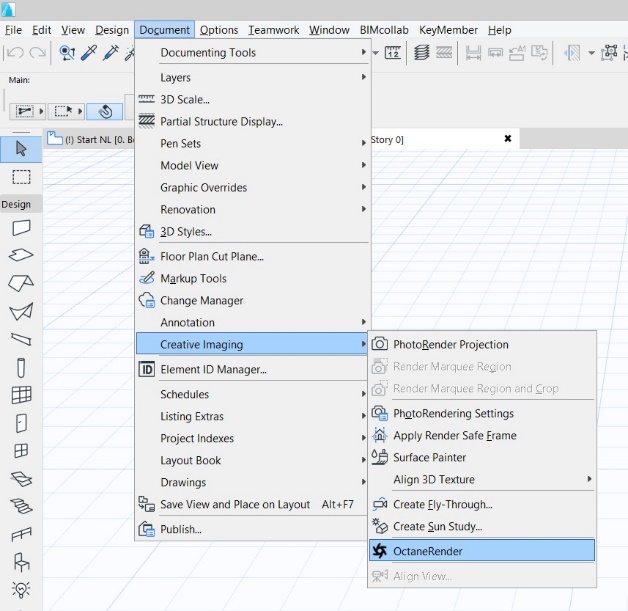
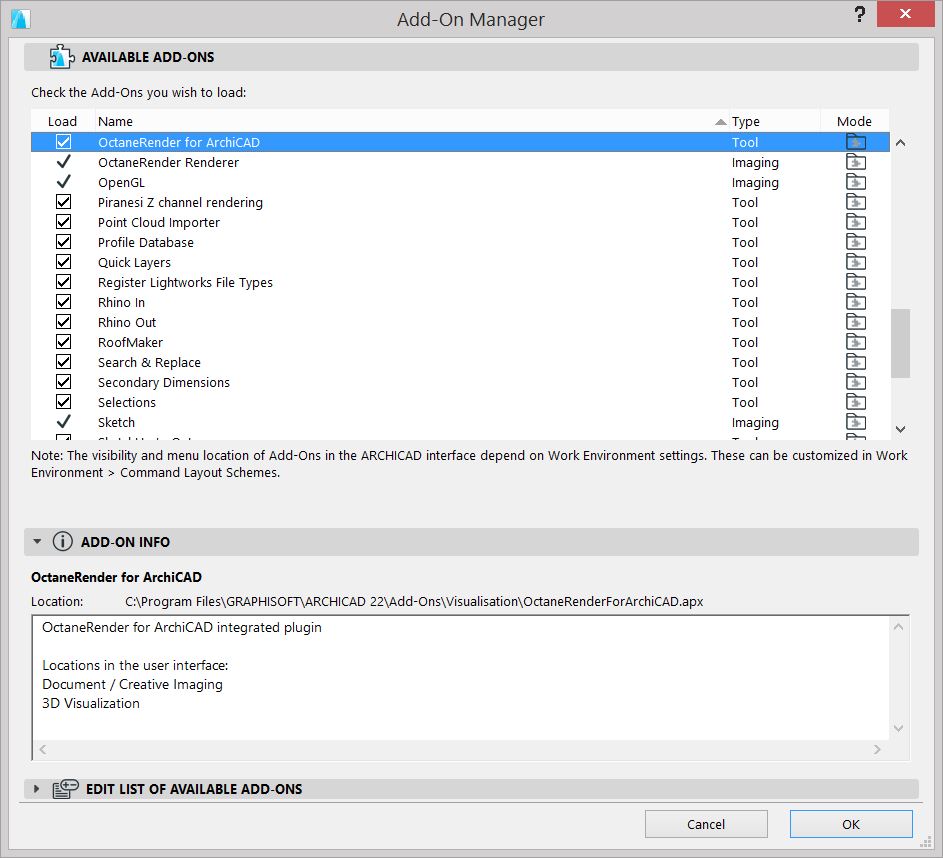
After completing the installation run ArchiCAD and select:
→ Options → Add-On Manager → tick the ‘OctaneRender for ArchiCAD’ addon.
The OctaneRender Render should already be ticked. The plugin is now installed.
It is recommended that you add a plugin shortcut onto your toolbar:
Right click top toolbar → Toolbars → Current Menu Structure → Document → Creative ImagingRefers to periodically creating an image from the renderer for display (which may or may not include tone mapping as one step). → OctaneRender → Add Selected to the ‘Mini Navigator’ toolbar.

Note: You may need to restart ArchiCAD in order to do this last step.
To start the plugin, choose the Document → Creative Imaging → OctaneRender, or select the Octane button from the toolbar if you added the shortcut as per the above instructions.