Open topic with navigation
Greyscale Image
Image textures use image files to create the texture.
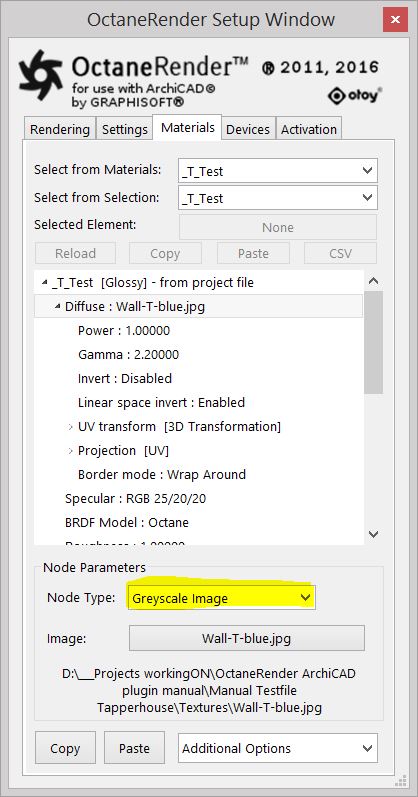
The image is interpreted as greyscale even if it is a full colour image, thus saving ram. The Invert checkbox can be used to invert the image (useful for bump and opacity maps).
Greyscale Image Parameters:
- Power- Controls image brightness. Lower values cause the image to appear darker. When used as a Bump map, this setting alters the bump height on the surface.
- - Controls the input image luminance, and it also tunes or color-corrects the image.
- Invert - Inverts the texture values.
- Transform - Positions, rotates, and scales the surface texture.
- Projection - Accepts OctaneRender Projection nodes. If nothing is connected to this input, the Image texture uses the surface's UV texture coordinates by default. This also changes the UV set if the original surface contains more than one UV set. For more details, see the Projections section of this manual.
- Border Mode - Sets the behaviour of the space around the image if it doesn't cover the entire geometry. Wrap Around is the default behaviour, which repeats the image in the areas outside the image's coverage. If you set this parameter to White Color or Black Color, the area outside the image turns to white or black, respectively.
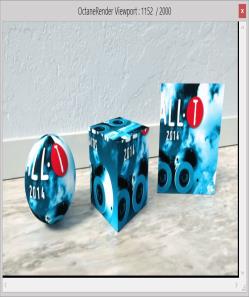
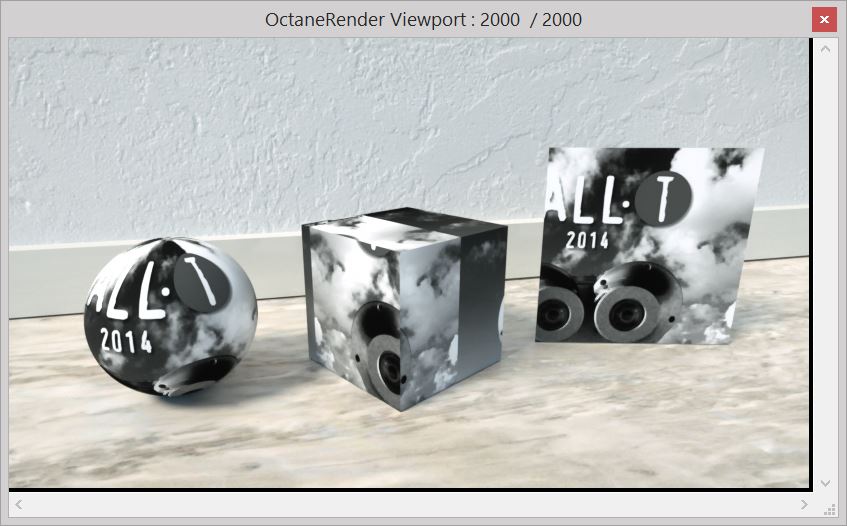
In the example above you can see the left half of the same image when the Node type is set to Greyscale image instead of RGB Image. The image is interpreted as being grey color even if it is a full color image, and therefore taking up less GPU memory.
An image texture is used for the parameter. The mesh must be UV mapped prior to export to properly use the Image type and to do so you can add a Texture image in the ArchiCAD Surface Settings.
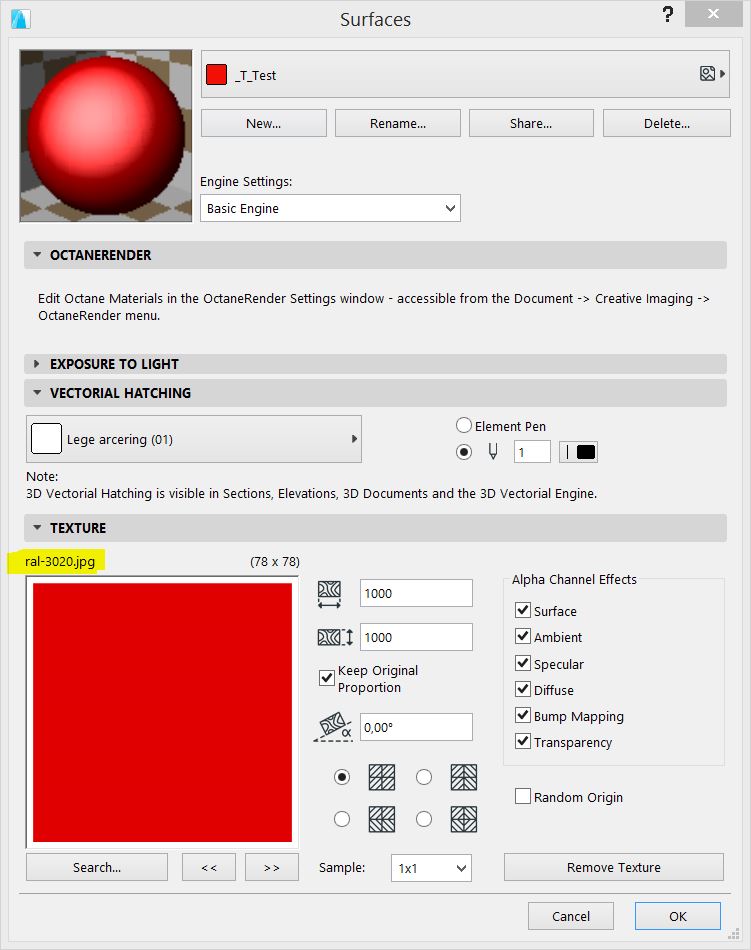
IMPORTANT: Texture maps connected to ‘RGB image’, ‘alpha image’ and ‘Greyscale image’ nodes must be an actual image file in your file system, not an image in the ArchiCAD library archive (i.e.. ArchiCAD Library 22.lcf). Some GDL textures may be in the ‘lcf’ archive, so if the plugin cannot file these texture files, extract the archive as follows:
- ‘File → Libraries and Objects’ ‘Extract a Container’. Select whichever your current library is (which contain the tree texture map) – most likely ‘C:\Program Files\GRAPHISOFT\ArchiCAD 22\ArchiCAD Library 22\ArchiCAD Library 22.lcf’. Extract into your My Document\ArchiCAD 22 Library folder (or similar)
- ‘File → Libraries and ‘Objects → Library Manager’. Click the library you just extracted in 1 and delete it (X button). Then ‘Add’ and select the folder to extracted to above (it should then display the under ‘Linked Libraries’.
- In the plugin, select ‘Re-convert from ArchiCAD’ for any GDL materials which had texture maps inside the lcf library.
The above is .pln file specific – so you will need to do the above on a blank document and save as a template if you want it always applied by default.
Open topic with navigation