Octane ProxyAn object saved as a separate file with the purpose of being reused in larger scenes. This is used to minimize any addition to the total polygon count in the scene, especially if the scene requires the same object to appear several times. If used in conjunction with instancing, Proxies help keep very large scenes from reaching polygon limits and also keeps the relative file size of the main project file manageable. is used to minimize any addition to the total polygon count in the scene, especially if the scene requires the same object to appear several times. If used in conjunction with instancing in ArchiCAD, Octane Proxies help keep very large scenes from reaching polygon limits and keeps the relative file size of the main ArchiCAD project file manageable.
To use a proxy, add an ArchiCAD ‘Object’ element (an ArchiCAD object from the standard Library or a custom *.gsm object) to the scene – positioned where you want the OBJ file to appear. It doesn’t matter what ArchiCAD Object you use in the ArchiCAD scene, since it will not appear in the render.
Note: besides OBJ files, also OCS, ORBXThe ORBX file format is the best way to transfer scene files from 3D Authoring software programs that use the Octane Plug-in such as Octane for Maya, Octane for Cinema 4D, or OctaneRender Standalone. This format is more efficient than FBX when working with Octane specific data as it provides a flexible, application independent format. ORBX is a container format that includes all animation data, models, textures etc. that is needed to transfer an Octane scene from one application to another. and ABC files can be selected as a proxy.
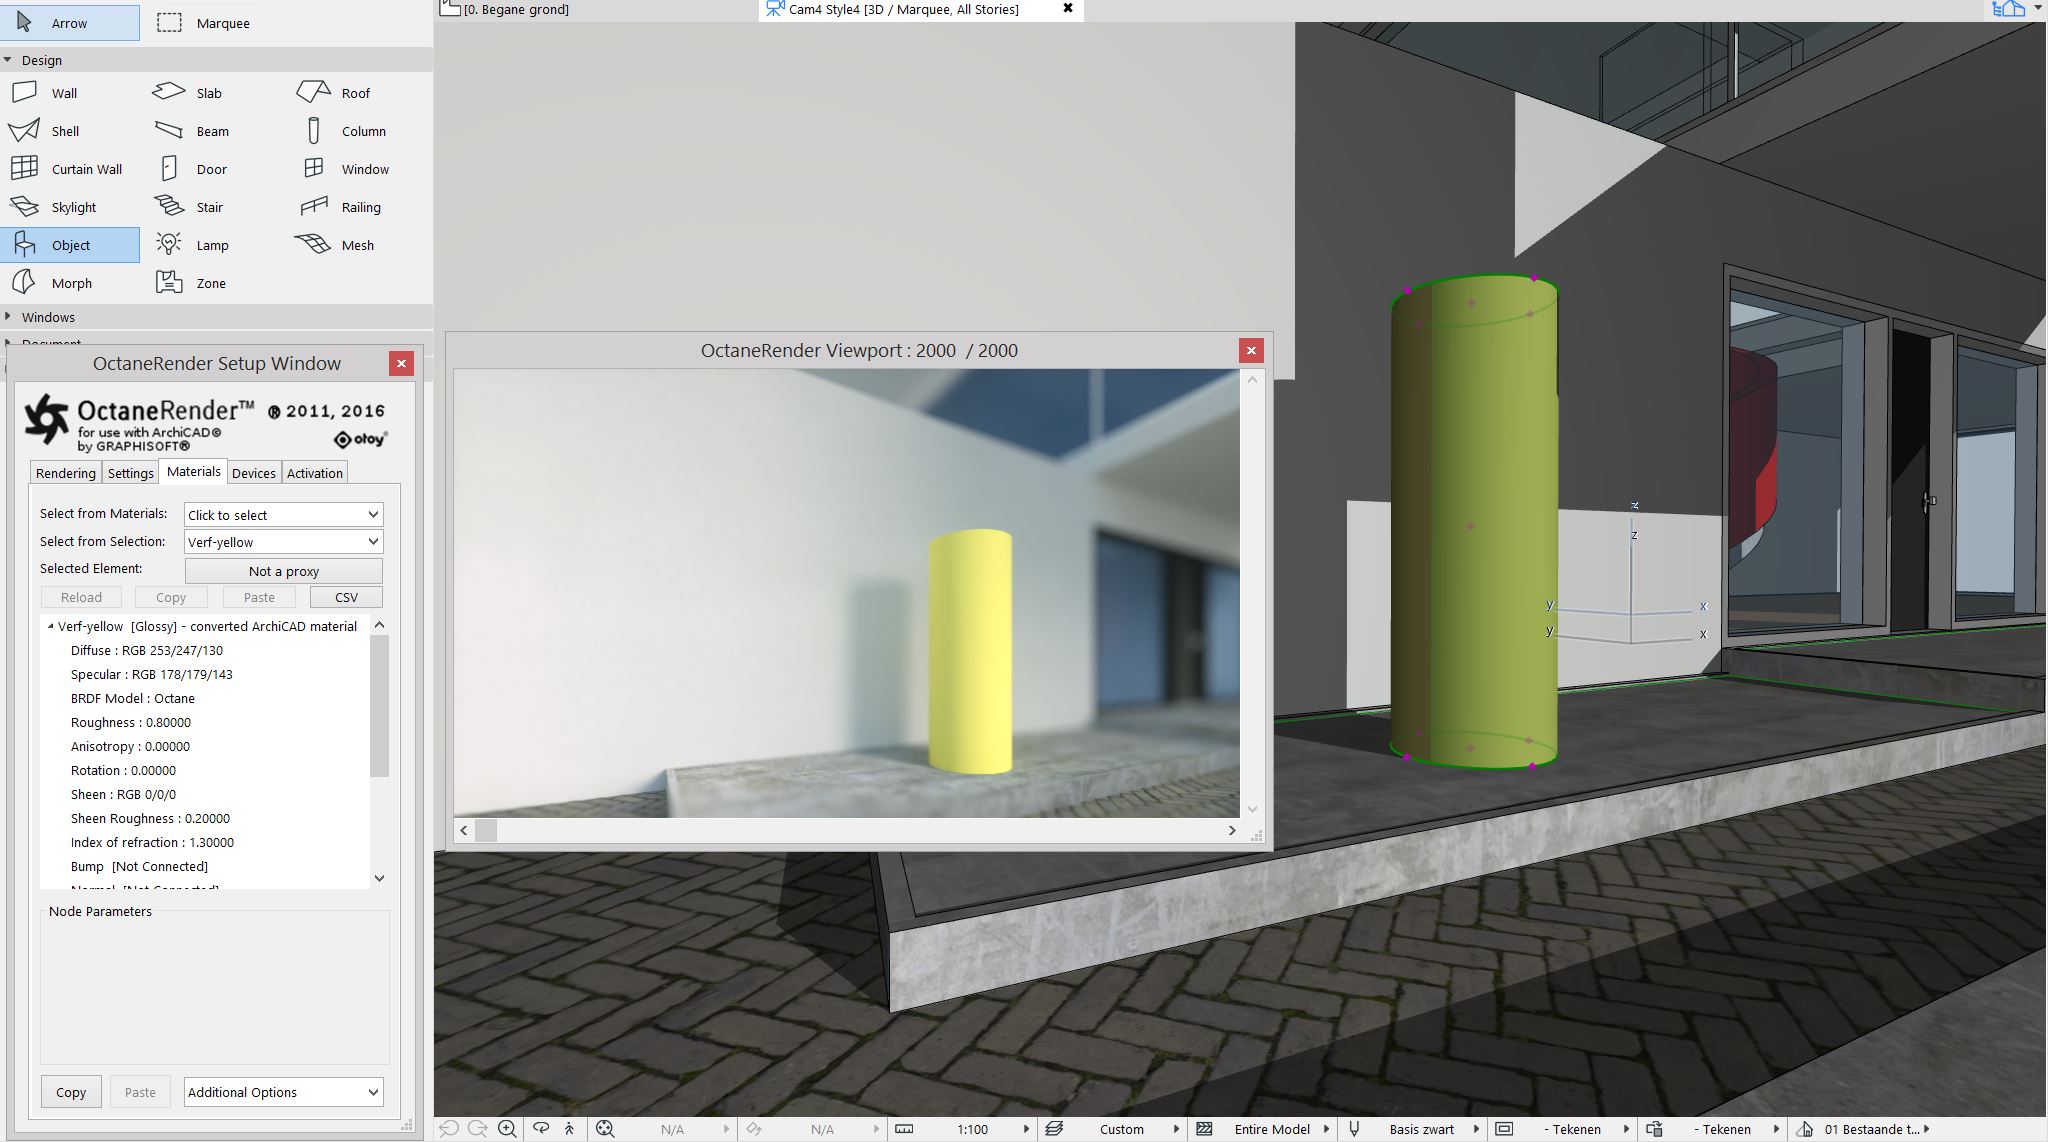
In this example a cylinder Object is placed with size comparable to a human being to use it as a proxy for a textured OBJ file of a (3D scanned) person.
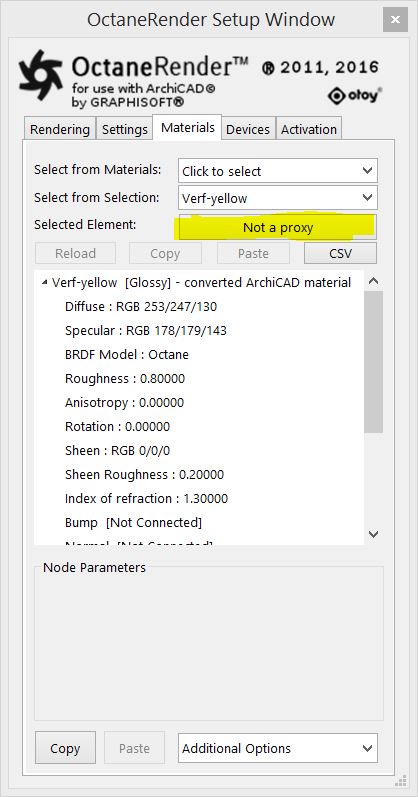
Now, if not already open, start the OctaneRender for ArchiCAD plugin, go to the Materials Tab and select the Object you added in the ArchiCAD window. Because the cylinder object is not yet a proxy, the proxy button is ‘Not a proxy’. Click that button to setup the proxy information.
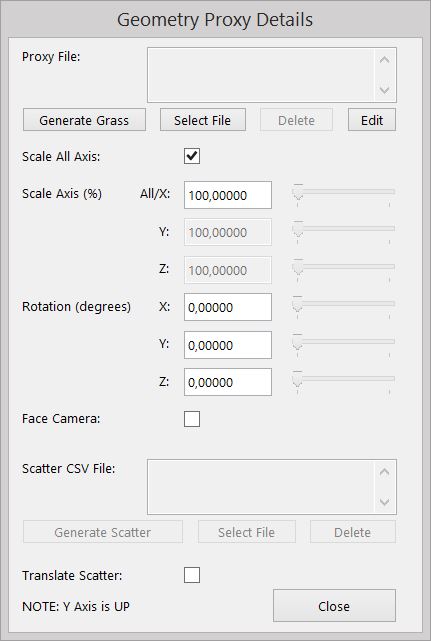
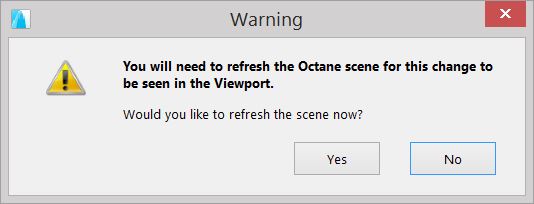
Click the ‘Select File’ button to select (i.e. from your library folder) and load the proxy OBJ file. Then Close and refresh the scene.
The ‘Not a proxy’ button will change to ‘Is a proxy’ to indicate that object has a proxy. Now you can see the result in the Viewport.
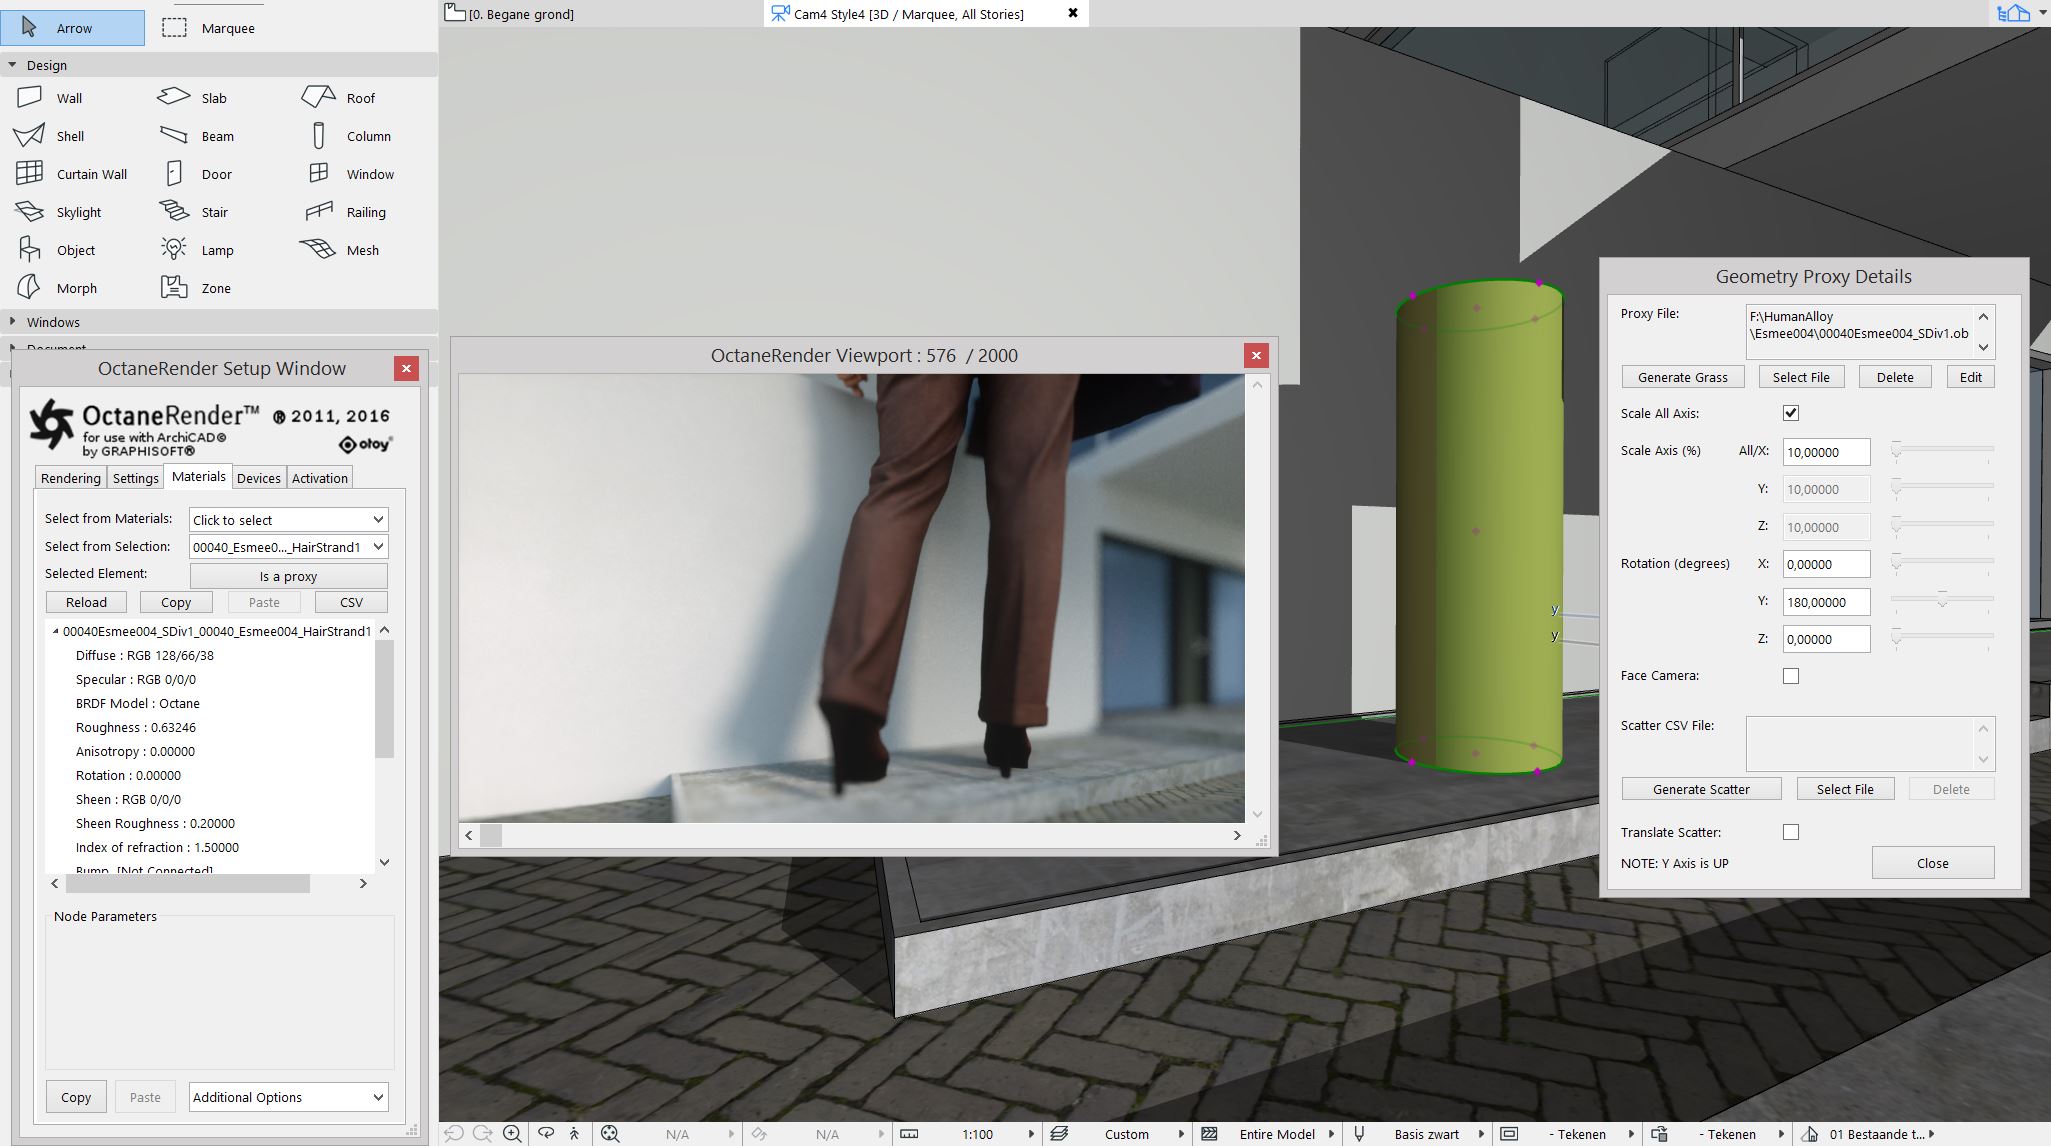
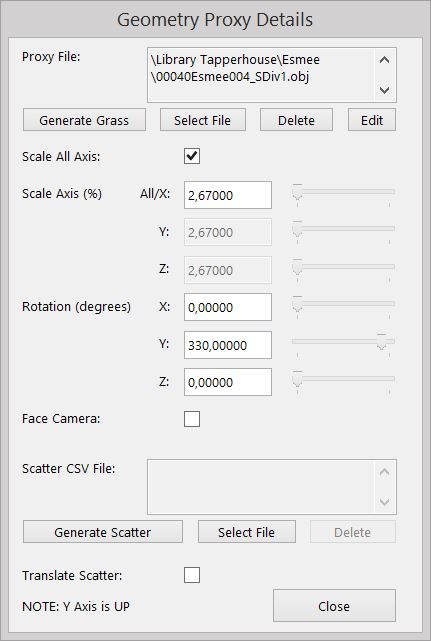
You will most likely need to scale and rotation the OBJ file to get the result you are looking for, as has been done below. As you adjust sliders in the Geometry Proxy Details screen, the Viewport is immediately updated.
NOTE 1: MaterialsA set of attributes or parameters that describe surface characteristics. for an OBJ file are shared for all instances of the OBJ file. So i.e. if tree.obj is used 5 time, all 5 instances will share the same Octane materials.
NOTE 2: The proxy information is saved to the ArchiCAD Object, so if you copy and paste the Object (also to another pln file), the proxy information will be copy and pasted too.
Some OBJ files will not be setup for the Octane XYZ axis system, so will need to be rotated in order to get them upright. For example, the Xfrog OBJ files will need to be rotated X 270 degrees in order to have them upright. Xfrog (and potentially other) OBJ files also contain non-standard material specifications for transparency maps. Edit the MTL file and change any lines with ‘map_Kd to ‘map_d’.
IMPORTANT to keep in mind: Proxies will only render when using the OctaneRender Viewport. They will NOT render when using the ArchiCAD PhotoRender Projection.
Copy and Pasting Proxy Information
Select a proxy host Object and click the ‘copy’ (in the Materials Tab of the plugin) to copy the proxy info into the proxy clipboard. Then select a proxy or non-proxy Object and click ‘Paste’ to paste that info to that Object. It is recommended that you do this whilst the Octane Viewport is not open (since you will need to refresh the scene anyway to see the result).
You can copy an ArchiCAD Object which is a proxy host into the ArchiCAD clipboard and paste that Object into another ArchiCAD scene – and the proxy information will be pasted too. Remember to save all the proxy materials as defaults first so they get picked up when you paste in the new scene.

The plugin proxy clipboard is cleared when you open a scene or start a new scene. So, you cannot ‘copy’ the proxy info from one scene proxy into another scene proxy.
In summary, to get the proxy information for an Object from one ArchiCAD scene to another, use the ArchiCAD clipboard to copy and paste the ArchiCAD Object.
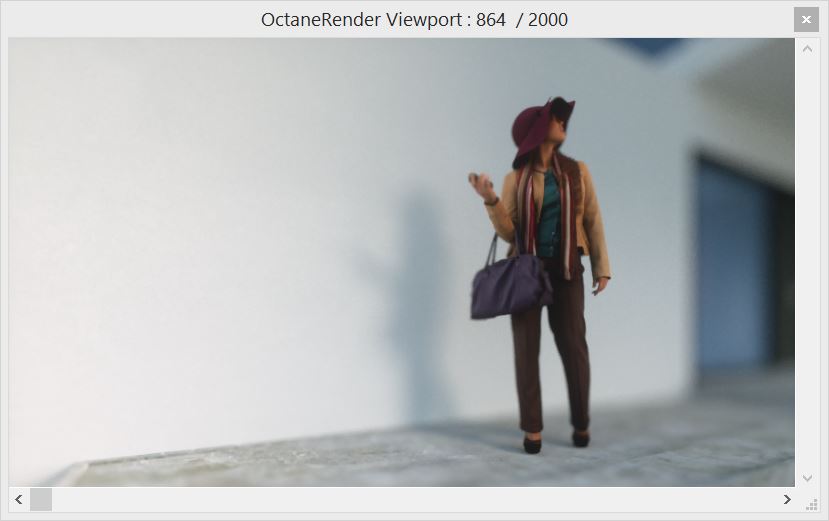
 ← Figure: proxy/OBJ used for scanned human