Below are instructions for installing the ArchiCAD plugin on these versions of ArchiCAD:
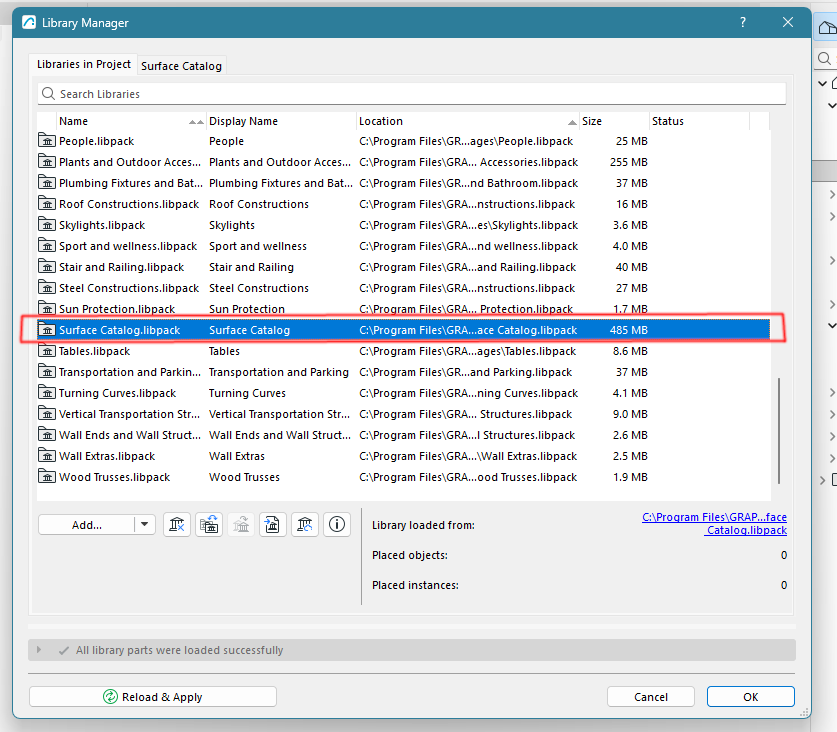
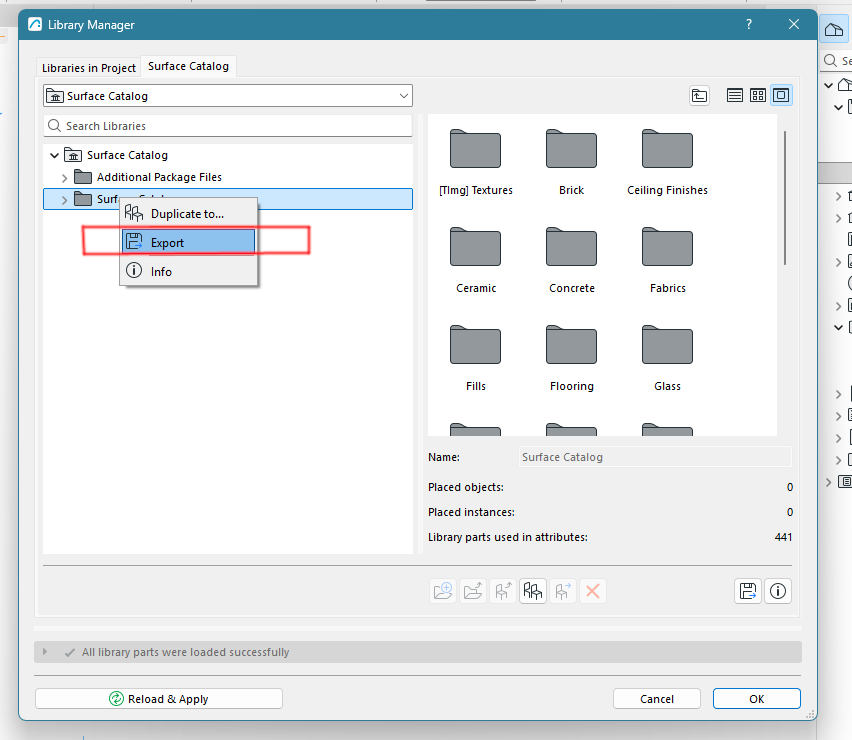
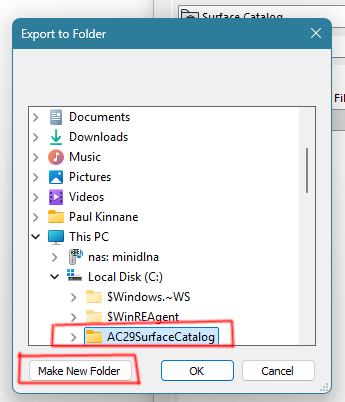
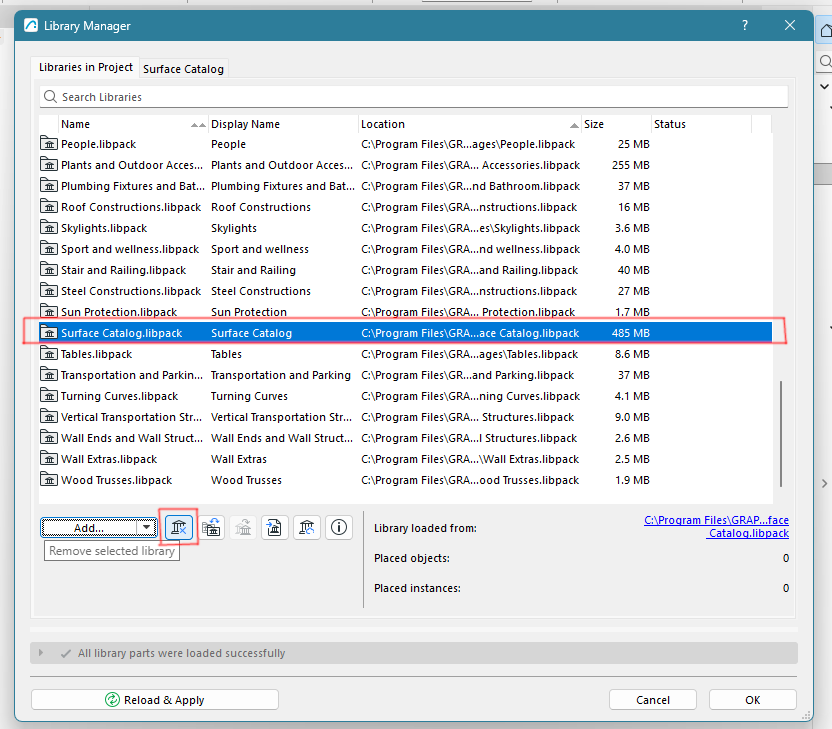
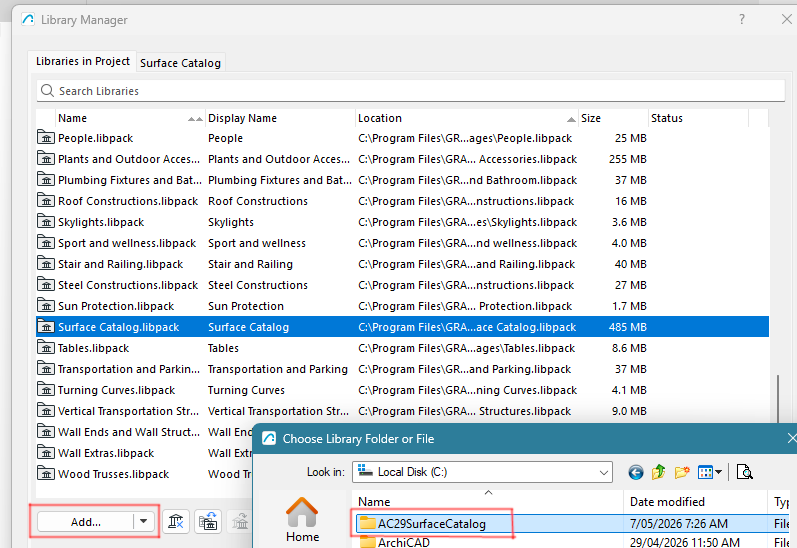
Step 1: Export the Surface Catalog
You may export this library to any local directory. However, to maintain asset links when moving the .pln file between different computers, you must extract the textures to the exact same file path on each machine.
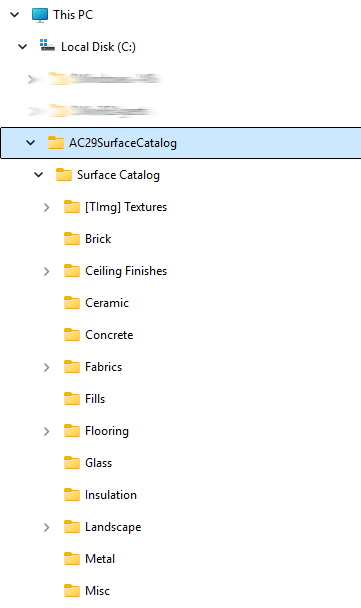
After the export, File Explorer should show the following:
Step 2: Remove the Original Library Package
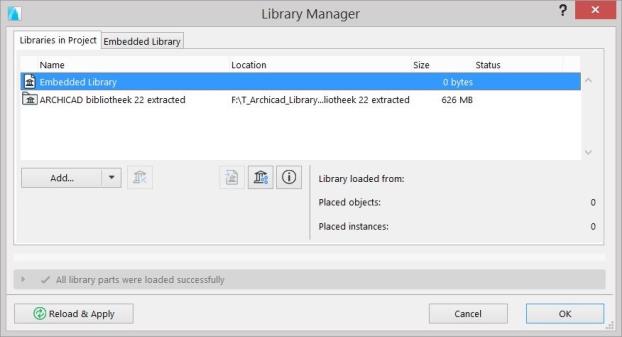
Step 3: Import the Extracted Library
Step 4: Refresh OctaneRender MaterialsA set of attributes or parameters that describe surface characteristics.
In the OctaneRender for ArchiCAD plugin, select ‘Re-convert from ArchiCAD’ for any (GDL) materials which had texture maps inside the lcf library. Or reconvert all materials with the "Reconvert all materials from ArchiCAD" option in the Materials tab.
The above is .pln file specific – so you will need to do the above on a blank document and save as a template if you want the extracted libraries to be always loaded by default.
During the installation process, the message shown below will appear:
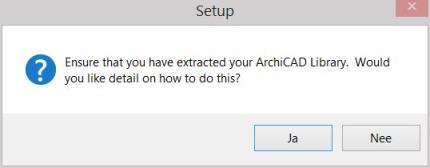
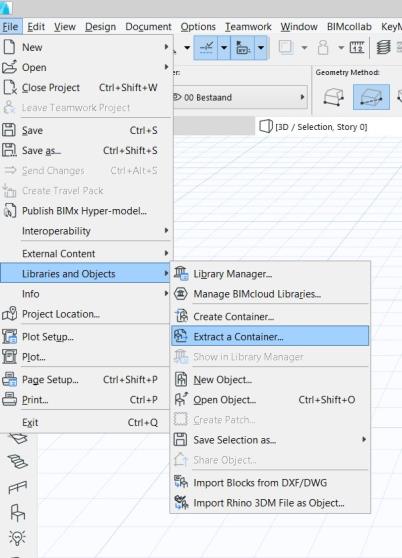
Texture maps connected to Octane ‘image’, ‘alpha image’ and ‘float image’ nodes must be an actual image file in your file system, not an image in the ArchiCAD library archive (i.e. ArchiCAD Library 22.lcf). Some GDL textures may be in the ‘lcf’ archive, so if the plugin cannot file these texture files, extract the archive as follows:
The above is .pln file specific – so you will need to do the above on a blank document and save as a template if you want the extracted libraries to be always loaded by default.
You need to activate the plugin before using it for the first time. Enter your OTOY user account credentials and click the Activate button. Once activated, the other Tabs (i.e. ‘Settings’, ‘Materials‘, etc) will be selectable and you can start using the plugin to render.
For more information about license activation, refer to Authentication and Internet Access topic in this manual.