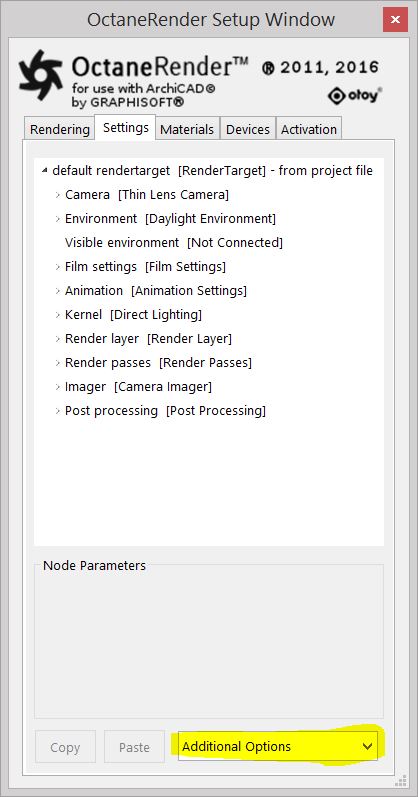
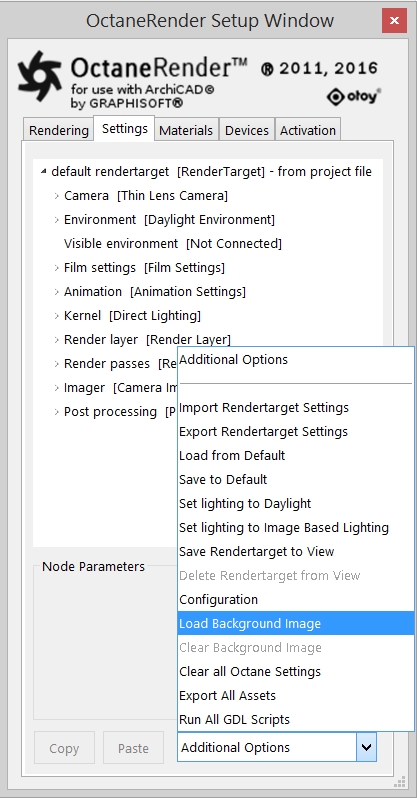
The Settings Tab contains a number of Additional Options which can be found on the bottom of the Settings TAB.
Figure 1: The Additional Options in the Settings Tab
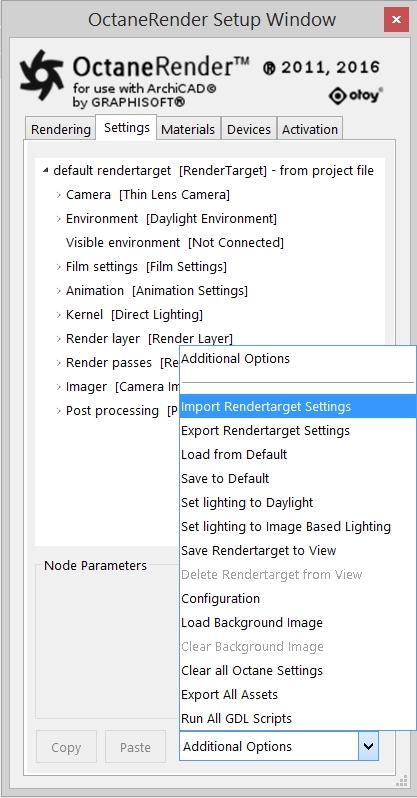
Import RenderTarget Settings
This allows you to import saved RenderTarget Settings.
Export RenderTarget Settings
You can export saved RenderTarget Settings.
Load from Default
You can load RenderTarget Settings from the set default.
Save to Default
You can save the current RenderTarget settings to ‘Default’, so when you next load a scene which does not have any saved Octane settings, it will use the ‘Default’ settings.
Set lighting to Daylight
This is a shortcut way to convert the ‘Environment’ node to ‘Daylight’
Set lighting to Image Based Lighting
This is a shortcut way to convert the ‘environment’ node to ‘texture environment’. The bonus of using this shortcut is that it will default the texture map used for lighting to scene to the previously used ‘texture environment’ texture map (for the current ArchiCAD session).
Save RenderTarget to View
By default, a camera/view is assigned to the ‘default RenderTarget’. You can save RenderTarget settings with a custom RenderTarget name linked to an ArchiCAD View.
Refer to Chapter ‘Saving RenderTargets’.
Delete RenderTarget to View
You can delete the previously saved RenderTargets linked to a View. Doing so it will delete the selected RenderTarget in the plugin but it will not delete the Saved View map in ArchiCAD.
when activating the View Map after having deleted the linked RenderTarget, again the ‘default RenderTarget’ is assigned to the node.
Configuration
In the Settings Tab of the OctaneRender Setup Window is a Configuration button.
The OctaneRender for ArchiCAD plugin does all the conversion of the ArchiCAD scene to Octane for you. However, there are some settings which you can tune to speed up your workflow. Mouseover each of the settings for more details.
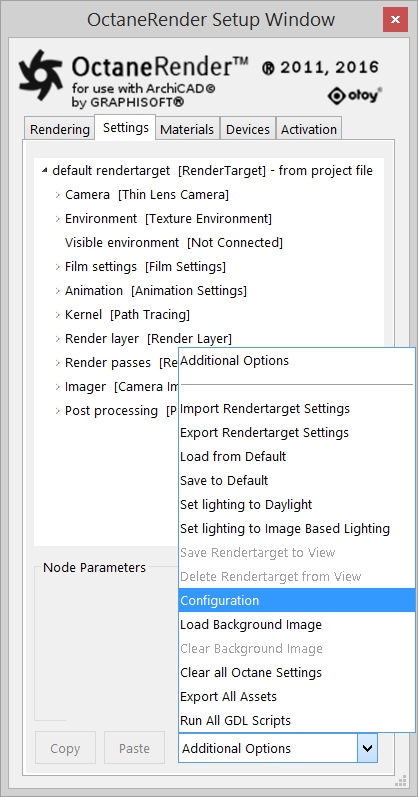

In summary:
Percent – The minimum Transparency Transmittance which will result in an ArchiCAD material being converted to an Octane specular material.
Emission Percent – The minimum Emission Attenuation which will result in an ArchiCAD material being converted to an Octane diffuse emitter.
Warning on Missing TexturesTextures are used to add details to a surface. Textures can be procedural or imported raster files. – If during the scene conversion to Octane the plugin cannot locate a particular texture map on your file system, a warning will be displayed if this checkbox is ticked. It is recommended to leave this option on.
Viewport Refresh Rate – The number of milliseconds that the Viewport will check to see if Octane has an updated render image available.
Progressive Save Enabled – Tick to have the plugin save the render every ‘Save Interval’ samples. Useful for analysis to determine have many samples are required for a render to be finished.
Image Save Format – the format that the Viewport image will be saved as when you click the Save button on the Rendering Tab.
LiveDB Texture Scaling – The scaling of LiveDB textures will sometimes not be appropriate for the scaling of your scene. Adjust this setting to increase or decrease the scale of LiveDb textures when they are downloaded.
Scene Scaling – Enter values < 1 to scale the entire scene down. This should not be needed, but might be useful for SSS and rayepsilon tuning. If values < 1 are used, reduce the default RenderTarget ray epsilon.
Maximum Scene Triangles – The maximum number of triangles/polygons that will be loaded into Octane. Increasing this value will mean more RAM is required to load the scene into Octane. The maximum triangles that can be loaded into Octane is approx. 30 million. This setting excludes polygons from proxy objects.
Scene Refresh on View Change – When checked, this causes a scene refresh of the Viewport when you select a new 3D View.
LiveDb Folder – Setting the path where LiveDB will store texture maps locally.
The ArchiCAD plugin has access to the OctaneRender online LiveDB.
Many of the materials contain texture maps. ArchiCAD cannot store these texture maps within a scene, therefore, the texture maps will be saved to disk under a specified folder and the material name will be automatically added to the path. The path can be customized as shown in the figure of the configuration.
Fast Cache – Fast caching is to speed up the material caching process only.
Refer to section ‘The MaterialsA set of attributes or parameters that describe surface characteristics. Tab’ → ’MaterialThe representation of the surface or volume properties of an object. Caching’.
Out of Core textures – This is a toggle to enable or disable this feature. When enabled, OOC will only ever be used when a scene does not fit the VRAM.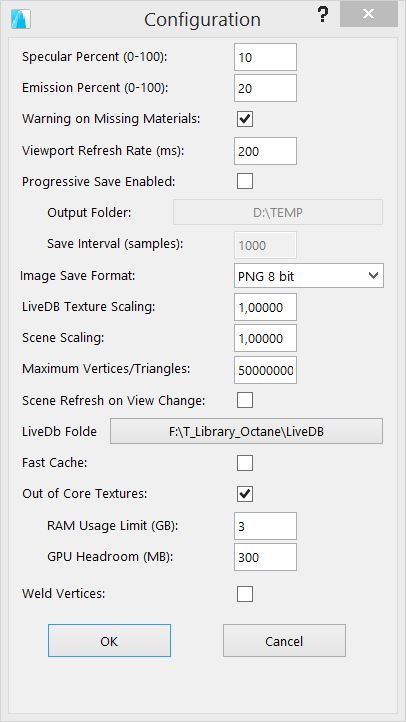
System RAM Usage Limit [GB] – System RAM usage limit allows you to limit how much system memory Octane will use for out of core geometry and textures. Once textures or geometry data is placed on this amount of RAM and the OOC feature kicks in, this specific memory will not be accessible by the Operating System for other tasks.
GPUThe GPU is responsible for displaying graphical elements on a computer display. The GPU plays a key role in the Octane rendering process as the CUDA cores are utilized during the rendering process. Head Room [MB] – Users can specify the amount of space reserved for other GPU users. Octane maximizes the amount of memory up to the headroom limit specified here. Note that GPU memory is faster than the system memory, therefore GPU Head Room tends to be set to a minimal level since it is practical to have the maximum amount of texture and geometry data fitted into the GPU VRAM.
Refer to section Out of Core Textures.
Weld Vertices – Tick this checkbox if you are using Round Edges in your materials.
Note: There appears to be a 10-20 performance hit when loading the scene (not rendering) with this option ON.
In the next example you see smooth setting of the material enabled and set the Rounded edges radius to 1.
When having Weld Vertices not checked this node does have effect (left image).
When having Weld Vertices enabled in the configuration the smooth settings do show (right image).

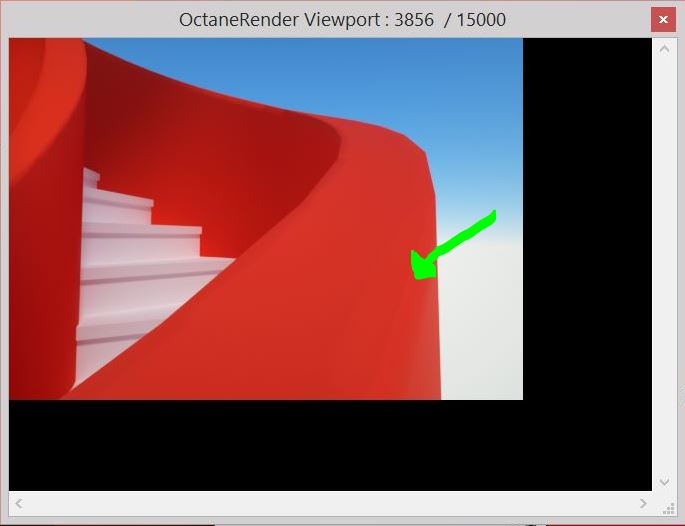
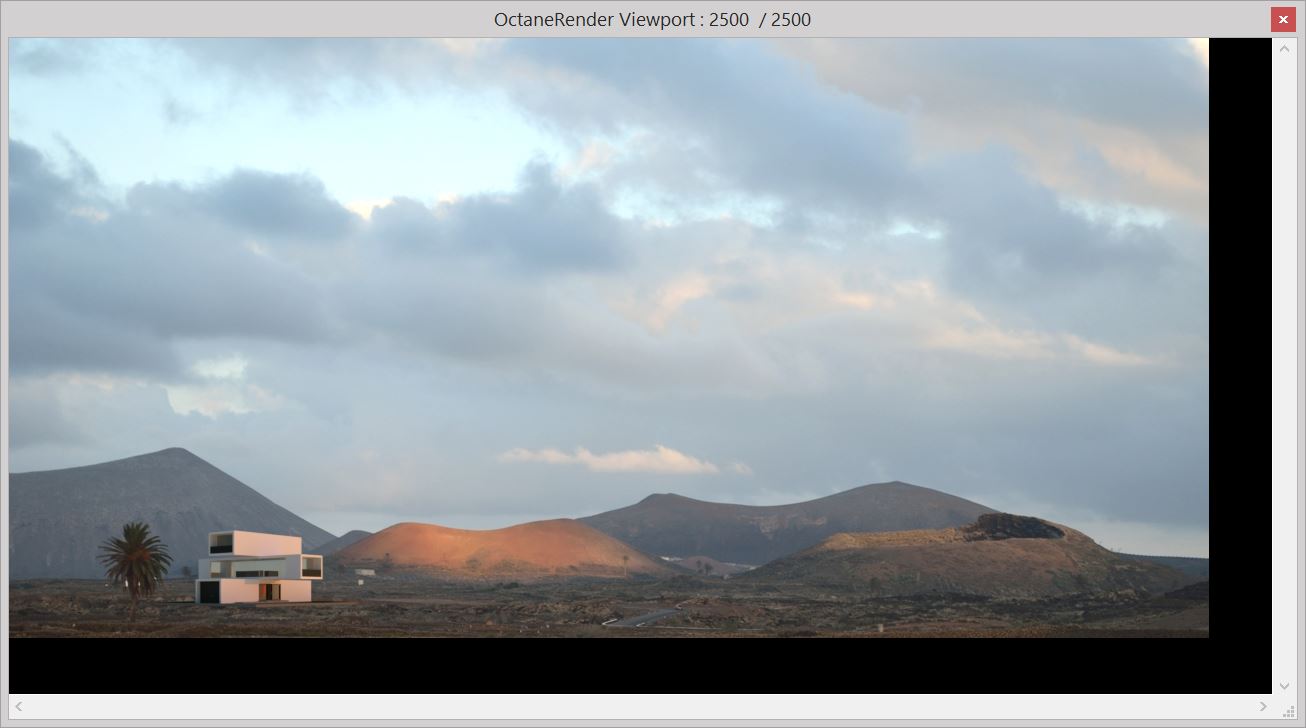
Load Background Image
You can load an Image in the OctaneRender Viewport as a Background.
The plugin will not save the background with the render. It is just designed to assist you get lighting and cameras right, so i.e. you can composite in another app (i.e. combining your render with a photo in Photoshop or Gimp).
For your goal it is probably easiest to make sure the Render Resolution (set in the node Film Settings) matches the size of the image used as Background Image.
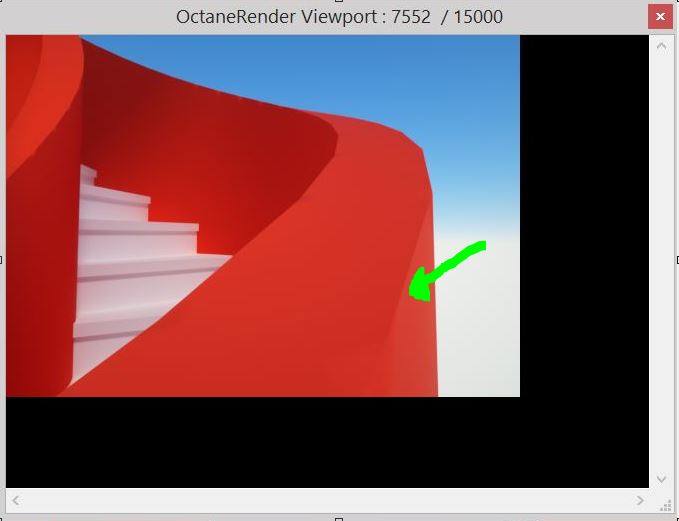
Note: The Alpha ChannelA greyscale image used to determine which areas of a texture map are opaque and which areas are transparent. in the Kernel Settings must be enabled to see the Background Image.
Below you can see the OctaneRender Viewport with all the same settings, but with the Alpha Channel disabled.
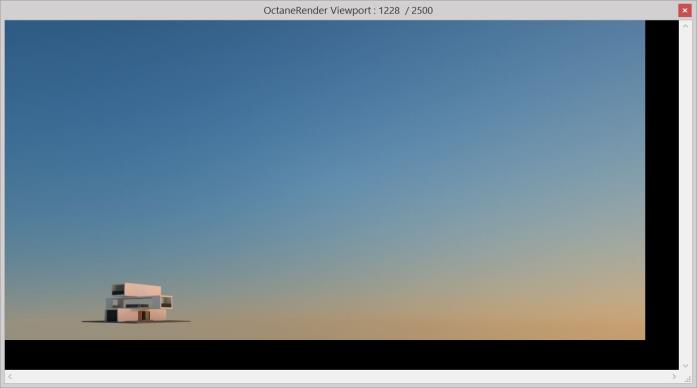
Background Image
You can simply unload the Background Image.
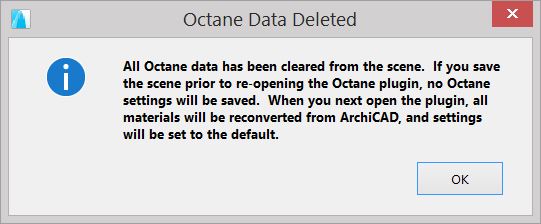
Clear all Octane Settings
or some reason it might be useful to clear all Octane Settings, but when you might accidentally have cleared all settings you will get a warning as shown below. You then can decide to Exit ArchiCAD immediately without saving. When reopening the *.pln it then will open the scene without having cleared the Octane Settings.
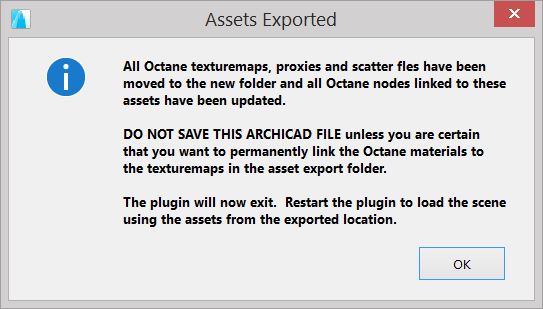
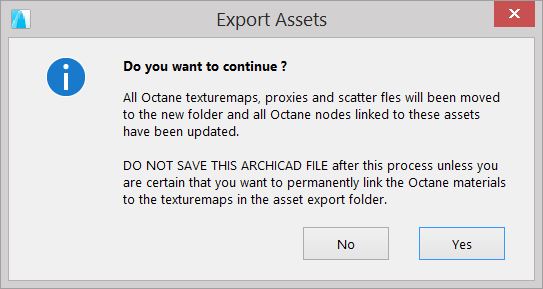
Export All Assets
You can Export All Assets (i.e. HDR backgrounds, textures, used proxies, etc.) and save them to a custom folder.
Make sure if you need to SAVE your ArchiCAD file before taking this action, and if you want to you’re your ArchiCAD file after this process.
Run All GDL Scripts
This allows any GDL scripts which derive their values from parameter to be recalculated. You must be in a 2d view to run this command, and the Viewport will need to be refresh after in order for any proxies with OctaneProxy_AlwaysUseParameters set to recreate all the proxies from parameters.
Add GDL parameter OctaneProxy_AlwaysUseParameters (Boolean), which when ON means that the GDL parameters will always be used for scaling/rotating the proxy, and the ProxyAn object saved as a separate file with the purpose of being reused in larger scenes. This is used to minimize any addition to the total polygon count in the scene, especially if the scene requires the same object to appear several times. If used in conjunction with instancing, Proxies help keep very large scenes from reaching polygon limits and also keeps the relative file size of the main project file manageable. window cannot be accessed.