Rendering for VR
You can do stereo rendering in the plugins if you are familiar with the values (map type, resolution) that are compatible for VR. The camera used for this is a stereoscopic panoramic camera with a Cube Map projection of equal sides (+x,-x,+y,-y,+z,-z). The advantage of the Standalone Edition is that is has presets for VR rendering (figure 1).
|
|
Vr Presets
|

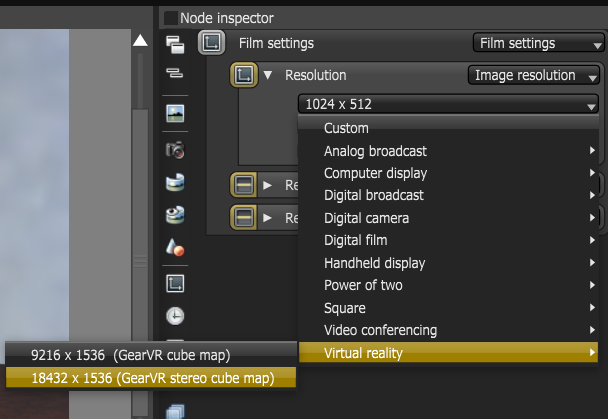
Figure 1: VR rendering presets in Octane Standalone
Rendering to VR
Make sure that the units are set to Meters. It's best not to change the system unit of an existing scene, but since OctaneRender's default units are in meters, make sure these values are the values that would be equivalent to the units used in the scene. (e.g., 3ds Max 1 cm = OctaneRender .01 m ). If possible, change the system unit value before you import or create geometry. VR scenes are huge. You can temporarily set up the scene with a normal spherical panoramic camera (figure 2) at a low resolution (like 1024×512) so that you can preview the scene and add more textures at optimum performance.
|
|
Camera Type
|

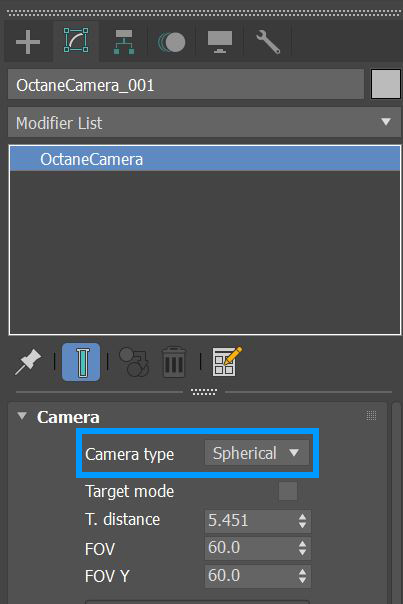
Figure 2: Setting up the spherical panoramic camera
Turn off Post Processing in Render Setup.
|
|
Post Process
|
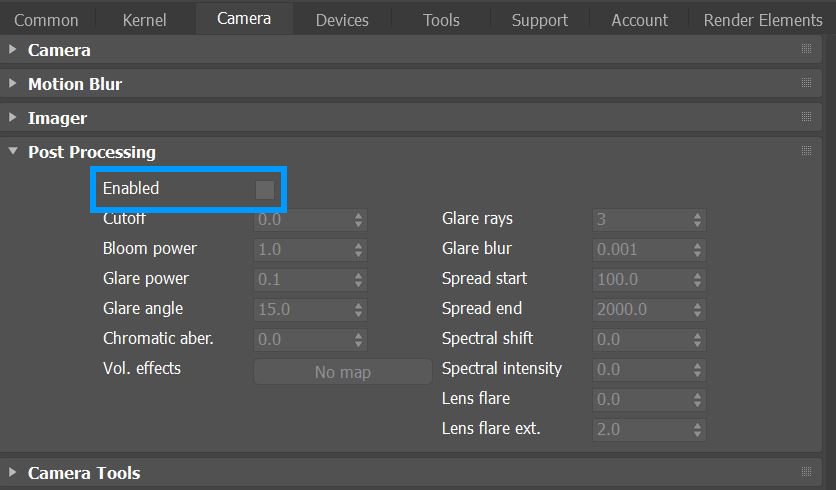
Figure 3: Disabling post-processing
Make sure that the objects in the view are 10x the stereo offset distance and the Keep Upright is active in the Camera Modify Panel. Make sure that lighting is as realistic as possible - try to using the Path Tracing or PMC kernels.
When you are satisfied with how the scene looks, you can proceed to create the final quality render, which is the 18K cube map render. While you're in the Camera parameters, make sure to set the camera type to Cube Map, and then choose a Stereo mode (used side-by-side). Save the resulting image as an 8-bit PNG then click Render.
The resulting image should be an 18K cube map, which you can upload into the VR viewer folder of the device that is compatible with GearVR.
|
|
VR Rendering
|

Figure 6: The final result