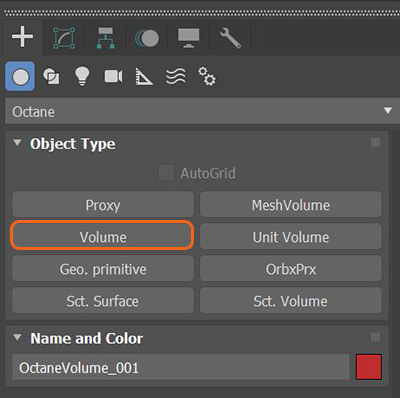
In order to use the Volume MediumA shading system designed to render volumes such as smoke and fog. node, an Octane Volume must be added to the scene first. This option can be found in the Octane section of the Command panel (figure 1).
The Volume Medium can be added to the imported VDB file under the Medium slot in the Modify window (figure 2).
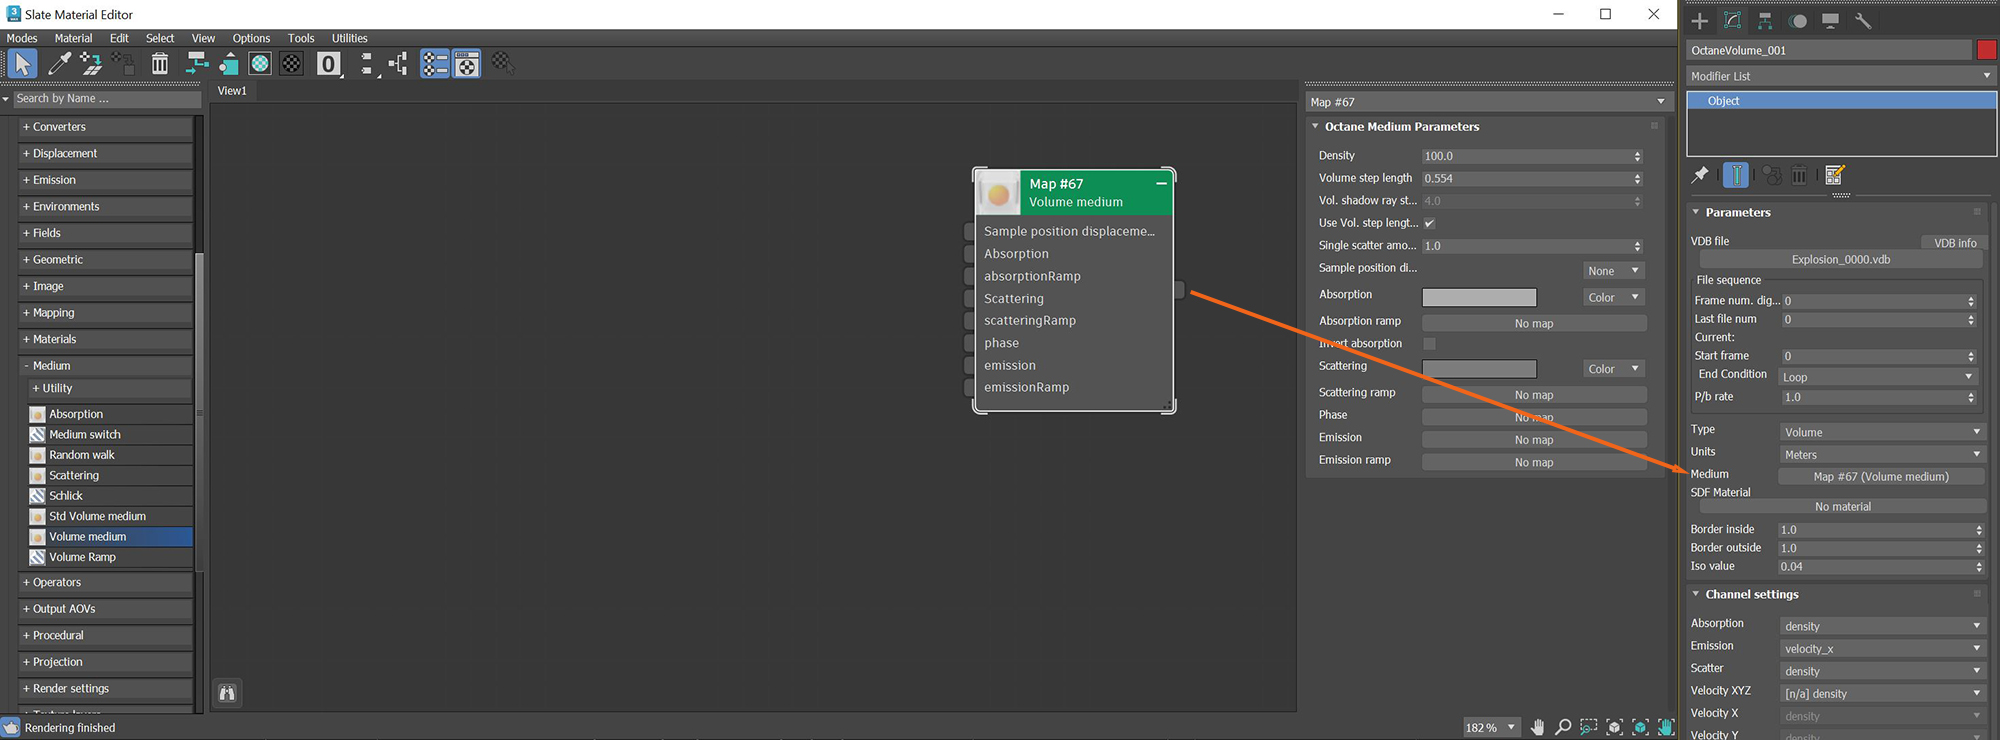
Figure 2: Adding the Volume Medium node to an Octane Volume object
After adjusting the Density, AbsorptionDefines how fast light is absorbed while passing through a medium., and ScatteringDefines how fast light gets scattered when traveling through the medium. parameters, figure 3 shows an example of the Volume Medium node applied to an imported VDB file.
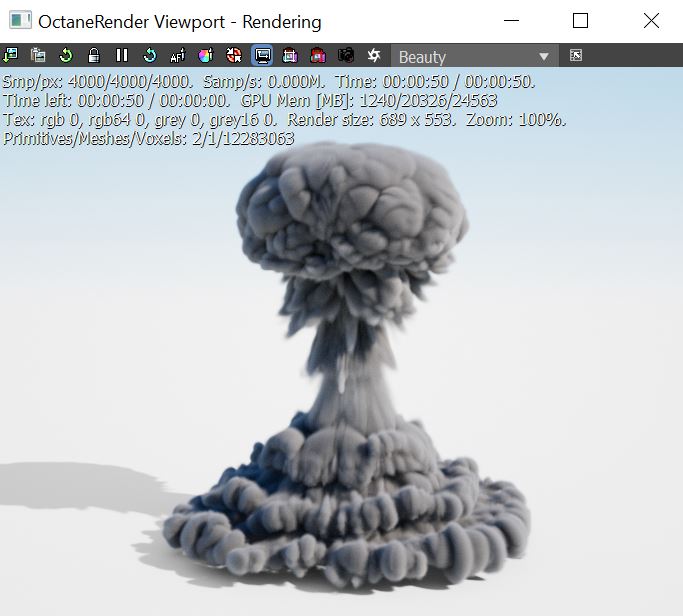
Figure 3: A Volume Medium node connected to an imported VDB file
Density - Determines the density of the particles in the volume. Other attributes such as absorption, scattering, and emission will be amplified as this value is increased.
Volume Step Length - This parameter determines the average distance between points where OctaneRender® samples the Absorption, Scattering, and Emission textures. The default value is 4.0. If your Volume is smaller than this, decrease the Step Length. Decreasing this value reduces the render speed. Increasing this value causes the ray marching algorithm to take longer steps. You get the most accurate results when the Step Length is as small as possible. For simplifying your workflow, set the Volume Step Length to an acceptable value.
Vol. Shadow Step Length - Similar to Volume Step Length but defined for Shadows.
Use Volume Step Length for Volume Shadow Ray Step Length - Check box for using the Volume Step Length for the Volume Shadow Ray Step Length as well.
Sample Position DisplacementThe process of utilizing a 2D texture map to generate 3D surface relief. As opposed to bump and normal mapping, Displacement mapping does not only provide the illusion of depth but it effectively displaces the actual geometric position of points over the textured surface. - Allows a texture to control a volume's sample position displacement.
Absorption - By default, the absorption attribute is controlled by a value slide ranging from 0 - 1 where 0 (black) is no absorption and 1 (white) is full absorption. A color or texture can be added to replace the value slider. The color's value and saturation can be used to further determine the absorption amount. Note: If the Invert Absorption attribute is active, these values will be behave in the opposite fashion, for example: 0 (black) will be full absorption and 1 (white) will be no absorption.
Absorption Ramp - A Volume Gradient ramp can be added here to define the color and density range for the volume. In the gradient, the colors near the left are mapped to the less dense areas of the volume and the colors near the right of the ramp are mapped to the more dense areas of the volume. These gradient values are multiplied by the Absorption value.
Invert Absorption - Inverts the absorption characteristics so that the absorption color specified is the same color seen in the volume. For example: Red results in red, otherwise, red would result in green (if this check box is inactive).
Scattering - Determines how quickly light scatters as it moves through the surface. High values mean that light scatters sooner as it enters the surface, and low values mean that light passes deeper into the surface before it scatters. By default, the scattering attribute is controlled by a value slide ranging from 0 - 1 where 0 is no scattering and 1 is full scattering. A color or texture can be added to replace the value slider. The color's value and saturation can be used to further determine the scatter amount.
Scattering Ramp - A Volume Gradient ramp can be added here to define the color and intensity range for the volume's scattering effect. In the gradient, the colors near 0 the left are mapped to the less dense areas of the volume and the colors near the right of the ramp are mapped to the more dense areas of the volume. These gradient values are multiplied by the Scattering value.
Phase - Controls the direction of the light as it scatters in the volume. A value of 0 results in an even light scattering in all directions. Positive values result in forward scattering, where the photons continue traveling in the same general direction when they enter the surface. Negative values result in backwards scattering, where the light moves through the surface in the opposite direction of the angle that they entered the volume.
Emission - Controls the volume's light emission using either a Blackbody or Texture emission map.
Emission Ramp - This attribute uses an Octane Volume Gradient to alter the color of the volume emission. It works best with a Texture Emission node connected to the Emission attribute.