You can do stereo rendering in the plugins if you are familiar with the values (map type, resolution) that are compatible for VRImmersively engaging and experiencing depth perception in a three dimensional scene through stereo vision goggles and head-mounted displays.. The camera used for this is a stereoscopic panoramic camera with a Cube Map projection of equal sides (+x,-x,+y,-y,+z,-z).
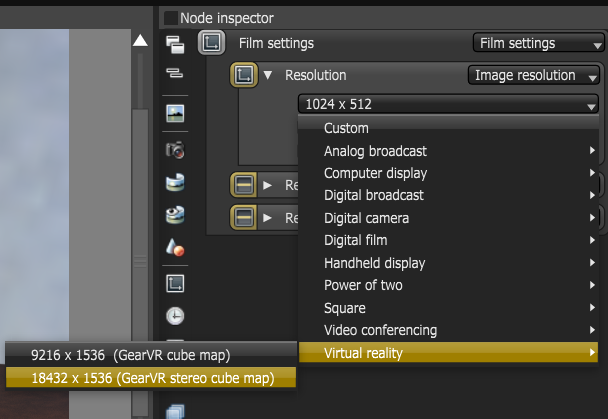
The advantage of the Standalone Edition is that is has presets for VR rendering:
Figure 1: VR rendering presets
In all cases, it is just like rendering a 2D image in OctaneRender® as a 360x180 panorama. When you are happy with how the panorama looks, it is time to set the scene up for VR.
VR scenes are huge. You can temporarily set up the scene with a normal spherical panoramic camera at a low resolution (like 1024×512) so that you can preview the scene and add more textures at optimum performance.
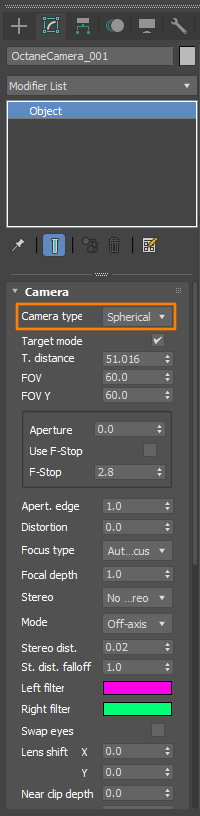
Figure 2: Setting up the spherical panoramic camera
Turn off Post ProcessingEffects such as Bloom and Glare that are applied after a scene has been rendered. in Render Setup.
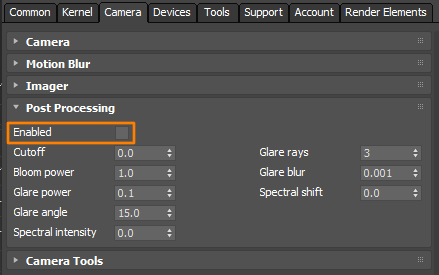
Figure 3: Disabling post-processing
Keep the Camera upright from the Camera Modify Panel.
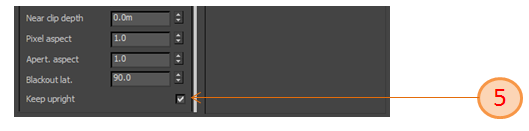
Figure 4: Enabling the Keep Upright checkbox
Save the resulting image as an 8-bit PNG.
The resulting image should be an 18K cube map, which you can upload into the VR viewer folder of the device that is compatible with GearVR.
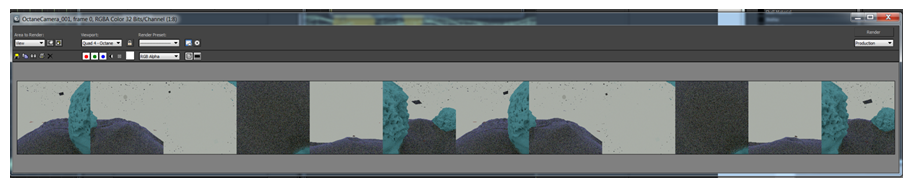
Figure 6: The final result