Render elements/passes are processed differently by different render engines. Since OctaneRender® is a separate render engine, it also uses its own set of render elements that are documented in the Render AOVs section of this manual. The Render Elements tab in the Render Setup window can still be utilized for creating AOVs, however, they cannot be accessed in the Slate MaterialThe representation of the surface or volume properties of an object. Editor window for compositing.
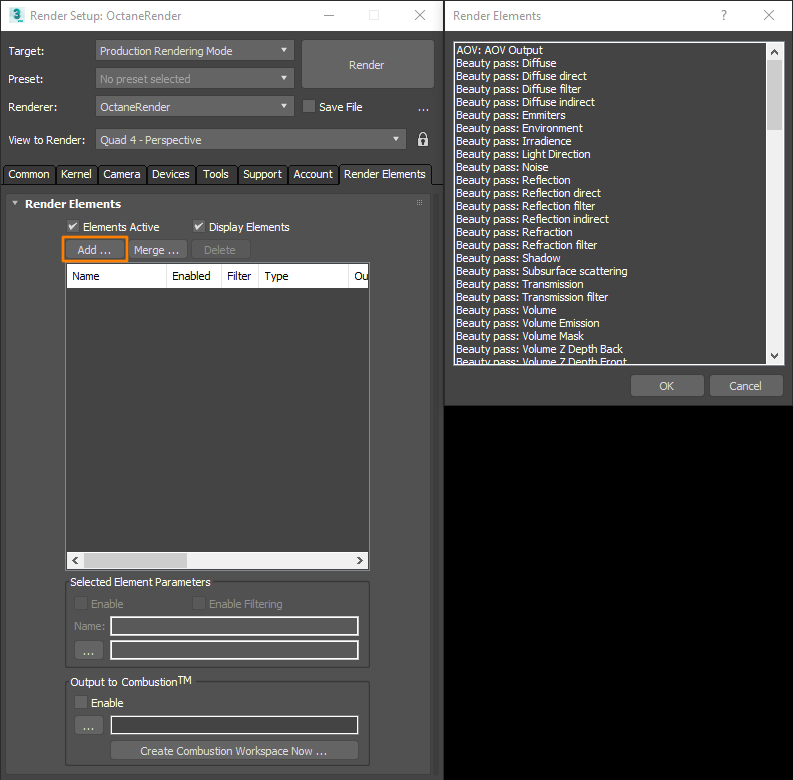
To view and save render passes, go to Rendering > Render Setup > Render Elements and add the passes to include in the render.
Figure 1: Accessing the OctaneRender® Render Elements
Make sure that the selected passes are enabled.
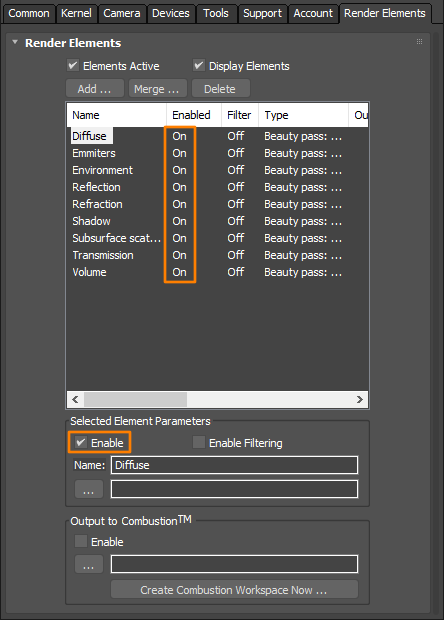
Figure 2: Enabling the Render Elements
Go back to the Kernel window and make sure to enable the Alpha Channel.
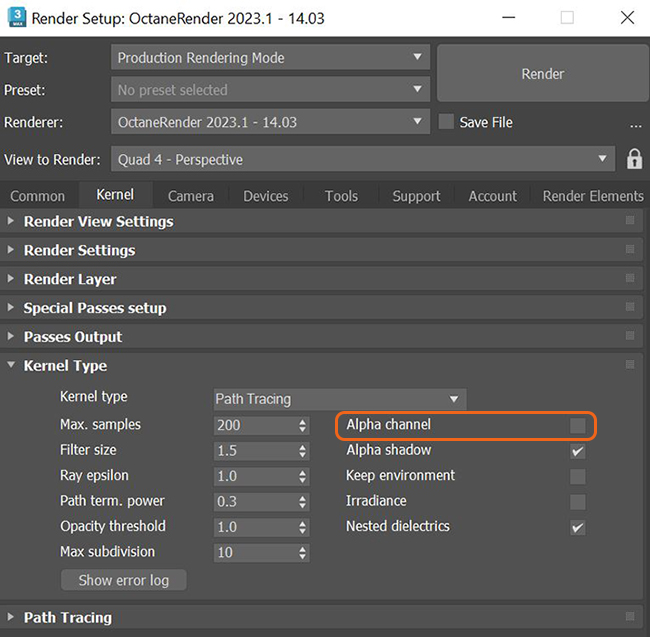
Figure 3: Activating the Alpha ChannelA greyscale image used to determine which areas of a texture map are opaque and which areas are transparent. parameter in the Kernel settings
Next, open OctaneRender Viewport and use the Select Multiple Passes button to Import passes selection from Render Elements (figure 4). You can also add or subtract other render passes to the viewport here. Keep in mind for file output renders, you need to make sure you export your passes back to Render Setup > Render Elements. This can be done with the Export Passes Selection to Render Elements.
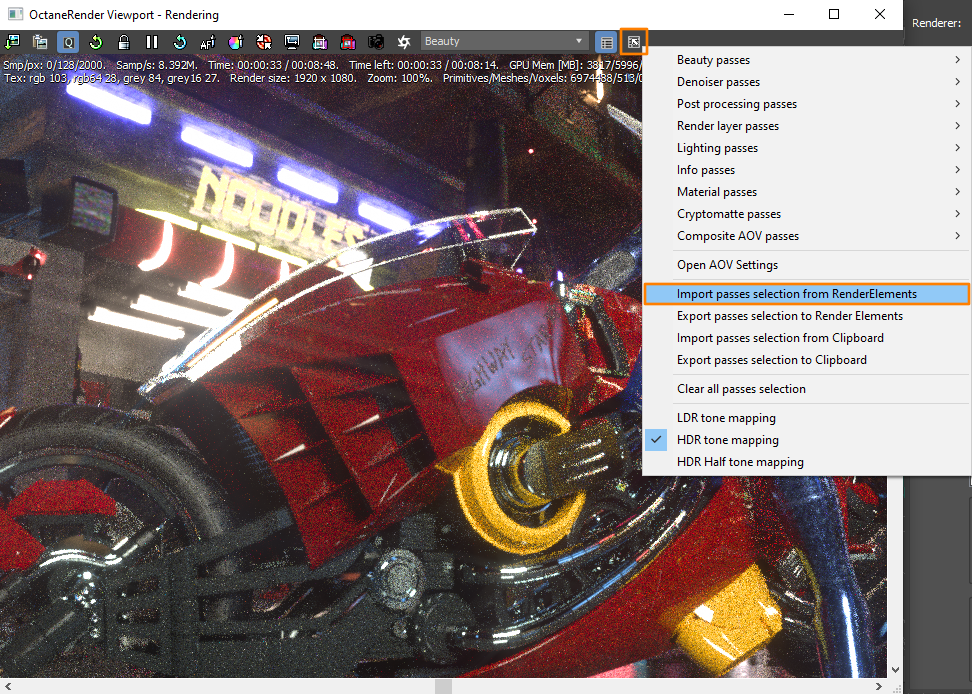
Figure 4: Import Render Elements via the OctaneRender Viewport
Use the Passes Dropbox to select and view each render pass. If you want to save out each pass manually, you can use the Port To Max Framebuffer button.
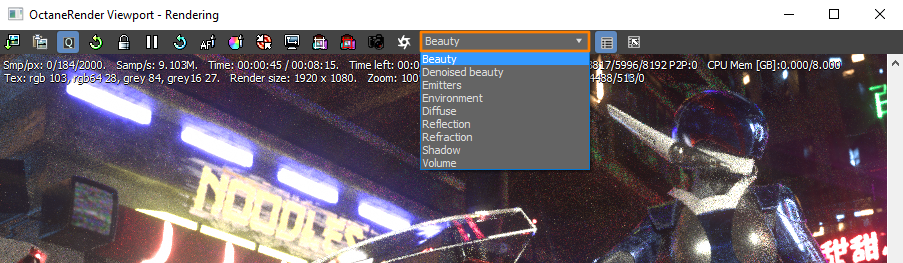
Figure 5: Passes Dropbox used to view each pass